
This lesson clarifies crucial rules for Category AM vehicles regarding roadway access in the Netherlands. You'll learn to distinguish between fietspaden, bromfietspaden, and general carriageways, understanding where your specific vehicle type is permitted to travel. Mastering these positioning rules is vital for safe riding and passing your Dutch theory exam.

Navigating the diverse road network of the Netherlands requires a clear understanding of where your Category AM vehicle (such as a bromfiets, snorfiets, or speed pedelec) is permitted to travel. This lesson clarifies the specific regulations governing the use of mandatory cycle paths (fietspad), combined moped/cycle paths (bromfietspad), and the main carriageway (rijbaan). Knowing these rules is not just about legal compliance; it is fundamental for ensuring your safety and the safety of others in various traffic environments, from bustling city centers to quiet rural roads.
Correct positioning on the road directly impacts right-of-way situations, your visibility to other road users, and the overall risk of collisions. Failure to adhere to these rules can result in significant fines and, more critically, increase your vulnerability in traffic. This module builds upon your foundational knowledge of Dutch road signs and vehicle classifications, establishing the basis for safe and legal movement on any road.
The Dutch traffic system is designed to separate different modes of transport, particularly lower-speed motorised two-wheelers like Category AM vehicles, from faster motor vehicles. This separation is achieved by assigning them to specific traffic spaces: mandatory cycle paths, dedicated combined paths, or the main carriageway. This underlying logic is driven by several critical principles:
Understanding these foundational concepts is crucial for all Category AM riders, connecting directly to how you interact with traffic signs, manage your speed, and navigate right-of-way situations, which will be covered in greater detail in subsequent lessons.
A mandatory cycle path, or fietspad, is a designated route primarily for bicycles, identifiable by a specific blue road sign. These paths are designed to provide a separated space for cyclists, enhancing their safety and encouraging active transport.
The presence of this sign indicates that cyclists are legally obligated to use this path. For Category AM vehicles, the rule is conditional: you may use a standard fietspad, but it is not always mandatory. However, if a fietspad is present and there is no sign prohibiting mopeds, you must not ride on the parallel carriageway. The key is to look for additional signage that might alter this permission.
A crucial variation is a fietspad where mopeds are explicitly forbidden. This is indicated by a separate sign.
When you encounter sign 6.62 alongside a fietspad, it means that Category AM vehicles must not use that path. In such cases, you are legally required to merge onto the main carriageway, provided it is safe and allowed for mopeds. Ignoring this sign can lead to fines and dangerous encounters with cyclists who do not expect mopeds on their dedicated path.
When riding on a fietspad where mopeds are permitted, you must:
Do not assume any cycle path is automatically open to mopeds. Always look for the 'No Mopeds' sign (C15, formerly 6.62). If it's present, you must use the carriageway.
The bromfietspad is a unique feature of Dutch infrastructure, designed to accommodate both cyclists and Category AM vehicles safely on a shared, dedicated path. This approach allows for separation from faster motor traffic while acknowledging the similar speed profiles of mopeds and bicycles in certain environments.
When you see sign 6.61, it means that the path is mandatory for both cyclists and Category AM vehicles. You must use this path and are not allowed to ride on the main carriageway where this sign applies. This rule is crucial for maintaining order and safety on roads with mixed traffic.
The design and shared nature of a bromfietspad necessitate specific speed regulations to ensure the safety of all users.
The default speed limit on a bromfietspad is 30 km/h, unless different local signage indicates otherwise. Always prioritize safety and adjust your speed to conditions and the presence of other users, especially cyclists.
This 30 km/h limit (or lower if posted) reflects the mixed-user environment and the need for ample reaction time. Even if your Category AM vehicle is capable of higher speeds, you must adhere to this lower limit on a bromfietspad. Overtaking on a bromfietspad is permissible if safe, but always give ample space and an audible warning to cyclists.
While rare, you might encounter sign 6.71, which indicates a path exclusively for mopeds. If present, it mandates your use of that path, but you will not share it with cyclists.
The main carriageway, or rijbaan, consists of the traffic lanes reserved for motor vehicles. Category AM vehicles must use the carriageway in specific circumstances, treating themselves as any other motorised vehicle.
You are required to ride on the main carriageway when:
When riding on the carriageway, Category AM vehicles must adhere to the same general rules as other motor vehicles, with some specific considerations:
There are strict prohibitions on where Category AM vehicles may travel on the carriageway:
Understanding these specific road signs is paramount for all Category AM riders in the Netherlands. They dictate your legal obligations and guide your movement through the traffic network.
A common situation for Category AM riders is when a mandatory cycle path or bromfietspad comes to an end. This requires a safe and smooth transition back onto the main carriageway.
The end-of-path sign (like G11-end, formerly 6.32) signals that you must safely merge with the traffic on the main carriageway. This maneuver requires careful attention and adherence to standard merging protocols to avoid sudden movements that could cause collisions.
Failing to merge safely can lead to serious rear-end collisions or other accidents. Always give yourself ample time and space.
While general rules apply, traffic situations can be complex. Understanding conditional logic and exceptions is vital for safe and legal riding.
At junctions, roundabouts, and traffic islands, strict adherence to a mandatory path might create an unsafe situation. In these instances, Category AM vehicles may temporarily use the carriageway to execute the maneuver, provided it is safe and permitted by the context.
This flexibility balances strict path adherence with the practical necessity of navigating complex traffic nodes. Riders must still signal their intentions, observe all right-of-way rules, and yield to other traffic as required.
The legal obligation to use a designated path (fietspad or bromfietspad) generally remains, even in poor weather. However, personal safety is paramount.
Certain zones are designed with heightened safety for vulnerable users.
Ignoring the regulations for path usage can lead to significant legal penalties and, more importantly, increase the risk of accidents.
The strict regulations concerning cycle paths, bromfietspaden, and carriageway use are not arbitrary; they are deeply rooted in traffic engineering principles and safety research.
Adhering to these rules is therefore a direct contribution to your personal safety and the efficiency of the entire Dutch traffic system.
Here are some real-world scenarios illustrating the rules discussed in this lesson.
Mastering the rules for cycle paths, bromfietspaden, and carriageway use is crucial for your safety and legal compliance on Dutch roads. Here is a checklist of essential points to remember:
Consistent application of these rules will make you a safer, more confident, and legally compliant Category AM rider in the Netherlands.
Lesson content overview
Explore all units and lessons included in this driving theory course.
Explore search topics learners often look for when studying Cycle Paths, Bromfietspad, and Carriageways. These topics reflect common questions about road rules, driving situations, safety guidance, and lesson level theory preparation for learners in the Netherlands.
Browse additional driving theory lessons that cover connected traffic rules, road signs, and common driving situations related to this topic. Improve your understanding of how different rules interact across everyday traffic scenarios.
Explore advanced scenarios and exceptions for Category AM vehicles on Dutch roads. Understand how to handle tricky situations involving mandatory cycle paths, bromfietspaden, and carriageways in mixed traffic environments with cyclists and cars.

This lesson is critical for driving in the Netherlands, a country with more bicycles than people. You will learn about the different types of cycle paths and how priority rules apply, especially at junctions. The content stresses the importance of checking the blind spot for cyclists before turning right ('dode hoek'). It also covers the rules for different types of mopeds (snorfiets and bromfiets) and the importance of giving all two-wheeled road users ample space when overtaking.

Safely merging and changing lanes requires a systematic approach known as 'mirror-signal-blind spot'. This lesson explains the correct procedure for entering a carriageway from an acceleration lane, ensuring you match the speed of the traffic flow and find a safe gap. It also covers the technique for changing lanes, emphasizing the critical importance of checking your blind spot with a shoulder check (dode hoek) before making any lateral movement to prevent collisions.

Understand the meaning of various road markings and how they dictate your position on the road. This lesson covers the rules associated with solid and broken white lines, bicycle lane symbols, suggestion strips, and arrows painted on the road surface. Proper lane discipline, including when overtaking is permitted and how to position yourself correctly within a lane or on a cycle path, is a fundamental skill for safe and predictable riding that is tested by the CBR.

Roundabouts are a common feature of Dutch roads, and they have specific priority rules. This lesson teaches the standard rule of yielding to traffic already circulating on the roundabout before you enter. It also covers correct lane positioning, the importance of signaling your intention to exit, and the specific rules that often apply to cyclists who may have priority when crossing the exits. These skills ensure smooth and safe passage through both large and mini-roundabouts.

Each season brings unique challenges for riders. This lesson discusses common seasonal hazards, such as wet autumn leaves that are as slippery as ice, the risk of black ice in winter, and increased agricultural traffic in the summer. It also highlights the importance of seasonal vehicle maintenance. For example, after winter, it is crucial to wash away corrosive road salt, and before winter, to check antifreeze and battery health, ensuring your vehicle is prepared for the conditions ahead.

Overtaking is a high-risk maneuver that must be executed correctly. This lesson provides a step-by-step guide: assess if it is safe and legal, check mirrors and blind spots, signal your intention, accelerate smoothly past the other vehicle, and return to your lane leaving adequate space. You will also learn to identify situations where overtaking is prohibited, such as before a pedestrian crossing or when approaching a blind corner.

This lesson provides a detailed guide to navigating Dutch roundabouts ('rotondes'), including single-lane, multi-lane, and 'turbo' designs. It clarifies the specific priority rules that apply when entering the roundabout and the critical importance of correct signaling when changing lanes or exiting. Special attention is given to the vulnerable position of motorcyclists and the need to be aware of other vehicles' blind spots and the priority rules concerning cyclists on or near the roundabout.
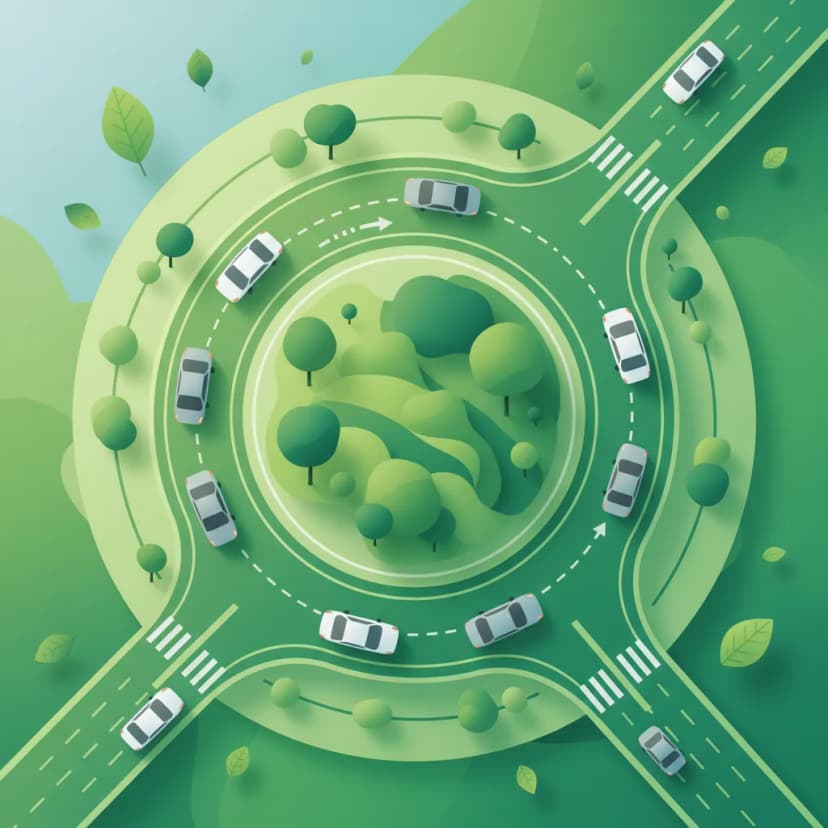
This lesson focuses on the rules and techniques for safely navigating Dutch roundabouts, a common feature of the road network. You will learn that traffic circulating on the roundabout typically has priority and that you must yield before entering. The content covers correct lane selection for your intended exit, proper use of turn signals, and maintaining awareness of cyclists who may have priority on adjacent paths.
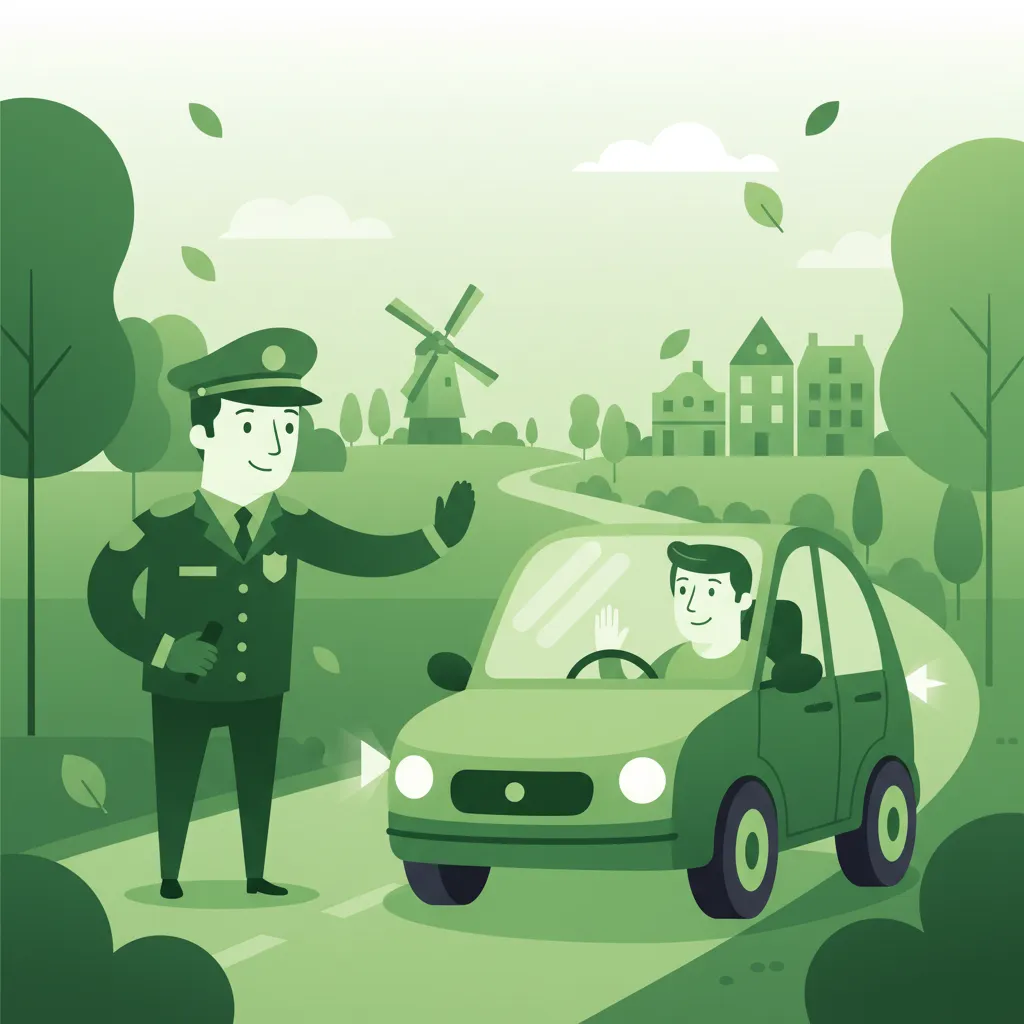
This lesson prepares riders for the possibility of a routine police check ('verkeerscontrole'). It explains what officers typically inspect, which includes the required documentation, the roadworthiness of the motorcycle (e.g., tire tread depth, exhaust legality), and the rider's sobriety. The curriculum provides guidance on how to interact calmly and cooperatively with law enforcement, ensuring the stop proceeds smoothly and efficiently while being aware of one's basic rights.

This lesson equips you with the knowledge to safely navigate special traffic situations. It covers the rules for riding through tunnels, including mandatory lighting, and the absolute priority of trains at level crossings, indicated by warning lights and barriers. You will also learn to recognize and react to the temporary signage and altered lane configurations typically found in road work zones, ensuring you can adapt your riding to maintain safety in these potentially hazardous environments.
Learn the specific meanings of road signs governing cycle paths (fietspad), combined moped/cycle paths (bromfietspad), and carriageway use for Category AM vehicles in the Netherlands. Understand your positioning obligations based on official signage.
Understand the meaning of various road markings and how they dictate your position on the road. This lesson covers the rules associated with solid and broken white lines, bicycle lane symbols, suggestion strips, and arrows painted on the road surface. Proper lane discipline, including when overtaking is permitted and how to position yourself correctly within a lane or on a cycle path, is a fundamental skill for safe and predictable riding that is tested by the CBR.

Road surface markings are a crucial part of the traffic regulation system. This lesson covers the meaning of various lines, including solid versus broken center lines, edge lines, and stop lines. You will also learn to interpret symbols like 'shark's teeth' (yield markings), bicycle pictograms, and directional arrows, all of which provide essential information about priority, lane usage, and upcoming turns, directly impacting your riding decisions.

This lesson offers an in-depth study of Dutch regulatory signs, which impose mandatory actions or prohibitions on road users, with a specific focus on their impact on motorcyclists. It explains the visual language of prohibition symbols ('verbodsborden') and obligation symbols ('verplichtingsborden'), the contexts in which they appear, and the strict statutory consequences of non-compliance. Real-world examples are used to illustrate how these signs directly influence route planning, overtaking decisions, and speed management.

Warning signs are designed to enhance your safety by alerting you to potential hazards. This lesson focuses on signs of particular relevance to moped and scooter riders, such as warnings for sharp bends, slippery road surfaces, crosswinds, and level crossings. You will learn to recognize the standard triangular shape of Dutch warning signs and understand how to adjust your speed and positioning in response to these alerts, a key skill in hazard perception.

This lesson explains how to interpret informational signs that provide guidance and navigational aid. You will learn to read directional signs indicating cities and locations, understand route numbering on major roads, and recognize signs for services like fuel stations or parking areas. It also covers the signs that mark the beginning and end of a built-up area ('bebouwde kom'), which have important implications for speed limits and traffic rules.

This lesson focuses on informational signs that guide motorcyclists in navigation, route planning, and locating essential services while on the road. It examines the standardized symbols and color-coding for directions ('richtingsborden'), destinations, distances, and amenities, explaining how these signs support efficient and safe travel. Learners will understand how to use this information for strategic route selection, especially on long journeys or in unfamiliar areas, ensuring a smooth and predictable trip.

This lesson covers the most critical category of traffic signs: regulatory signs, which impose a legal obligation or prohibition. You will learn the precise meaning and required action for essential signs such as the B6 Stop sign, which mandates a full stop, and the C2 No Entry sign, which forbids access. Understanding the shapes, colors, and symbols of these signs is fundamental to safe driving and a major focus of the official CBR theory test.

Effective communication with other road users is vital for safety. This lesson details the legal requirements and proper use of your vehicle's signaling equipment, including headlights, brake lights, and turn signals (indicators). It also explains the specific situations in which using the horn is permitted to avert danger. Finally, it covers the mandatory placement and type of reflectors that ensure your vehicle remains visible to others, especially in low-light conditions.

This lesson focuses on Dutch regulatory signs that enforce mandatory rules and restrictions, particularly those impacting A2 motorcyclists. You will learn to recognize and obey prohibition signs, such as those indicating a motorcycle ban (BORD 40), speed limits, and overtaking restrictions (BORD 21). The content explains the legal consequences of non-compliance and how to apply these rules in practical riding scenarios to ensure full adherence to Dutch traffic law.

Explore the essential administrative requirements for any Category AM vehicle owner. This lesson covers the mandatory vehicle registration process, the distinction between yellow plates for bromfietsen and blue plates for snorfietsen, and the legal obligation for third-party liability insurance (WA-verzekering). You will learn what documentation is required, the consequences of non-compliance, and how these elements are verified during traffic enforcement, ensuring your vehicle is always road-legal.
Find clear answers to common questions learners have about Cycle Paths, Bromfietspad, and Carriageways. Learn how the lesson is structured, which driving theory objectives it supports, and how it fits into the overall learning path of units and curriculum progression in the Netherlands. These explanations help you understand key concepts, lesson flow, and exam focused study goals.
A fietspad is exclusively for cyclists. A bromfietspad is a path designated for both cyclists and mopeds (bromfietsen). Specific signage will indicate which type of path it is. Always check the signs carefully.
You must use the main carriageway if there is no fietspad or bromfietspad available, or if a sign explicitly requires it. Also, if you are riding a speed pedelec (which has different rules), you generally must use the carriageway unless a specific sign permits otherwise.
Yes, snorfietsen (blue license plate) are generally treated more like bicycles and are often allowed on fietspaden where bromfietsen (yellow license plate) are not. Bromfietsen specifically need a bromfietspad or the main carriageway. Speed pedelecs have their own set of rules, often requiring carriageway use.
Shark's teeth markings (Driehoekige onderbroken strepen) primarily indicate a yield (give way) situation at an intersection or junction. While they can be present near cycle paths, their main function is to signal priority rules, not to dictate path usage itself. You must yield to traffic that has priority.
No, riding on pavements is strictly forbidden for all Category AM vehicles (bromfiets, snorfiets, speed pedelec). Pavements are reserved for pedestrians only. Always use the designated cycle paths, bromfietspaden, or the main carriageway as permitted by signs and traffic rules.