
This lesson focuses on understanding road markings and maintaining proper lane discipline, essential skills for navigating Dutch roads safely on your moped or scooter. It builds upon basic road knowledge and prepares you for specific questions on the CBR theory exam related to road layout and vehicle positioning.

Navigating Dutch roads safely and confidently requires a thorough understanding of road markings and proper lane discipline. As a rider preparing for your Dutch Category AM theory exam (moped and scooter), this knowledge is fundamental. Road markings are essentially the silent language of the road, guiding you, regulating your movements, and ensuring predictable traffic flow. They work in conjunction with traffic signs to create a clear and consistent environment for all road users.
Road markings are visual controls painted on the road surface that allocate space, indicate permissible maneuvers, and communicate the intended flow of traffic. For moped and scooter riders, correctly interpreting these markings is crucial for safe positioning, knowing when overtaking is allowed, and understanding how to interact with cyclists and other road users. Misinterpreting these markings can lead to dangerous situations and traffic violations, which are specifically tested by the CBR.
The core idea is that these markings translate legal rules into a physical language that can be perceived instantly. This consistent use of lanes, guided by markings, significantly reduces the potential for conflicts between vehicles, minimizes sudden lane changes, and provides clear expectations for everyone on the road. This forms a critical part of your overall roadway access and navigation skills, directly impacting your ability to perform safe maneuvers like lane changes and overtaking, which you will learn more about in future lessons on vehicle control.
Lane discipline refers to the requirement for every driver to stay within the bounds of their designated lane, as defined by road markings. This seemingly simple principle is a cornerstone of road safety because it guarantees spatial predictability. When all road users adhere to their lanes, everyone can anticipate the movements of others, reducing the likelihood of unexpected swerving or collisions. This is particularly vital for Category AM riders, who are often more vulnerable in traffic.
Proper lane discipline protects not only yourself but also vulnerable road users such as pedestrians and cyclists. It means adjusting your speed and positioning to remain inside the lane, respecting the type of lines (solid versus broken), and only changing lanes where explicitly permitted and safe to do so. Violating lane discipline, especially by crossing solid lines, can result in road traffic offenses and significantly increases crash risk.
White lines are the most common and fundamental type of road marking, serving various purposes from separating traffic flows to indicating the edge of the carriageway. Understanding their specific meanings is paramount for safe riding.
A solid white line, also known as a continuous white line, is painted along the edge of a lane, separating it from an adjacent lane or the edge of the carriageway. It serves as a clear and legally binding prohibition.
Practical Meaning: Where a solid white line is present, you are strictly prohibited from changing lanes, overtaking another vehicle by crossing the line, or driving over it. This rule applies to all vehicles, including mopeds and scooters. An example would be a solid line between a central lane and a dedicated cycle lane on a busy city street, ensuring motor vehicles do not encroach on the cycle space. Even a short gap in a solid line does not permit crossing; the line remains binding until a broken line explicitly appears.
Legal Requirement: According to the Dutch Traffic Regulations (RVV 1990), Article 21, paragraph 4, "A driver may not cross a solid line." This is a mandatory rule.
In contrast to a solid line, a broken white line (or dashed line) is a series of short white dashes that separate lanes moving in the same direction. These lines indicate a less restrictive rule regarding lane changes and overtaking.
Practical Meaning: When you encounter a broken white line, lane changes and overtaking maneuvers are permitted, provided they can be performed safely. This means you must assess visibility, the speed of other traffic, and ensure there is enough space to complete the maneuver without endangering yourself or others. A common misunderstanding is assuming that any broken line permits overtaking regardless of visibility or safety; riders must always assess the situation carefully.
Legal Requirement: RVV 1990, Article 21, paragraph 3, states that "A driver may change lane across broken lines if the manoeuvre can be performed safely." Always check your mirrors and blind spots before initiating a lane change.
The most restrictive type of white line marking is the double solid white line. This consists of two parallel solid white lines with no gaps, often found in areas where overtaking would be extremely dangerous.
Practical Meaning: Double solid white lines signify that no crossing or overtaking is allowed under any circumstances. This marking is often used as a central divider on high-speed arterial roads or in areas with limited visibility, such as sharp curves or hillcrests. You must remain in your lane and never cross these lines.
Legal Requirement: RVV 1990, Article 21, paragraph 5, explicitly states: "Crossing double solid lines is prohibited." There are no exceptions to this rule.
Dutch road infrastructure often includes specific provisions for bicycles and mopeds, reflected in unique road markings and signage. Category AM riders must be particularly aware of these to know where they are permitted to ride.
You will frequently encounter blue circular symbols with a white bicycle and sometimes an arrow painted on the road or displayed on a sign. These symbols are crucial for determining access to specific lanes.
Practical Meaning: When you see the blue circular sign with a white bicycle symbol, it indicates a dedicated lane that can be used by cyclists, mopeds (those with a maximum speed of 45 km/h), and speed pedelecs. Other motorised traffic is prohibited from using this lane and must remain on the main carriageway. This allows for a safer, lower-speed corridor for these vehicles. It's a common misunderstanding to assume such a lane is exclusive to bicycles; Category AM riders are permitted when this blue symbol is present.
Legal Requirement: RVV 1990, Article 40, paragraph 6, clarifies: "Mopeds may use bicycle lanes if they are specifically marked for mixed use (blue bicycle symbol)."
Cycle paths (fietspaden) are physically separated pathways primarily intended for bicycles. Their use by mopeds is strictly regulated by specific signage and markings. These paths often feature distinct pavement colours, such as red or green, to distinguish them from the main road.
Practical Meaning: Category AM vehicles may only ride on a cycle path if a specific "bromfietspad" sign is present. This sign is typically a blue circular sign with a white bicycle symbol on a red background, sometimes with "bromfiets" text. Without this specific sign, riding your moped on a standard cycle path is illegal and can endanger cyclists. This regulation ensures that higher-speed mopeds are mixed with slower cyclists only in designated, safe environments.
Legal Requirement: RVV 1990, Article 40, paragraph 7, states: "Mopeds may use a cycle path where it is signposted for mixed use." Always look for this sign before entering a cycle path.
Suggestion strips are coloured pavement markings, often yellow or orange, that appear on the road surface. Unlike solid or broken white lines, they are primarily advisory and not legally binding prohibitions.
Practical Meaning: These strips are used to organise traffic flow, particularly in complex urban areas. For instance, an orange lane at a city intersection might be designated for bicycles and bromfietsen to guide them into a specific position before turning. While not legally enforceable for AM riders in the same way as solid lines, ignoring suggestion strips can lead to unsafe behaviour, confusion for other road users, and may still be considered reckless. They serve as valuable visual cues for safe and predictable positioning.
Arrow markings are white or yellow arrows painted directly on the road surface, providing clear instructions on permissible travel directions, turning movements, or general lane usage.
Practical Meaning: Riders must strictly follow the directions indicated by these arrows. For example, a lane with a prominent left-turn arrow means that lane is exclusively for turning left. You cannot proceed straight from such a lane. Disobeying arrow markings is a traffic offense because it leads to unpredictable movements and potential collisions, especially at intersections. These arrows are particularly important in complex intersections, one-way streets, and turning bays to ensure orderly traffic flow.
Legal Requirement: RVV 1990, Article 27, paragraph 2, states: "A driver must obey road surface markings that prescribe direction."
Maintaining the correct lane positioning is a fundamental aspect of safe riding. Generally, this means keeping your moped or scooter centred within your lane, unless road markings or specific situations dictate otherwise.
Practical Meaning: Centred lane positioning ensures you have adequate clearance from adjacent vehicles, parked cars, and the edge of the road. It also helps you stay out of other drivers' blind spots and gives you space to react to sudden hazards. Riding too close to the edge of a lane, especially next to a solid line, is not only unsafe but can also be illegal if it encroaches on prohibited areas. Always strive for a consistent, central position that provides a safe buffer zone around your vehicle.
Safety Insight: Proper lane positioning gives you time and space to react. It also makes you more visible to other road users, as you are not 'hugging' the curb or tucked into a blind spot.
The Dutch Traffic Regulations and Traffic Signs (Reglement Verkeersregels en Verkeerstekens 1990, or RVV 1990) are the authoritative source for all traffic rules in the Netherlands. Several key articles directly govern the use and interpretation of road markings for Category AM riders:
Understanding these specific regulations is vital for passing your CBR theory exam and for safe riding in general.
Road markings do not always appear under ideal conditions. Various environmental and contextual factors can influence their visibility and how you should react to them.
When driving through construction zones, you will often encounter temporary markings. These can include orange cones, temporary painted lines (often yellow), and striped patterns.
Rule: Temporary road markings and signage always supersede permanent ones. You must follow the temporary guidance, as it reflects the current, altered traffic flow and safety requirements of the construction site. Ignoring these can put construction workers and yourself at severe risk.
In many Dutch cities, you will share the road with trams. Road markings play a crucial role in regulating this interaction:
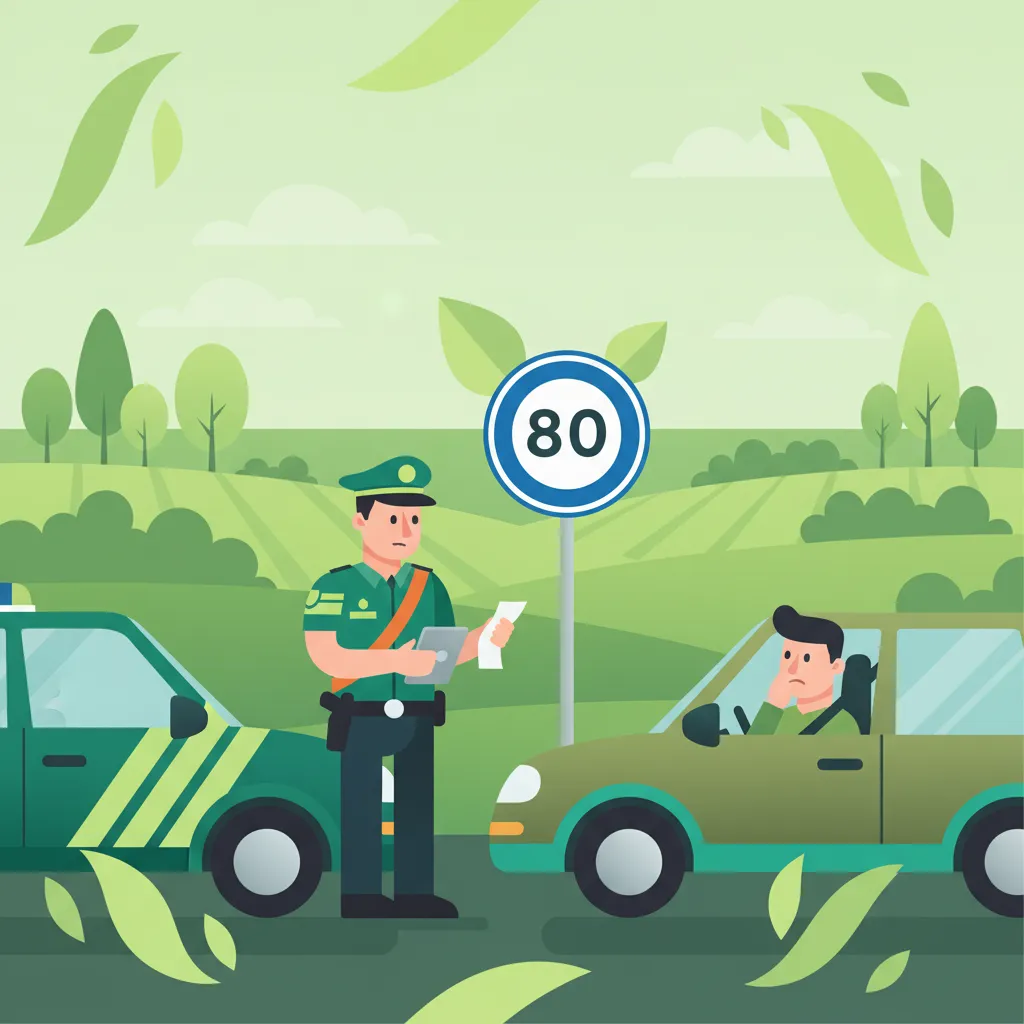
Understanding the rules is one thing; adhering to them consistently is another. Here are some common violations related to road markings and their potential consequences:
Developing good lane discipline is a skill that improves with practice and conscious effort. Here are some key takeaways:
A strong understanding of road markings and lane discipline is interconnected with many other essential topics in your Dutch Category AM theory course:
Lesson content overview
Explore all units and lessons included in this driving theory course.
Explore search topics learners often look for when studying Use of Road Markings and Lane Discipline. These topics reflect common questions about road rules, driving situations, safety guidance, and lesson level theory preparation for learners in the Netherlands.
Browse additional driving theory lessons that cover connected traffic rules, road signs, and common driving situations related to this topic. Improve your understanding of how different rules interact across everyday traffic scenarios.
Explore specific Dutch road markings like suggestion strips, arrow markings, and shared lane symbols. Understand how these guide mopeds interacting with trams, cyclists, and special zones, ensuring safe navigation and compliance with traffic laws.

Road surface markings are a crucial part of the traffic regulation system. This lesson covers the meaning of various lines, including solid versus broken center lines, edge lines, and stop lines. You will also learn to interpret symbols like 'shark's teeth' (yield markings), bicycle pictograms, and directional arrows, all of which provide essential information about priority, lane usage, and upcoming turns, directly impacting your riding decisions.

This lesson explores the legal meaning of various road surface markings, including solid and broken lane delimiters, directional arrows, and special-purpose lane indicators. It describes how markings dictate permitted maneuvers, such as overtaking and lane changes, and alert riders to upcoming hazards or changes in road layout. The content also examines the relationship between markings and road design in the Netherlands, emphasizing how a motorcyclist must interpret these visual cues for safe positioning.

This lesson provides a detailed explanation of the various markings painted on the road surface, which are as legally binding as physical signs. It clarifies the rules associated with solid and broken white lines, including restrictions on crossing them, and the function of arrows, chevrons, and text painted in lanes. A thorough understanding of these markings is fundamental for correct lane discipline, positioning, and safe maneuvering on a motorcycle.
This lesson focuses on the meaning of different road markings and their implications for motorcycle lane discipline. You will learn the legal distinction between solid and broken lines regarding overtaking, how to interpret directional arrows for lane choice, and the rules for using special lanes. The content emphasizes maintaining a safe and strategic position within the lane to maximize visibility and create a safety buffer from other vehicles.
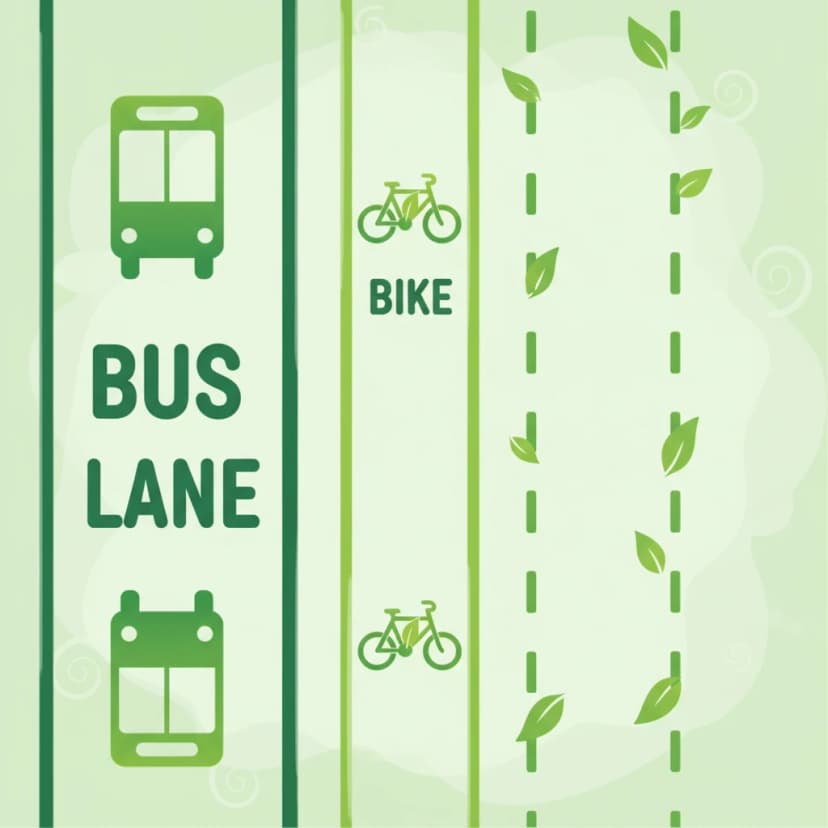
This lesson covers a variety of lanes and markings with specific rules. You will learn to recognize and respect bus lanes, which are reserved for public transport, and rush-hour lanes (spitsstrook), which are only open during busy periods as indicated by electronic signs. The curriculum also explains the meaning of different line types (solid, broken, double lines) that dictate whether lane changes or overtaking are permitted. Understanding these special lanes and markings is key to navigating Dutch infrastructure correctly.

Riding in Dutch cities often means interacting with trams, which present unique risks for two-wheeled vehicles. This lesson details the absolute priority that trams have in most situations and explains how to interpret specific tram traffic signals. It provides crucial safety techniques for crossing tram tracks at a safe angle to prevent your wheels from getting stuck and emphasizes maintaining a safe distance from moving trams, which is a vital aspect of urban hazard perception.

This lesson addresses the unique priority rules concerning trams in urban environments, clarifying that trams generally have priority unless signs or signals indicate otherwise. It explains the specific hazards motorcyclists face, such as slippery tracks (especially in wet conditions) and the long stopping distance of trams. Riders will learn how to safely cross tram lines, navigate shared lanes, and correctly interpret tram-specific traffic signals to avoid dangerous conflicts.

This lesson is critical for driving in the Netherlands, a country with more bicycles than people. You will learn about the different types of cycle paths and how priority rules apply, especially at junctions. The content stresses the importance of checking the blind spot for cyclists before turning right ('dode hoek'). It also covers the rules for different types of mopeds (snorfiets and bromfiets) and the importance of giving all two-wheeled road users ample space when overtaking.

This lesson clarifies the regulations determining where each type of Category AM vehicle is allowed to travel. It explains the rules for using mandatory cycle paths (fietspad) and combined moped/cycle paths (bromfietspad), identified by specific road signs. You will also learn the conditions under which a bromfiets must use the main carriageway. Understanding these positioning rules is essential for legal compliance and for ensuring safety in mixed traffic environments with cyclists and cars.

This lesson explains how to interpret informational signs that provide guidance and navigational aid. You will learn to read directional signs indicating cities and locations, understand route numbering on major roads, and recognize signs for services like fuel stations or parking areas. It also covers the signs that mark the beginning and end of a built-up area ('bebouwde kom'), which have important implications for speed limits and traffic rules.
Understand the legal framework behind lane discipline and road markings according to Dutch traffic regulations (RVV 1990). Learn about the specific articles governing line usage and the consequences of violations for moped riders.
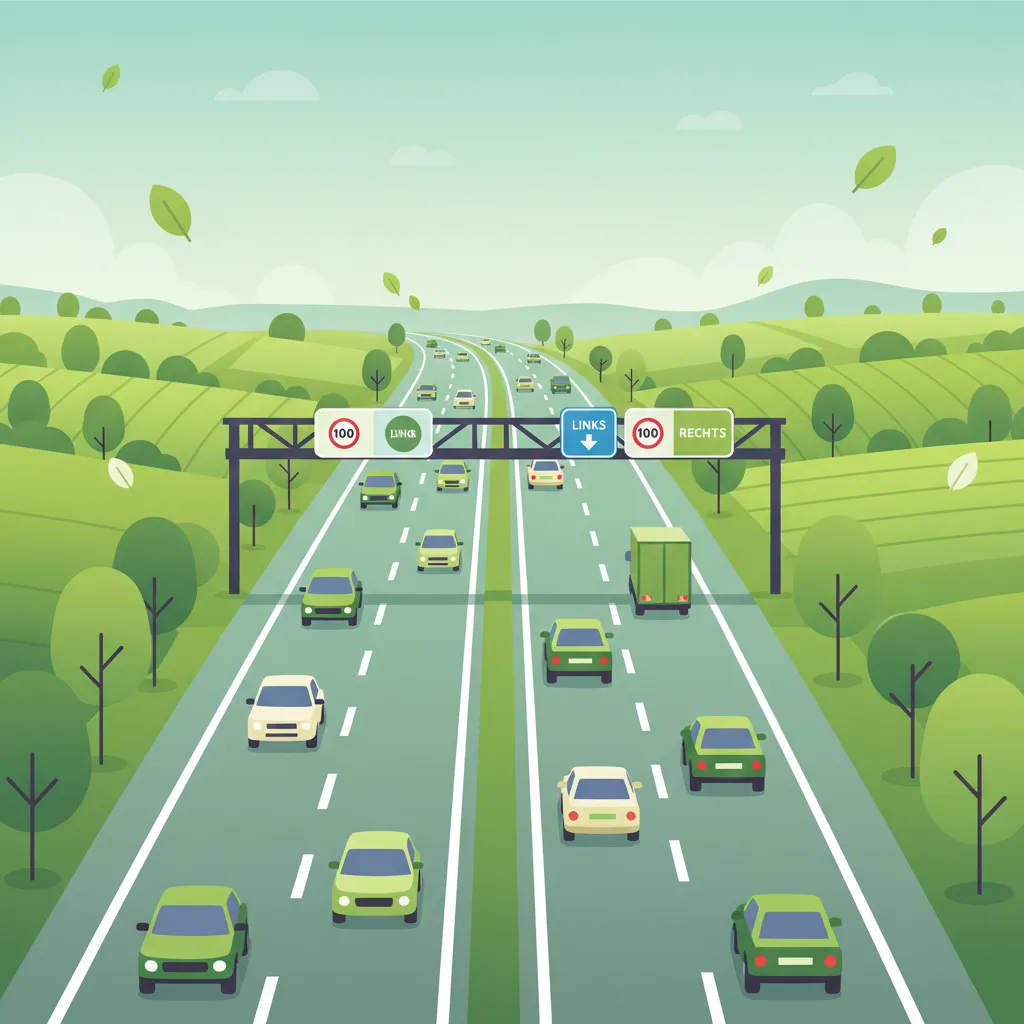
This lesson covers the specific articles of the Dutch Road Traffic Act that apply to motorways, with a primary focus on the strict rule of keeping to the rightmost available lane unless overtaking. It explains the legal and safety reasons for only passing on the left and discusses the correct positioning within a lane for maximum visibility and safety. The content also addresses the nuances of lane usage during heavy congestion, ensuring riders comply with the law and contribute to smooth traffic flow.
This lesson focuses on the meaning of different road markings and their implications for motorcycle lane discipline. You will learn the legal distinction between solid and broken lines regarding overtaking, how to interpret directional arrows for lane choice, and the rules for using special lanes. The content emphasizes maintaining a safe and strategic position within the lane to maximize visibility and create a safety buffer from other vehicles.

This lesson reinforces the fundamental rule of Dutch highway driving: use the rightmost lane available and use the lanes to the left only for overtaking. You will learn the complete, safe overtaking procedure: check mirrors, signal, perform a shoulder check for the blind spot, smoothly move over, accelerate past the vehicle, and then return to the right lane when safe.
This lesson covers a variety of lanes and markings with specific rules. You will learn to recognize and respect bus lanes, which are reserved for public transport, and rush-hour lanes (spitsstrook), which are only open during busy periods as indicated by electronic signs. The curriculum also explains the meaning of different line types (solid, broken, double lines) that dictate whether lane changes or overtaking are permitted. Understanding these special lanes and markings is key to navigating Dutch infrastructure correctly.
This lesson explores the legal meaning of various road surface markings, including solid and broken lane delimiters, directional arrows, and special-purpose lane indicators. It describes how markings dictate permitted maneuvers, such as overtaking and lane changes, and alert riders to upcoming hazards or changes in road layout. The content also examines the relationship between markings and road design in the Netherlands, emphasizing how a motorcyclist must interpret these visual cues for safe positioning.
This lesson provides a detailed explanation of the various markings painted on the road surface, which are as legally binding as physical signs. It clarifies the rules associated with solid and broken white lines, including restrictions on crossing them, and the function of arrows, chevrons, and text painted in lanes. A thorough understanding of these markings is fundamental for correct lane discipline, positioning, and safe maneuvering on a motorcycle.
This lesson outlines the significant penalties for driving under the influence in the Netherlands. You will learn about the scale of fines, the potential for an immediate driving ban (rijverbod), and the circumstances under which a driver's license can be suspended or revoked. The curriculum also covers the mandatory and costly educational courses (like LEMA or EMG) that convicted drivers may be forced to attend to regain their driving privileges. A DUI conviction results in a criminal record, which can have long-lasting personal and professional consequences.

This lesson details the specific regulations for driving on Dutch motorways, identifiable by the G1 sign. You will learn the correct procedure for joining the flow of traffic using the acceleration lane and for leaving via the deceleration lane. The curriculum reinforces the 'keep right unless overtaking' rule for lane discipline. It also explains that stopping is strictly forbidden, and the hard shoulder (vluchtstrook) may only be used for genuine emergencies.

This lesson covers the core principle of road positioning in the Netherlands: drive as far to the right as is safely possible. You will learn why this rule is critical for maintaining traffic flow and preventing conflicts with oncoming and overtaking vehicles. The curriculum explains how to apply this rule on different road types, from single-lane rural roads to multi-lane motorways. It also discusses maintaining a safe lateral distance from the edge of the road, parked cars, and vulnerable road users like cyclists.
This lesson covers the full range of lights and signals required on a vehicle for visibility and communication. You will learn about the mandatory requirements for headlights, taillights, brake lights, indicators, and reflectors. The curriculum emphasizes the driver's legal responsibility to ensure all lights are clean and functional before every journey. The correct use and function of the horn as an audible warning device in case of imminent danger are also explained.
Find clear answers to common questions learners have about Use of Road Markings and Lane Discipline. Learn how the lesson is structured, which driving theory objectives it supports, and how it fits into the overall learning path of units and curriculum progression in the Netherlands. These explanations help you understand key concepts, lesson flow, and exam focused study goals.
A solid white line typically indicates that you must not cross it, separating traffic lanes going in the same direction or marking the edge of the carriageway. A broken white line usually signifies that crossing is permitted when safe, such as for overtaking or changing lanes. For AM category riders, understanding these distinctions is crucial for maintaining correct lane discipline.
Generally, mopeds (bromfietsen) are not allowed on regular bicycle paths (fietspad) unless there is a specific blue sign (G11) indicating 'bromfietsers toegestaan' (mopeds allowed). Snorfietsen may have different rules depending on the municipality. This lesson clarifies the specific markings and signs that permit or prohibit moped use on cycle paths.
Road arrows indicate the mandatory direction of travel for a specific lane or section of the road. You must follow the direction indicated by the arrow in your lane. If there are multiple arrows, you may have a choice, but you must follow one of them. Incorrectly following arrows is a common mistake in theory exams.
Suggestion strips are the short, transverse white lines painted on the road surface, often before an intersection or hazard. They are designed to alert drivers to reduce speed. While they don't have a specific legal mandate for mopeds to slow down, they serve as a visual cue to anticipate a potential hazard or change in road layout.
Lane discipline for AM category vehicles involves positioning yourself correctly within your designated lane or path (e.g., bromfietspad, cycle path if permitted, or main carriageway). This means riding predictably, signaling intentions clearly, and maintaining a safe distance. This lesson covers how road markings guide this positioning, especially when overtaking or merging.