
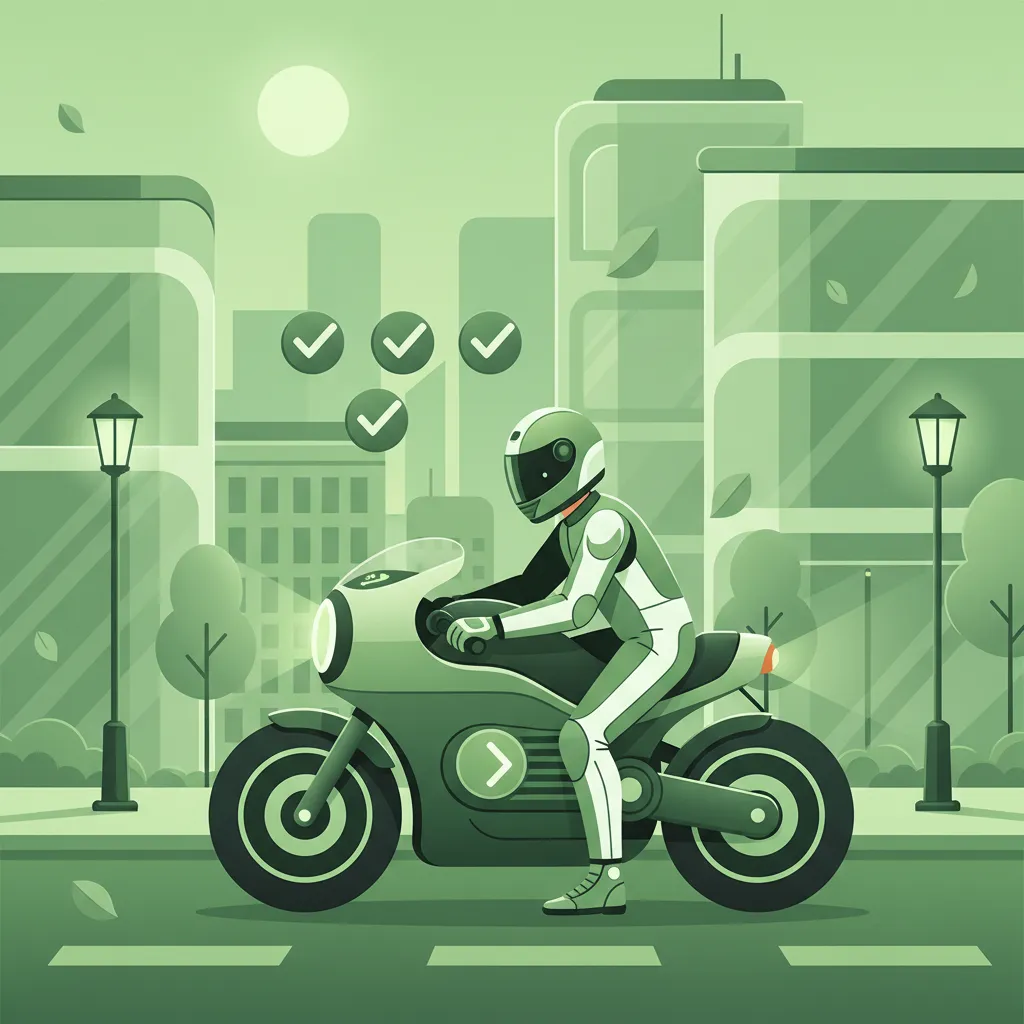
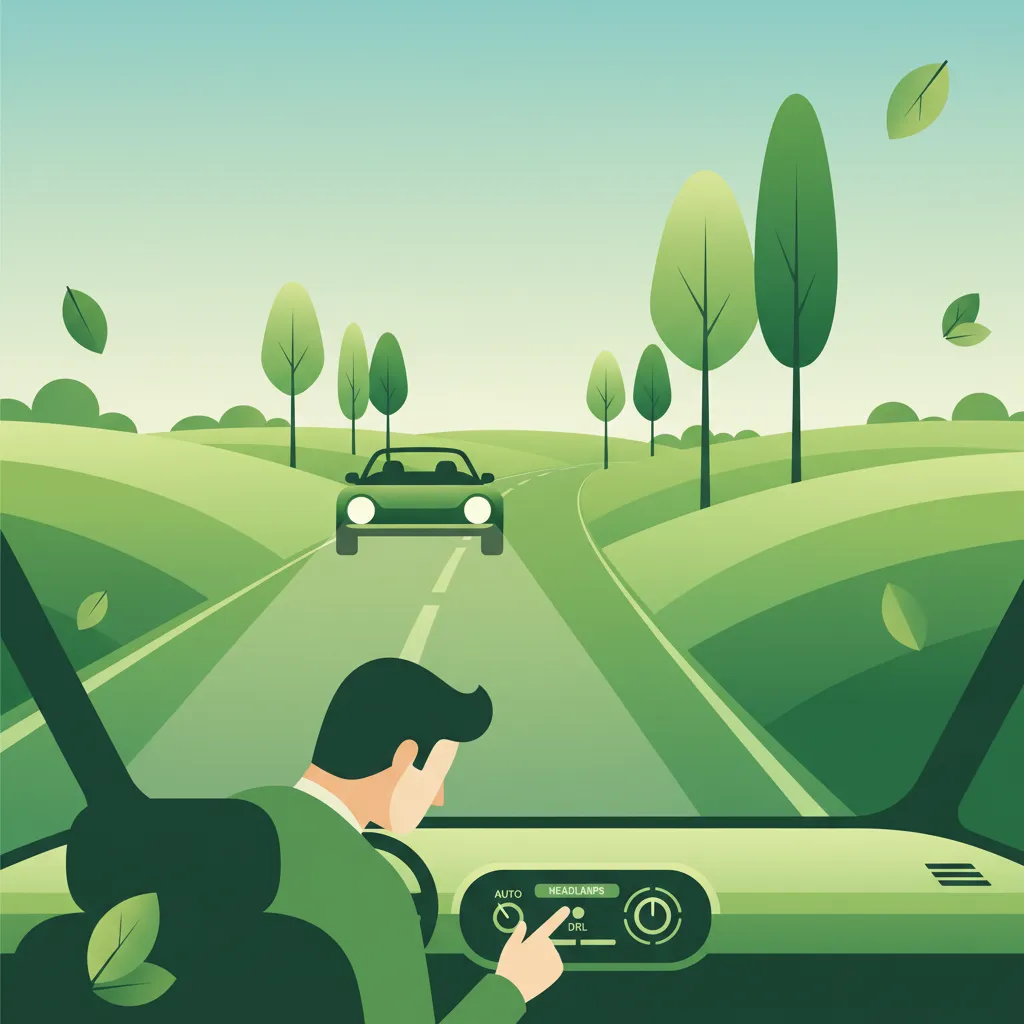
Before every ride, ensuring your motorcycle's lights and indicators are functioning is crucial for safety and legal compliance. This lesson in the Category A curriculum focuses on the systematic checks you must perform, covering headlights, taillights, brake lights, and turn signals. Mastering these simple yet vital checks prepares you for practical riding and specific questions on the Dutch CBR theory exam.

Als motorrijder in Nederland is het cruciaal om de functionaliteit van alle verlichtings- en signaleringsapparatuur op uw motorfiets grondig te controleren vóór elke rit. Deze systematische pre-ritinspectie is niet alleen een wettelijke verplichting onder de Nederlandse verkeerswetgeving, maar ook een fundamenteel aspect van uw veiligheid en die van andere weggebruikers. Deze les behandelt de gedetailleerde procedure voor het testen van uw grootlicht, dimlicht, achterlicht, remlicht (geactiveerd door zowel de voor- als achterrem), en alle vier de richtingaanwijzers, inclusief de alarmlichten. Een goed werkende verlichting en signalering is van levensbelang voor uw zichtbaarheid en het duidelijk communiceren van uw intenties aan iedereen op de weg.
De verlichtings- en signaleringssystemen van uw motorfiets zijn meer dan alleen accessoires; ze zijn vitale veiligheidscomponenten die een directe invloed hebben op uw vermogen om veilig te rijden en geïdentificeerd te worden door anderen. Voordat u de weg op gaat, met name als onderdeel van uw uitgebreide voorbereiding op het Nederlandse CBR Categorie A motorrijbewijs, is het essentieel om te begrijpen waarom deze controles zo belangrijk zijn.
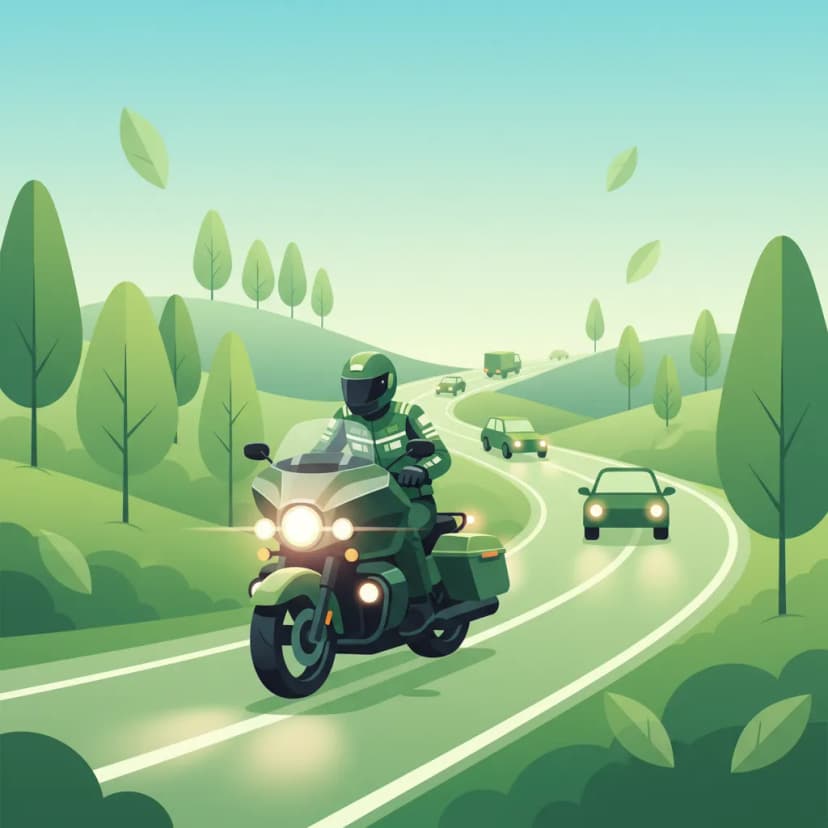
Motorfietsen zijn van nature minder zichtbaar dan auto's, wat ze kwetsbaarder maakt in het verkeer. Functionerende koplampen, achterlichten en remlichten vergroten de detectieafstand en geven andere weggebruikers voldoende tijd om te reageren. Dit is vooral kritiek bij verminderd zicht, zoals in de schemering, 's nachts, bij mist of hevige regenval. Een goed verlichte motorfiets kan het verschil betekenen tussen gezien worden en over het hoofd worden gezien.
De Nederlandse wetgeving, met name het Reglement Verkeersregels en Verkeerstekens 1990 (RVV 1990), stelt duidelijke eisen aan de verlichting en signalering van motorvoertuigen. Het niet voldoen aan deze eisen kan leiden tot boetes, strafpunten, en in het geval van een ongeval, tot aansprakelijkheid. Een periodieke technische controle (APK) voor motorfietsen omvat ook een grondige inspectie van alle verlichtingscomponenten.
Richtingaanwijzers en remlichten zijn uw primaire middelen om uw intenties te communiceren naar andere weggebruikers. Of u nu van rijstrook wilt wisselen, een afslag neemt of afremt, duidelijke en correct functionerende signalen voorkomen misverstanden en dragen bij aan een soepele verkeersstroom. Verwarring over uw intenties is een veelvoorkomende oorzaak van ongelukken.
Elk licht op uw motorfiets heeft een specifieke functie en draagt bij aan de algehele veiligheid en naleving van de wet. Een grondig begrip van elk component is de basis voor effectieve controles.
Het grootlicht produceert een heldere, langere witte lichtstraal die bedoeld is voor gebruik op onverlichte wegen buiten de bebouwde kom. Het vergroot uw zicht aanzienlijk, vaak tot wel 120 meter vooruit. Het gebruik ervan is echter strikt gereguleerd om verblinding van tegenliggers te voorkomen.
Gebruik het grootlicht alleen wanneer er geen tegenliggers of verkeer voor u rijdt dat verblind kan worden. Schakel tijdig over op dimlicht.
Het dimlicht is de standaard koplampinstelling die een kortere, gerichte witte lichtbundel geeft. Deze is ontworpen om de weg direct voor u te verlichten (ongeveer 30-50 meter) zonder tegemoetkomend verkeer te verblinden. Het gebruik van dimlicht is verplicht bij duisternis, schemering en bij verminderde zichtbaarheid overdag (bijvoorbeeld door mist of regen).
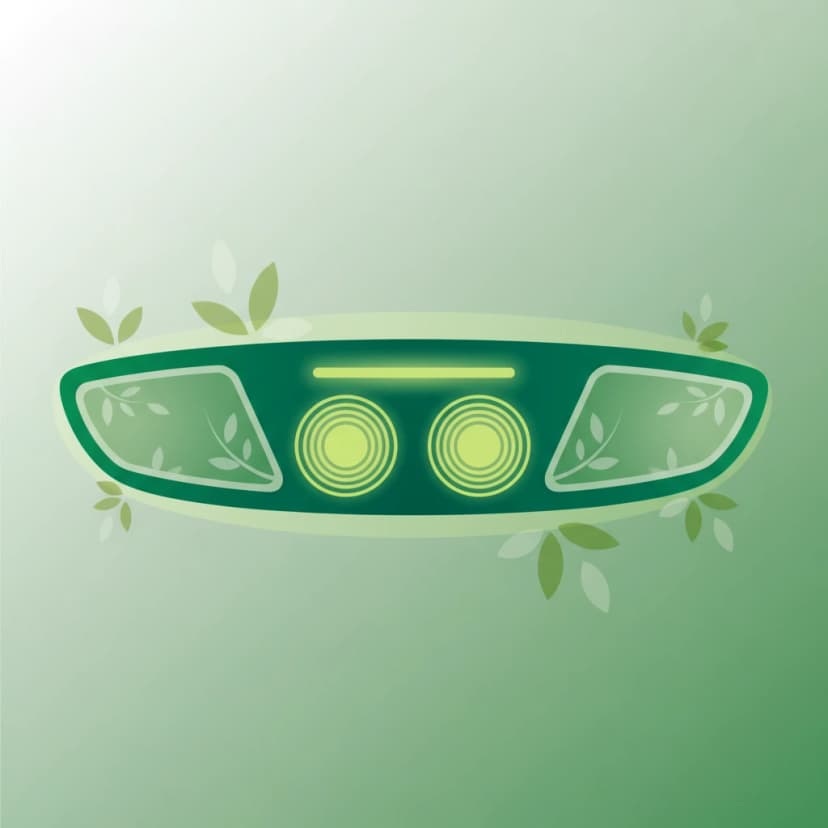
Het achterlicht is een rood licht aan de achterzijde van de motorfiets dat continu brandt zodra de motor in bedrijf is. De belangrijkste functie is het aangeven van de aanwezigheid en positie van de motorfiets aan achteropkomend verkeer, vooral bij slechte weersomstandigheden of in het donker.
Remlichten zijn rode lichten die activeren wanneer u de remmen bedient, wat aangeeft dat u vertraagt of stopt. Bij motorfietsen is het cruciaal dat beide remlichten (indien aanwezig, voorrem en achterrem) correct functioneren, ongeacht welke remhendel of pedaal u gebruikt. Dit waarschuwt zowel achteropkomend als inhalend verkeer (via het voorste remlicht, indien gemonteerd) voor uw intentie om te decelereren.
De richtingaanwijzers zijn oranje knipperende lichten die uw intentie tot een richtingsverandering (afslag, rijstrookwissel) communiceren. Ze moeten met een specifieke frequentie knipperen (meestal tussen 60 en 120 keer per minuut) en moeten tijdig worden geactiveerd om andere weggebruikers voldoende waarschuwing te geven.
Alarmlichten, ook wel waarschuwingsknipperlichten genoemd, activeren alle vier de richtingaanwijzers tegelijkertijd. Ze zijn bedoeld om andere weggebruikers te waarschuwen voor een onverwachte stop of een gevaarlijke situatie, bijvoorbeeld bij pech langs de weg. Het gebruik ervan is strikt beperkt tot dergelijke noodsituaties en mag niet worden gebruikt voor het aangeven van een afslag of rijstrookwissel.
Moderne motorfietsen kunnen zijn uitgerust met aanvullende verlichting, zoals dagrijverlichting (DRL). Deze witte of oranje lichten verbeteren de zichtbaarheid overdag en zijn vaak permanent aan wanneer de motor draait. Hoewel ze de dimlichten niet vervangen bij duisternis of verminderd zicht, dragen ze bij aan de algehele zichtbaarheid.
Een systematische pre-ritcontrole is essentieel om ervoor te zorgen dat alle verlichting correct functioneert. Neem hier altijd de tijd voor, zelfs voor korte ritten.
Controleer de Voorzijde (Grootlicht en Dimlicht): Schakel de motorfiets in (hoeft niet te starten) en zet de verlichting aan. Wissel tussen grootlicht en dimlicht en controleer of beide correct branden en de juiste lichtsterkte hebben. Kijk of de lichtbundel niet te hoog of te laag is afgesteld.
Controleer het Achterlicht: Loop naar de achterkant van de motorfiets en controleer of het rode achterlicht continu brandt.
Test de Remlichten (Voor- en Achterrem):
Druk de voorremhendel in en controleer of het remlicht direct en helder oplicht (of knippert, afhankelijk van het type).
Druk het achterrempedaal in en controleer of het remlicht direct en helder oplicht (of knippert, afhankelijk van het type).
Vraag indien mogelijk een vriend om te helpen bij de controle, of gebruik een reflecterend oppervlak (muur, raam) om de achterlichten te zien.
Test de Richtingaanwijzers (Links en Rechts):
Schakel de linker richtingaanwijzer in en controleer of zowel de voor- als achteraanwijzer aan de linkerkant knipperen met de juiste frequentie (60-120 flitsen per minuut) en helderheid.
Test de Alarmlichten: Schakel de alarmlichten in en controleer of alle vier de richtingaanwijzers (voor en achter, links en rechts) tegelijkertijd knipperen.
Controleer Hulpverlichting (indien aanwezig): Verifieer de functionaliteit van eventuele dagrijverlichting of andere hulpverlichting.
Algemene Visuele Inspectie: Controleer of alle lampglazen schoon zijn en niet gebarsten of beslagen. Zorg dat de kleur van de lichten correct is (wit/amber voorin, rood achterin, amber voor richtingaanwijzers).
De functionaliteit van uw motorfietsverlichting is direct gekoppeld aan specifieke artikelen in het Reglement Verkeersregels en Verkeerstekens 1990 (RVV 1990) en het Voertuigreglement. Het kennen van deze regels is cruciaal voor elke motorrijder in de Dutch Motorcycle Theory – Category A Comprehensive Preparation cursus.
| Artikel RVV 1990 | Regelomschrijving | Toepasbaarheid | Rationale |
|---|---|---|---|
| Art. 44 § 2 | Dimlicht moet worden gebruikt bij verminderde zichtbaarheid (bv. 's nachts, in mist). | Alle verkeerssituaties met zicht < 200 m. | Garandeert voertuigdetectie. |
| Art. 44 § 3 | Grootlicht mag worden gebruikt op onverlichte wegen wanneer het geen tegenliggers verblindt. | Landelijke of snelweggedeelten zonder straatverlichting. | Verhoogt het zichtbereik. |
| Art. 44 § 5 | Rood achterlicht moet branden wanneer het voertuig in beweging is. | Continu tijdens het rijden. | Achteropkomend verkeer kan het voertuig lokaliseren. |
| Art. 44 § 6 | Remlichten moeten oplichten (of knipperen, indien van toepassing) wanneer remmen worden bediend. | Bij elke remactie (voor of achter). | Waarschuwt achteropkomend verkeer voor vertraging. |
| Art. 44 § 7 | Richtingaanwijzers moeten ten minste 3 seconden voor een rijstrookwissel of afslag worden geactiveerd; knipperfrequentie 60-120 flitsen/min. | Alle afslag- of rijstrookwisselmanoeuvres. | Zorgt voor voorspelbare signalering. |
| Art. 44 § 8 | Alarmlichten mogen alleen worden gebruikt om gevaar of een stilstaand voertuig te signaleren; niet voor afslaan. | Wanneer het voertuig gestopt is door een noodsituatie of pech. | Voorkomt dubbelzinnige signalering. |
| Voertuigreglement Art. 5.10.5 | Alle verlichtingsinrichtingen moeten functioneel zijn voor de APK-keuring. | Tijdens de tweejaarlijkse verplichte inspectie. | Garandeert verkeerswaardigheid. |
De specifieke knipperfrequentie van 60-120 flitsen per minuut voor richtingaanwijzers is een belangrijke eis. Een afwijkende frequentie kan leiden tot boetes en is moeilijker te interpreteren voor andere weggebruikers.
Ondanks de duidelijke regels komen er regelmatig overtredingen en gevaarlijke situaties voor als gevolg van defecte of verkeerd gebruikte verlichting.
De manier waarop u uw motorverlichting gebruikt, moet flexibel zijn en aangepast aan de specifieke omstandigheden van de rit.
Bij zware regenval, mist of sneeuw moet u altijd uw dimlicht inschakelen, zelfs overdag, aangezien het zicht aanzienlijk is verminderd (vaak onder de 200 meter). Dagrijverlichting is dan vaak onvoldoende. Zorg ervoor dat uw achterlicht goed zichtbaar is en overweeg om een veilige volgafstand aan te houden, gezien de langere reactietijden.
Een zware belading of een aanhanger kan de elektrische belasting van uw motorfiets verhogen, wat kan leiden tot zwakkere lichten. Controleer ook altijd de batterijstatus; een lage batterijspanning kan de lichtopbrengst verminderen en leiden tot onbetrouwbare lichtprestaties. Een lichte vertraging in de activering van een remlicht (meer dan 0,2 seconden) moet als een storing worden beschouwd en direct worden verholpen.
De relatie tussen goed functionerende verlichting en verkeersveiligheid is direct en meetbaar.
Om de theorie in de praktijk te brengen, hier enkele scenario's die u als motorrijder kunt tegenkomen:
Nachtelijke Rit op een Landweg:
Regenachtig Stadskruispunt:
Pech op de Snelwegberm:
Deze les vormt een essentiële basis voor het veilig en wettelijk verantwoord deelnemen aan het verkeer als motorrijder in Nederland. Regelmatige controles en een correct gebruik van uw verlichting dragen direct bij aan uw veiligheid en die van anderen.
Lesson content overview
Explore all units and lessons included in this driving theory course.
Explore search topics learners often look for when studying Light and Indicator Functionality Tests. These topics reflect common questions about road rules, driving situations, safety guidance, and lesson level theory preparation for learners in the Netherlands.
Browse additional driving theory lessons that cover connected traffic rules, road signs, and common driving situations related to this topic. Improve your understanding of how different rules interact across everyday traffic scenarios.
Understand the specific Dutch legal requirements (RVV 1990) for all motorcycle lights, including headlights, taillights, brake lights, and indicators. Ensure your vehicle complies with traffic regulations for safe and legal riding.
This lesson covers the mandatory lighting and signaling equipment for A2 motorcycles under Dutch law, ensuring you remain visible and communicate your intentions correctly. You will learn the rules for using headlights, taillights, turn signals, and brake lights in various conditions, including daytime and adverse weather. The content also addresses the importance of maintaining this equipment and using hand signals as a valid secondary method of communication in traffic.
This lesson covers the full range of lights and signals required on a vehicle for visibility and communication. You will learn about the mandatory requirements for headlights, taillights, brake lights, indicators, and reflectors. The curriculum emphasizes the driver's legal responsibility to ensure all lights are clean and functional before every journey. The correct use and function of the horn as an audible warning device in case of imminent danger are also explained.

Riding at night presents two main challenges: seeing the road and being seen by others. This lesson covers the legal requirements for your vehicle's lighting system and how to use it effectively, including when to use high beams. It also emphasizes strategies to increase your own conspicuity, such as wearing bright or reflective clothing. You will learn how darkness affects your perception of speed and distance and how to adapt your riding to compensate for these limitations.

Effective communication with other road users is vital for safety. This lesson details the legal requirements and proper use of your vehicle's signaling equipment, including headlights, brake lights, and turn signals (indicators). It also explains the specific situations in which using the horn is permitted to avert danger. Finally, it covers the mandatory placement and type of reflectors that ensure your vehicle remains visible to others, especially in low-light conditions.

Your vehicle's lights and horn are your primary tools for seeing, being seen, and communicating warnings. This lesson guides you through a simple but vital check of all electrical components before you ride. You will learn how to verify the function of your headlight (high and low beam), taillight, brake light (using both front and rear brake levers), and turn signals. It also covers checking the horn's operation and ensuring all mandatory reflectors are clean and intact.
This lesson provides a comprehensive overview of all light and audible signals mandated by Dutch traffic law, detailing when and how each must be used for optimal visibility and communication. It covers the correct use of headlights, turn signals, and hazard lights, as well as the legally appropriate situations for using the horn to alert other road users. The curriculum clarifies legal requirements for lighting equipment and the potential penalties for misuse, ensuring riders can signal their intentions clearly and legally.
This lesson goes beyond the legal requirements of lighting to teach you how to use it strategically to stand out in traffic. You will learn the importance of always riding with your low-beam headlight on, and the appropriate, considerate use of the high beam to make yourself more noticeable from a distance. The content also covers using turn signals well in advance and tapping the brakes to flash the brake light before slowing.
This lesson focuses on the dual challenge of visibility: seeing the road ahead and ensuring other drivers see you. It covers the legal requirements and tactical use of headlights ('koplampen'), including when to use high and low beams, and the importance of daytime running lights. Additionally, it explores strategies for enhancing personal conspicuity through high-visibility and reflective clothing, and using lane positioning to stand out in traffic and avoid blind spots.

This lesson details the functions of the various lights on a car and the legal requirements for their use. You will learn the difference between dipped beams (dimlicht), which are the standard headlights for night driving and poor visibility, and main beams (grootlicht), which can only be used when they won't dazzle other road users. The content also covers the use of sidelights (stadslicht) for parking and the automatic function of Daytime Running Lights (DRLs). Correct usage is vital for visibility and avoiding blinding other drivers.

This lesson covers the universal Dutch road rules with a specific focus on their application to light motorcycles. It details the various speed limits for different road types, from urban areas to motorways, and explains the correct procedures for overtaking and lane positioning. The legal aspects of lane filtering in congestion are also examined, alongside mandatory equipment use like daytime running lights, to ensure riders can integrate safely and legally into traffic flow.
Explore practical strategies for using your motorcycle's lights and indicators to enhance visibility and communicate intentions effectively in diverse Dutch traffic scenarios, including adverse weather and night riding.
This lesson covers the mandatory lighting and signaling equipment for A2 motorcycles under Dutch law, ensuring you remain visible and communicate your intentions correctly. You will learn the rules for using headlights, taillights, turn signals, and brake lights in various conditions, including daytime and adverse weather. The content also addresses the importance of maintaining this equipment and using hand signals as a valid secondary method of communication in traffic.
This lesson focuses on the dual challenge of visibility: seeing the road ahead and ensuring other drivers see you. It covers the legal requirements and tactical use of headlights ('koplampen'), including when to use high and low beams, and the importance of daytime running lights. Additionally, it explores strategies for enhancing personal conspicuity through high-visibility and reflective clothing, and using lane positioning to stand out in traffic and avoid blind spots.
This lesson goes beyond the legal requirements of lighting to teach you how to use it strategically to stand out in traffic. You will learn the importance of always riding with your low-beam headlight on, and the appropriate, considerate use of the high beam to make yourself more noticeable from a distance. The content also covers using turn signals well in advance and tapping the brakes to flash the brake light before slowing.
This lesson provides a comprehensive overview of all light and audible signals mandated by Dutch traffic law, detailing when and how each must be used for optimal visibility and communication. It covers the correct use of headlights, turn signals, and hazard lights, as well as the legally appropriate situations for using the horn to alert other road users. The curriculum clarifies legal requirements for lighting equipment and the potential penalties for misuse, ensuring riders can signal their intentions clearly and legally.
This lesson covers the full range of lights and signals required on a vehicle for visibility and communication. You will learn about the mandatory requirements for headlights, taillights, brake lights, indicators, and reflectors. The curriculum emphasizes the driver's legal responsibility to ensure all lights are clean and functional before every journey. The correct use and function of the horn as an audible warning device in case of imminent danger are also explained.
Effective communication with other road users is vital for safety. This lesson details the legal requirements and proper use of your vehicle's signaling equipment, including headlights, brake lights, and turn signals (indicators). It also explains the specific situations in which using the horn is permitted to avert danger. Finally, it covers the mandatory placement and type of reflectors that ensure your vehicle remains visible to others, especially in low-light conditions.

This lesson addresses the dual challenge of poor visibility: being able to see the road ahead and ensuring other road users can see you. It covers techniques for riding in fog and heavy rain, such as using appropriate lights and reducing speed to match sight distance. The lesson also discusses practical issues like helmet visor fogging and the importance of wearing high-visibility or reflective clothing to enhance conspicuity in low-light conditions.
Riding at night presents two main challenges: seeing the road and being seen by others. This lesson covers the legal requirements for your vehicle's lighting system and how to use it effectively, including when to use high beams. It also emphasizes strategies to increase your own conspicuity, such as wearing bright or reflective clothing. You will learn how darkness affects your perception of speed and distance and how to adapt your riding to compensate for these limitations.
Your vehicle's lights and horn are your primary tools for seeing, being seen, and communicating warnings. This lesson guides you through a simple but vital check of all electrical components before you ride. You will learn how to verify the function of your headlight (high and low beam), taillight, brake light (using both front and rear brake levers), and turn signals. It also covers checking the horn's operation and ensuring all mandatory reflectors are clean and intact.
This lesson details the functions of the various lights on a car and the legal requirements for their use. You will learn the difference between dipped beams (dimlicht), which are the standard headlights for night driving and poor visibility, and main beams (grootlicht), which can only be used when they won't dazzle other road users. The content also covers the use of sidelights (stadslicht) for parking and the automatic function of Daytime Running Lights (DRLs). Correct usage is vital for visibility and avoiding blinding other drivers.
Find clear answers to common questions learners have about Light and Indicator Functionality Tests. Learn how the lesson is structured, which driving theory objectives it supports, and how it fits into the overall learning path of units and curriculum progression in the Netherlands. These explanations help you understand key concepts, lesson flow, and exam focused study goals.
For the Dutch CBR theory exam, you must know about the headlight (high and low beam), taillight, brake light (activated by both front and rear brakes), and turn signals (indicators). Ensuring all these function correctly is a legal requirement and a common topic in the exam.
To check your brake light, you need to activate both the front and rear brake levers/pedals separately while observing the rear brake light. Ensure it illuminates when either brake is applied and extinguishes when released.
If your indicators flash too fast or not at all, it often means a bulb is burnt out or there's an electrical fault. This needs to be fixed immediately, as functioning indicators are essential for communicating your intentions and are a critical safety and legal requirement.
Yes, performing a quick check of all your lights and indicators before every ride is highly recommended and a legal obligation in the Netherlands. This simple pre-ride inspection ensures you are visible and can signal your intentions, preventing potential accidents and fines.
Yes, Dutch law requires motorcycles to have functioning headlights (usually on during daytime), taillights, brake lights, and turn signals. This lesson covers the practical checks to ensure compliance and safety.