
Before you hit the road on your moped or scooter, ensuring your vehicle is visible and audible is paramount. This lesson, part of the 'Safety Equipment & Vehicle Checks' unit, covers the crucial pre-ride inspection of your vehicle's lights, horn, and reflectors. It's vital for both your safety and for passing the CBR theory exam.
Operating a moped or scooter (Category AM vehicle) on Dutch roads requires more than just knowing how to ride; it demands a thorough understanding and consistent application of traffic laws, especially concerning vehicle lighting, reflectors, and audible warnings. These components form your vehicle's primary visibility and communication system, crucial for your safety and the safety of all other road users. This lesson will guide you through the functionality, legal requirements, and essential pre-ride checks for these vital systems, ensuring you're well-prepared for any situation on Dutch roads.
Your ability to see and be seen, along with effectively communicating your intentions and warnings, significantly reduces the risk of collisions. Headlights illuminate your path and make you visible from the front, while taillights and reflectors ensure you are seen from behind and the sides, especially in low-light conditions. Brake lights clearly signal your intention to slow down or stop, and turn signals communicate your planned changes in direction. The horn serves as a critical warning device in immediate danger situations. Together, these systems create a predictable traffic environment, allowing drivers and vulnerable road users to anticipate your movements and react safely.
Dutch traffic law, primarily outlined in the Reglement Verkeersregels en Verkeerstekens 1990 (RVV 1990), specifies mandatory requirements for all vehicles, including mopeds and scooters. Article 10 of the RVV 1990 details provisions for lighting, reflectors, and audible warning devices, ensuring a uniform signalling language across all vehicle types. Compliance with these regulations is not only a legal obligation but a fundamental aspect of safe riding. Failing to meet these standards can lead to fines, increased liability in the event of an accident, and most importantly, a heightened risk of collisions.
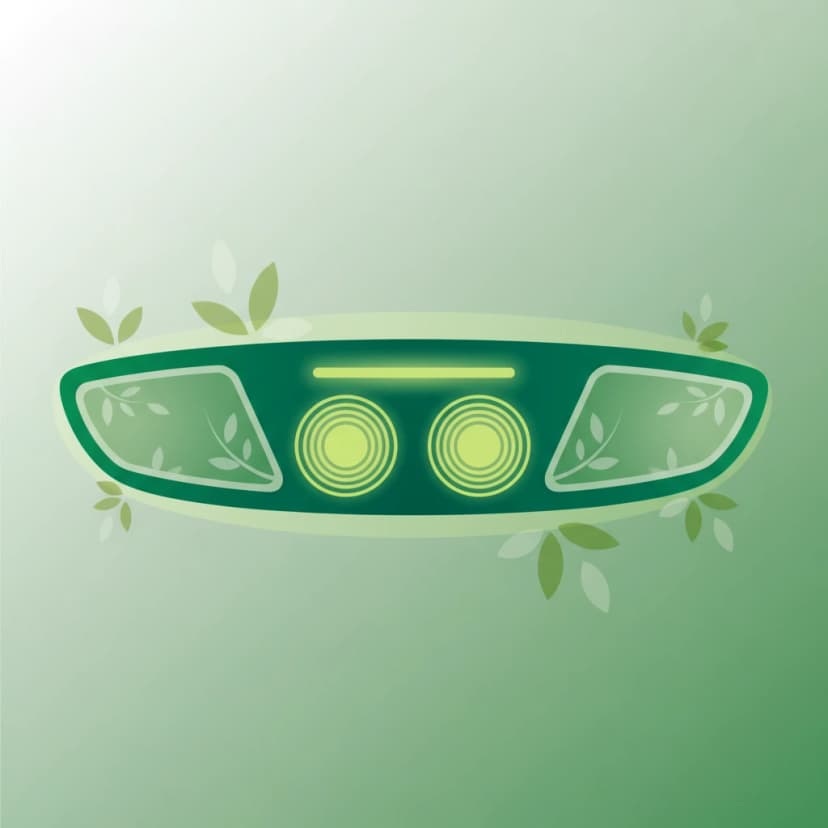
Headlights are your primary means of illumination and forward visibility. Modern mopeds and scooters typically come equipped with advanced lighting technologies, but the fundamental rules of their use remain the same.
The low beam, also known as the dipped headlight, projects a wide, relatively short-range cone of light downwards and forwards. This design minimizes glare for oncoming traffic while still providing sufficient illumination of the road directly ahead and to the sides. It is the most frequently used headlight setting.
In the Netherlands, the low beam is mandatory from sunset to sunrise, and at any time of day when visibility is significantly reduced, such as during heavy rain, fog, or snow. The legal threshold for activating lights is often defined as when ambient illumination falls below approximately 30 lux. If your vehicle has an automatic lighting system, it should activate within two seconds of detecting such conditions, though manual activation is always possible and sometimes necessary.
The high beam, or full headlight, emits a longer, narrower, and more intense beam of light. Its purpose is to provide maximum illumination distance, primarily for riding on dark, unlit rural roads where no other vehicles are present. It significantly extends your field of vision, allowing you to spot potential hazards much earlier.
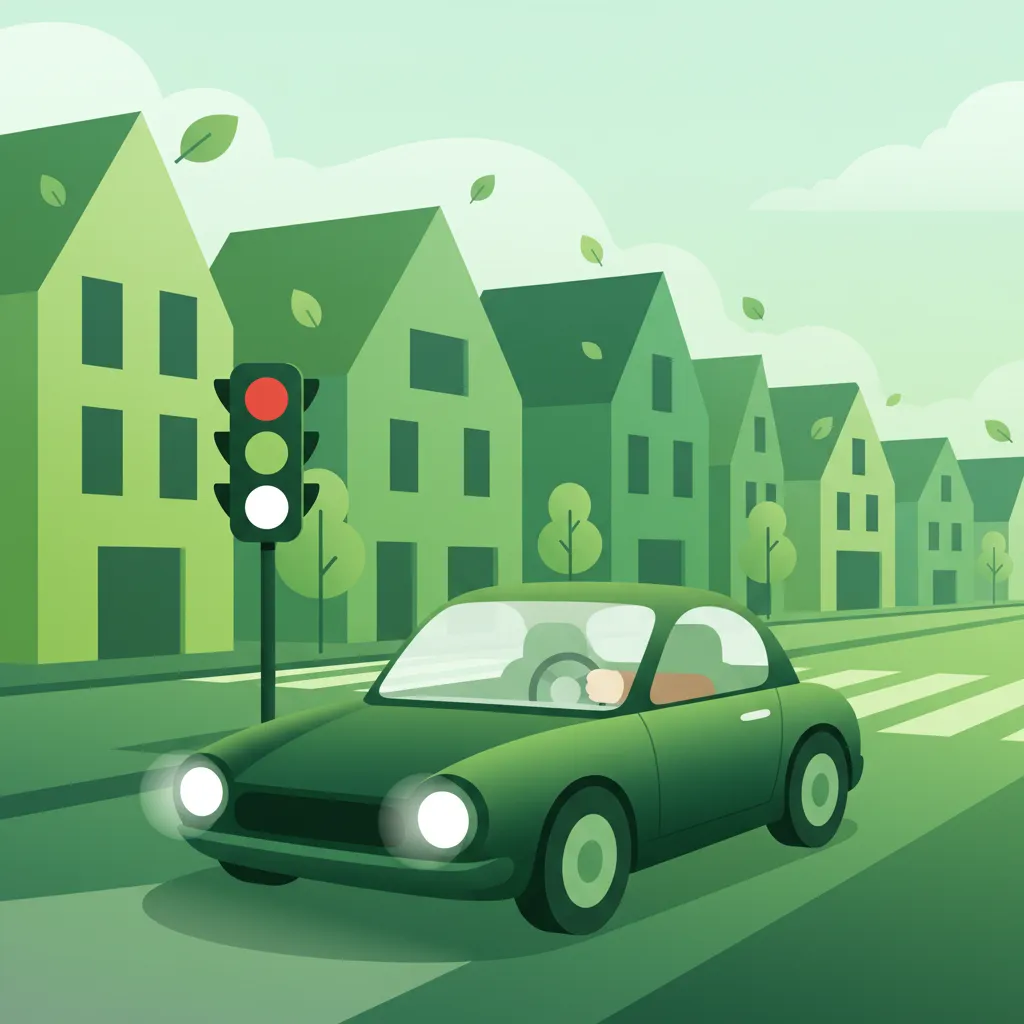
However, the powerful light of the high beam can temporarily blind other road users. Therefore, it is strictly prohibited to use your high beam in urban areas or whenever there is oncoming traffic or a vehicle you are following within 150 metres. Failure to dim your headlights in these situations creates a dangerous glare, impairing other drivers' vision and increasing the risk of accidents.
RVV 1990 Article 10.1 mandates that front lighting must be white and active whenever visibility is reduced, including from sunset to sunrise. It also stipulates the rules for using high beams, specifically the 150-metre dimming rule.
Maintaining correctly adjusted headlights is vital. Misaligned headlights can either fail to illuminate the road effectively or, conversely, cause excessive glare for other road users, even on low beam. Always ensure your headlight lens is clean and free from dirt or damage, as this can significantly reduce light output.
Visibility from the rear is just as crucial as visibility from the front. Taillights and brake lights ensure that following traffic is always aware of your presence and your intentions.
The taillight (or rear light) is a continuous red light mounted at the rear of your moped or scooter. Its primary function is to make your vehicle visible from behind, especially in low-light conditions or during adverse weather. In the Netherlands, the taillight must be illuminated whenever your front headlights are on. This synchronized operation ensures consistent rearward visibility whenever active lighting is required.
Some Category AM vehicles, particularly older models, may have amber rear lights. Always verify your specific vehicle's legal compliance and ensure the light is working when your front lights are on.
The brake light is a brighter red light at the rear that illuminates when you apply your brakes. It serves as a critical warning to following traffic that you are decelerating or stopping. This advance warning allows drivers behind you sufficient time to react, helping to prevent rear-end collisions.
For mopeds and scooters (Category AM vehicles) in the Netherlands, it is mandatory that the rear brake light activates regardless of whether you apply the front brake lever or the rear brake lever. This is often referred to as a "dual-circuit" brake light system. During your pre-ride checks, it is essential to verify that applying either brake control successfully activates the rear brake light.
RVV 1990 Article 10.2 requires the rear light to be red (or amber for two-wheelers) and illuminated whenever the front lights are on. Article 10.4 explicitly states that the rear brake light must activate when either the front or rear brake is applied.
A non-functioning taillight or brake light is a serious safety hazard and a legal violation. Regular cleaning of the lenses and prompt replacement of faulty bulbs or LEDs are part of your responsibility as a rider.
Communicating your intention to change direction is paramount for safe navigation through traffic. Turn signals (indicators) and hazard warning lights are specifically designed for this purpose.
Turn signals are amber flashing lights located at both the front and rear of your vehicle, as well as sometimes on the sides. They are used to indicate your intention to turn left, turn right, or change lanes. Activating your turn signals well in advance of your manoeuvre provides other road users with ample time to react and adjust their speed or position.
In the Netherlands, it is generally recommended to activate your turn signal at least three seconds before initiating your turn or lane change, or approximately 50-100 metres before the intersection or point of manoeuvre, depending on your speed and road conditions. Ensure that both the front and rear indicators are flashing clearly and brightly. Once your manoeuvre is complete, you should manually or automatically deactivate the signal.
Hazard warning lights involve all your turn signals flashing simultaneously. Their purpose is to indicate an emergency situation or a temporary obstruction. They are designed to warn other road users that your vehicle poses an unusual hazard.
According to RVV 1990 Article 10.7, hazard warning lights may only be used when your vehicle is stationary and presents a danger, or in an emergency situation such as a breakdown. It is illegal and dangerous to use them while driving through traffic, as this can confuse other drivers about your actual intentions.
For example, if you have a breakdown on the side of the road, activating your hazard lights makes your stationary vehicle more conspicuous. Similarly, if you encounter an unexpected obstruction that forces you to stop suddenly, a quick flick of the hazard lights can warn following traffic. Always ensure the hazard lights are deactivated once the emergency has passed or when you resume normal driving.
While visual signals are often sufficient, there are specific situations where an audible warning is necessary to prevent danger. The horn is your tool for such instances.
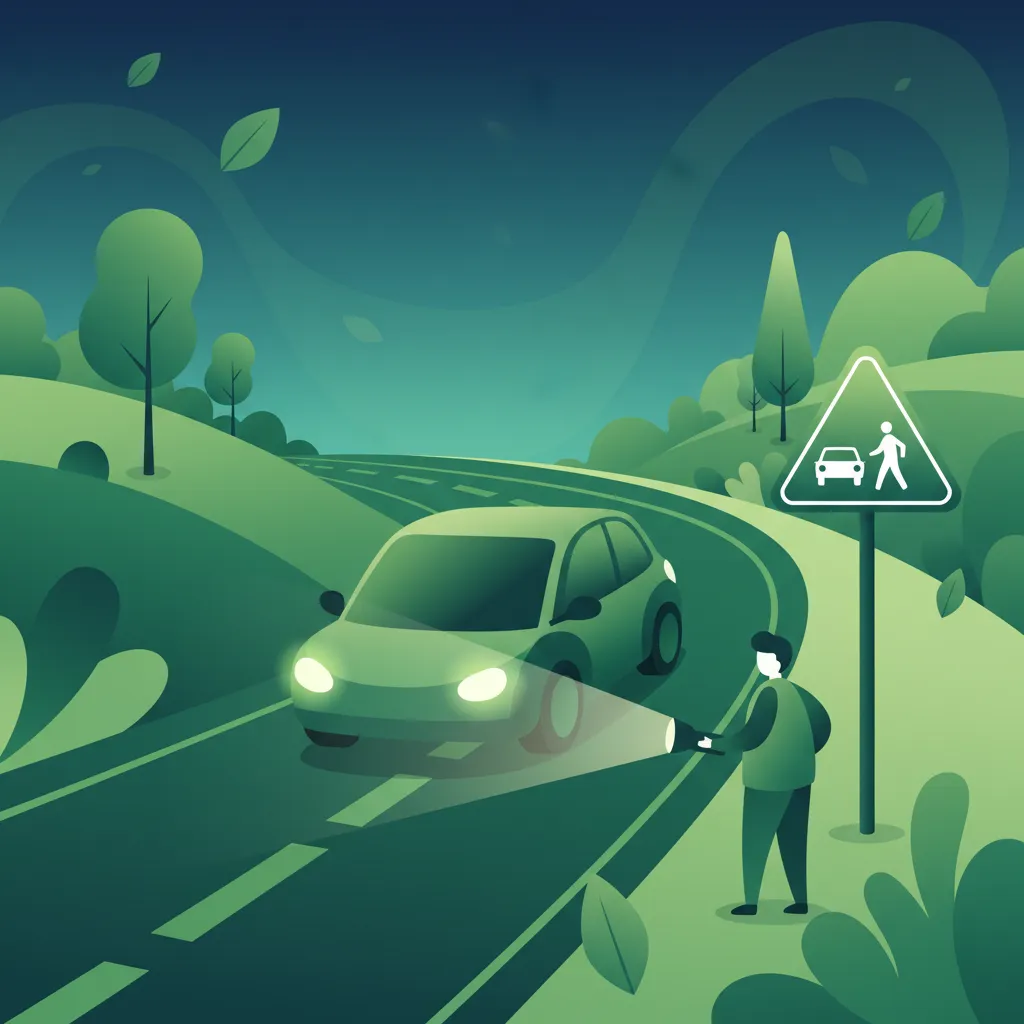
The horn is a sound-producing device designed to emit a brief, clear tone. Its sole legal purpose in the Netherlands is to warn other road users of immediate danger. This could be to alert a pedestrian who is stepping onto the road without looking, or to signal your presence at a blind corner where visual cues are insufficient.
RVV 1990 Article 10.6 specifies that the horn may only be used to warn of danger. It must not be sounded unnecessarily or to express frustration or annoyance. Misuse of the horn can result in fines and is considered a disturbance.
When using the horn, a short, distinct "beep" is usually sufficient. A prolonged or aggressive honk can startle others and escalate a situation rather than resolve it safely. The horn is a safety device, not a communication tool for courtesies or expressions of anger.
Common mistakes include using the horn to:
In all these scenarios, the horn is being used outside its legal and intended purpose. Rely instead on clear, compliant driving behaviour and visual signals to communicate your intentions.
Even when your active lighting system is off or fails, passive reflectors play a crucial role in making your vehicle visible. They work by reflecting light from external sources, such as other vehicle headlights or streetlights, back towards the source.
Category AM vehicles in the Netherlands are legally required to be fitted with several types of reflectors:
RVV 1990 Article 10.3 stipulates that all mandatory reflectors must be present, clean, and unobstructed at all times.
The effectiveness of a reflector depends entirely on its ability to return light. A reflector covered in dirt, mud, or obscured by stickers or modifications will have significantly reduced performance, making your vehicle harder to spot. Regularly clean your reflectors as part of your vehicle maintenance routine. Also, check for any cracks, damage, or missing reflectors, and replace them promptly if necessary. A damaged reflector is often no better than no reflector at all.
A systematic pre-ride inspection of your lighting, reflector, and horn systems is a fundamental safety practice. This simple routine can prevent on-road failures, legal penalties, and potentially life-threatening situations.
Performing this check regularly, ideally before every ride, allows you to detect faults early. If you find a fault, address it immediately. Riding with defective mandatory equipment is illegal and dangerous.
Neglecting a pre-ride check can have severe consequences. A non-functional brake light, for instance, dramatically increases your risk of a rear-end collision. Similarly, a faulty headlight at night can lead to poor visibility and difficulty seeing hazards. In the event of an accident, a documented failure to maintain mandatory safety equipment can lead to accusations of negligence, significantly impacting your legal and financial liability. Consistent checks ensure compliance with traffic laws and, more importantly, contribute to your personal safety and the safety of others on the road.
Understanding the rules is one thing; applying them correctly in various situations and recognizing common pitfalls is another.
Dutch traffic law enforces strict penalties for violations related to lighting, reflectors, and horns. These fines are designed to deter non-compliance and reinforce the importance of these safety systems.
| Situation | Why It’s Wrong | Correct Behaviour |
|---|---|---|
| Riding without a functional taillight | Eliminates rear visibility, greatly increasing rear-end collision risk, especially at night or in poor weather. | Always ensure both front and rear lights are operational before starting your ride. |
| Using high beam in urban areas or near other vehicles | Causes dangerous glare for oncoming drivers or those you are following, impairing their vision and potentially causing accidents. | Reserve high beam for dark, unlit rural roads only, and dim to low beam if any vehicle is within 150m. |
| Horn used to express anger or impatience | This is a misuse of a safety device; it creates unnecessary noise pollution and can escalate frustration. | Use the horn only for brief, purposeful warnings of immediate danger. |
| Brake light only activating with one brake lever | Following traffic may not anticipate your stopping intention if you use the other brake, leading to rear-end collisions. | Verify that both the front and rear brake levers activate the rear brake light during your pre-ride check. |
| Reflectors covered by dirt, stickers, or damaged | Significantly reduces the reflector's ability to return light, making your vehicle less visible to other drivers, especially at night. | Regularly clean all reflectors and replace any that are damaged or missing. |
| Automatic lighting system delay in a tunnel | Leaves you momentarily unseen in a sudden change of light, creating a high-risk situation. | Manually activate your lights immediately upon entering a tunnel if the automatic system is slow, or if your vehicle lacks one. |
| Driving with hazard lights on in non-emergency traffic | Confuses other drivers who may interpret your vehicle as stationary or broken down, leading to unpredictable manoeuvres. | Hazard lights are strictly for stationary emergencies or breakdowns. |
The correct use of your vehicle's lights often depends on the surrounding environment and conditions:
The rules for lighting and signalling are rooted in basic physics and human psychology:
Mastering the functionality and legal requirements for your moped or scooter's lights, reflectors, and horn is non-negotiable for safe and compliant riding in the Netherlands.
By diligently adhering to these principles and performing regular checks, you not only comply with Dutch law but also become a safer, more responsible participant on the road.
Lesson content overview
Explore all units and lessons included in this driving theory course.
Explore search topics learners often look for when studying Light, Reflector, and Horn Functionality. These topics reflect common questions about road rules, driving situations, safety guidance, and lesson level theory preparation for learners in the Netherlands.
Browse additional driving theory lessons that cover connected traffic rules, road signs, and common driving situations related to this topic. Improve your understanding of how different rules interact across everyday traffic scenarios.
Understand the mandatory rules for moped and scooter lighting, including headlights, taillights, brake lights, and turn signals in the Netherlands. Learn about proper usage and legal requirements for visibility and communication on Dutch roads.
This lesson covers the full range of lights and signals required on a vehicle for visibility and communication. You will learn about the mandatory requirements for headlights, taillights, brake lights, indicators, and reflectors. The curriculum emphasizes the driver's legal responsibility to ensure all lights are clean and functional before every journey. The correct use and function of the horn as an audible warning device in case of imminent danger are also explained.

Effective communication with other road users is vital for safety. This lesson details the legal requirements and proper use of your vehicle's signaling equipment, including headlights, brake lights, and turn signals (indicators). It also explains the specific situations in which using the horn is permitted to avert danger. Finally, it covers the mandatory placement and type of reflectors that ensure your vehicle remains visible to others, especially in low-light conditions.

This lesson focuses on the use of specialized lights for specific situations. You will learn the strict conditions under which fog lights may be used: the rear fog light is only permitted when visibility from fog or snow is less than 50 meters, and not in rain. The lesson also explains the correct use of hazard warning lights, which are intended to warn other drivers of a stationary obstruction (like a breakdown or the tail end of a sudden traffic jam) or while being towed.

This lesson details the functions of the various lights on a car and the legal requirements for their use. You will learn the difference between dipped beams (dimlicht), which are the standard headlights for night driving and poor visibility, and main beams (grootlicht), which can only be used when they won't dazzle other road users. The content also covers the use of sidelights (stadslicht) for parking and the automatic function of Daytime Running Lights (DRLs). Correct usage is vital for visibility and avoiding blinding other drivers.
This lesson provides a comprehensive overview of all light and audible signals mandated by Dutch traffic law, detailing when and how each must be used for optimal visibility and communication. It covers the correct use of headlights, turn signals, and hazard lights, as well as the legally appropriate situations for using the horn to alert other road users. The curriculum clarifies legal requirements for lighting equipment and the potential penalties for misuse, ensuring riders can signal their intentions clearly and legally.
This lesson covers the mandatory lighting and signaling equipment for A2 motorcycles under Dutch law, ensuring you remain visible and communicate your intentions correctly. You will learn the rules for using headlights, taillights, turn signals, and brake lights in various conditions, including daytime and adverse weather. The content also addresses the importance of maintaining this equipment and using hand signals as a valid secondary method of communication in traffic.

Riding at night presents two main challenges: seeing the road and being seen by others. This lesson covers the legal requirements for your vehicle's lighting system and how to use it effectively, including when to use high beams. It also emphasizes strategies to increase your own conspicuity, such as wearing bright or reflective clothing. You will learn how darkness affects your perception of speed and distance and how to adapt your riding to compensate for these limitations.
Learn the theory behind audible warnings and passive reflectors for mopeds and scooters in the Netherlands. This lesson covers legal requirements for horns and reflectors, and their importance in preventing hazards and ensuring rider safety.
Effective communication with other road users is vital for safety. This lesson details the legal requirements and proper use of your vehicle's signaling equipment, including headlights, brake lights, and turn signals (indicators). It also explains the specific situations in which using the horn is permitted to avert danger. Finally, it covers the mandatory placement and type of reflectors that ensure your vehicle remains visible to others, especially in low-light conditions.
Riding at night presents two main challenges: seeing the road and being seen by others. This lesson covers the legal requirements for your vehicle's lighting system and how to use it effectively, including when to use high beams. It also emphasizes strategies to increase your own conspicuity, such as wearing bright or reflective clothing. You will learn how darkness affects your perception of speed and distance and how to adapt your riding to compensate for these limitations.

This lesson details the statutory helmet regulations applicable to all Category AM vehicles. It clearly defines the mandatory helmet use for bromfiets and speed pedelec riders and the specific rules for snorfiets riders, including the required ECE safety certification for all approved helmets. The content also provides information on recommended protective gear, such as gloves and sturdy footwear, explaining how proper equipment enhances rider safety and is a key part of responsible riding culture in the Netherlands.

This lesson outlines the precise age requirements for obtaining and holding a Category AM driving license in the Netherlands. It details the minimum age for operating various AM vehicles and explains the validity period of the license and the renewal process. Furthermore, the content clarifies how an AM license relates to other categories like B (car) or A (motorcycle), and what age-related restrictions may apply to novice riders. This knowledge is crucial for ensuring full legal compliance from the start of your riding journey.

Explore the essential administrative requirements for any Category AM vehicle owner. This lesson covers the mandatory vehicle registration process, the distinction between yellow plates for bromfietsen and blue plates for snorfietsen, and the legal obligation for third-party liability insurance (WA-verzekering). You will learn what documentation is required, the consequences of non-compliance, and how these elements are verified during traffic enforcement, ensuring your vehicle is always road-legal.

Carrying a passenger or heavy luggage significantly changes how your vehicle handles. This lesson covers the legal regulations for carrying a passenger, including the requirement for proper seating and footpegs. It also explains the importance of adhering to the vehicle's maximum load limit. You will learn how extra weight, especially when positioned high up, raises the center of gravity and affects balance, steering, and braking distances, requiring adjustments to your riding style.
This lesson covers the full range of lights and signals required on a vehicle for visibility and communication. You will learn about the mandatory requirements for headlights, taillights, brake lights, indicators, and reflectors. The curriculum emphasizes the driver's legal responsibility to ensure all lights are clean and functional before every journey. The correct use and function of the horn as an audible warning device in case of imminent danger are also explained.
This lesson provides a comprehensive overview of all light and audible signals mandated by Dutch traffic law, detailing when and how each must be used for optimal visibility and communication. It covers the correct use of headlights, turn signals, and hazard lights, as well as the legally appropriate situations for using the horn to alert other road users. The curriculum clarifies legal requirements for lighting equipment and the potential penalties for misuse, ensuring riders can signal their intentions clearly and legally.

Being a licensed rider is a privilege that comes with social responsibilities. This lesson discusses the importance of ethical and courteous behavior on the road. This includes showing patience, respecting all road users (especially pedestrians and cyclists), and being mindful of your vehicle's noise and environmental impact. By riding responsibly, you not only enhance safety for everyone but also act as a positive ambassador for the entire two-wheeling community.

This lesson clarifies the regulations determining where each type of Category AM vehicle is allowed to travel. It explains the rules for using mandatory cycle paths (fietspad) and combined moped/cycle paths (bromfietspad), identified by specific road signs. You will also learn the conditions under which a bromfiets must use the main carriageway. Understanding these positioning rules is essential for legal compliance and for ensuring safety in mixed traffic environments with cyclists and cars.
Find clear answers to common questions learners have about Light, Reflector, and Horn Functionality. Learn how the lesson is structured, which driving theory objectives it supports, and how it fits into the overall learning path of units and curriculum progression in the Netherlands. These explanations help you understand key concepts, lesson flow, and exam focused study goals.
In the Netherlands, Category AM vehicles must have a working headlight (both low and high beam), a taillight, and a brake light. It is also crucial that all mandatory reflectors are present and clean.
To correctly check your brake light, you need to activate both the front and rear brake levers independently. Ensure the brake light illuminates each time you squeeze either lever, as both should trigger the light according to Dutch regulations.
The horn is a vital safety device for warning other road users of your presence or potential hazards. The CBR exam includes questions about its functionality because a non-working horn can lead to dangerous situations, particularly in busy Dutch traffic.
Yes, AM vehicles must have at least one red reflector at the rear. It's essential that this reflector is not obscured or dirty, as it significantly enhances your visibility to following traffic, especially at night.
If any of your vehicle's lights or the horn are not functioning correctly, you should not ride the vehicle until it is repaired. For the theory exam, be prepared to identify this as a defect that makes the vehicle unsafe for the road.