
Riding your moped or scooter at night demands extra attention. This lesson focuses on essential lighting requirements and visibility strategies crucial for the Dutch AM theory exam. You'll learn how to ensure your vehicle is properly lit and how to make yourself visible to others in low-light conditions, building on the foundational knowledge from previous units.

Riding a moped or scooter at night introduces unique challenges that demand careful attention to both your vehicle's lighting and your personal riding strategies. For participants in the Dutch Driving License Theory Course for Category AM (Moped & Scooter), understanding these requirements is crucial not only for passing the exam but, more importantly, for ensuring safety on the road. Darkness significantly impairs visual perception for all road users, making it harder to see hazards and for others to see you. This lesson will explore the legal obligations for lighting systems on AM vehicles in the Netherlands and provide practical guidance on how to maximize your visibility and adapt your riding to nocturnal conditions.
Night riding presents a dual visibility challenge. Firstly, you, as the rider, must be able to clearly see the road ahead—identifying potential hazards, road markings, and other road users. Secondly, and equally important, your moped or scooter, along with yourself, must be clearly seen by others—drivers of cars, trucks, cyclists, and pedestrians. Failing in either aspect dramatically increases the risk of accidents.
This lesson will cover the physics of light and vision, how darkness affects human perception, and the specific Dutch statutory requirements outlined in the Reglement Verkeersregels en Verkeerstekens (RVV 1990). By adhering to these principles, riders can significantly reduce the inherent risks of night riding.
The Dutch traffic regulations, primarily the RVV 1990, mandate specific rules for vehicle lighting to ensure a uniform baseline of visibility and safety for all road users. As an AM category rider, you are legally bound by these requirements. Proper lighting is not just about compliance; it's a fundamental safety measure.
Your moped or scooter's headlamps are not just for aesthetic purposes; their activation is legally required under specific conditions. According to Article 5.1.2 RVV 1990, headlamps must be illuminated:
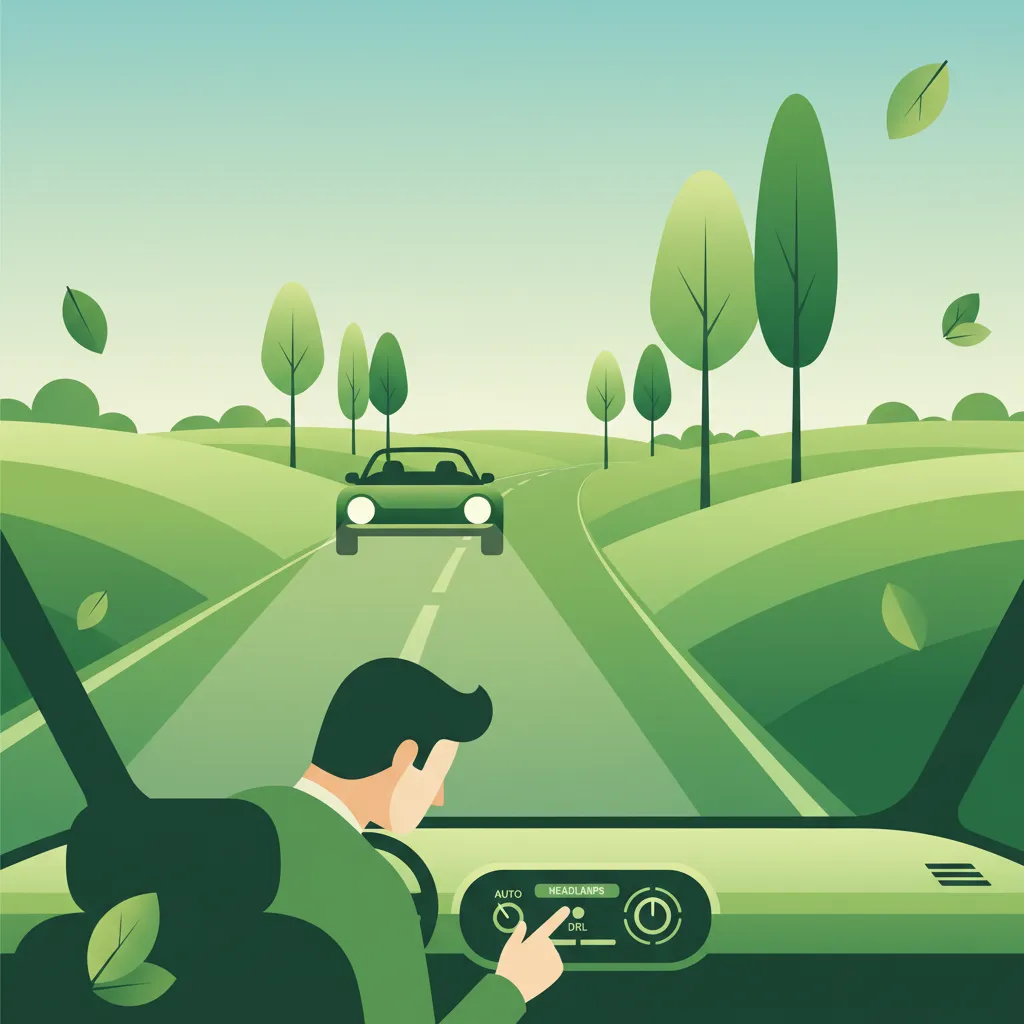
Always activate your dipped (low) beam as soon as conditions warrant it, even if you are unsure. It is always safer to be seen. Modern vehicles with automatic light sensors still require your vigilance, as you are ultimately responsible for ensuring your lights are on when legally required.
Mopeds and scooters are equipped with various types of lights, each designed for specific situations. Knowing when and how to use them is essential for safety and legality.
The dipped beam is your primary and most frequently used headlamp setting for night riding. It is designed to illuminate the road surface directly in front of your vehicle without dazzling oncoming traffic or vehicles ahead.
The main beam, or high beam, offers a much brighter and higher-angled light, providing an extended illumination range of approximately 100-150 metres. While beneficial for seeing further ahead on dark roads, its use is strictly regulated to prevent dazzling other road users.
Certain AM vehicles may be equipped with fog lights or auxiliary lights. These lights serve specific purposes and have their own usage regulations.
Using fog lights in clear conditions is illegal and causes unnecessary glare, which can distract or temporarily blind other drivers. Always deactivate them as soon as visibility improves above 50 metres.
Your rear lighting system is crucial for indicating your presence and actions to following traffic.
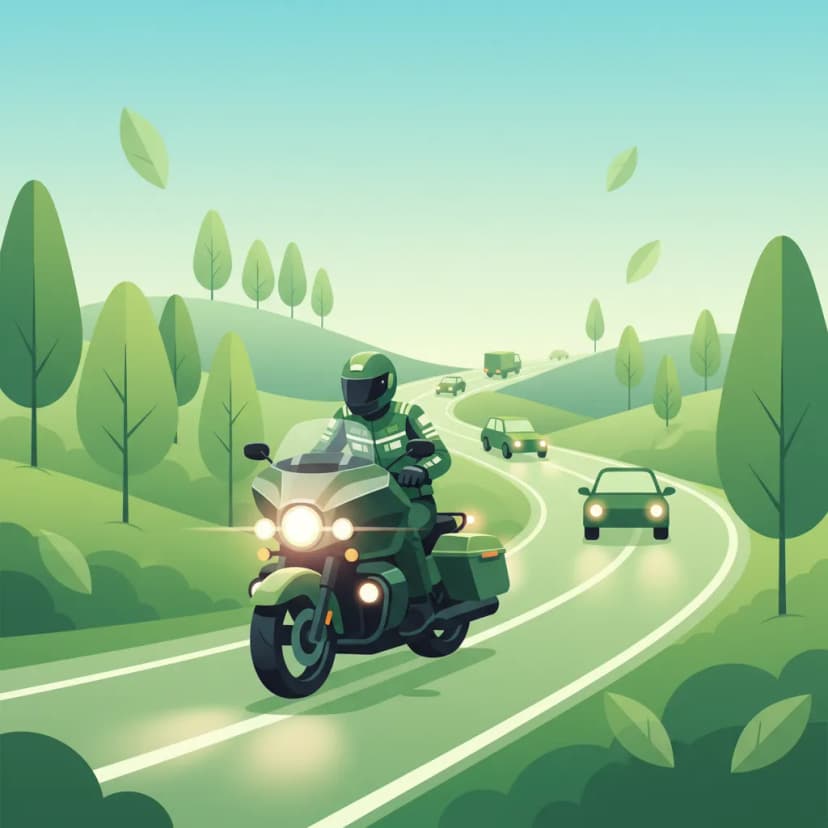
While your vehicle's lighting helps you see and be seen, your personal choices regarding gear and clothing play an equally vital role in ensuring your conspicuity (your visibility to others). Mopeds and scooters have a smaller frontal profile compared to cars, making them inherently harder to spot, especially in peripheral vision.
Wearing appropriate clothing significantly increases your detectability to other road users, particularly when their headlights illuminate you.
Beyond your mandatory lights, additional reflectors can significantly enhance your profile.
Always choose quality reflective materials that meet Dutch reflectivity standards. These offer superior light return compared to cheaper, non-certified options.
Darkness profoundly impacts human perception, leading to misjudgments of speed and distance. As an AM rider, you must actively compensate for these limitations by adapting your riding behaviour.
Our eyes rely on visual cues like shadows, textures, and the apparent size of objects to gauge depth and speed. At night, these cues are severely diminished or absent.
To counteract these perceptual challenges, adopt a more cautious and defensive riding style at night.
A functional and well-maintained lighting system is non-negotiable for safe and legal night riding. Regular checks are essential.
An improperly aligned headlamp can be both a safety hazard and a legal violation.
Vulnerable Road Users (VRUs) such as pedestrians, cyclists, and other moped/scooter riders are particularly susceptible to the dangers of reduced visibility at night. Their smaller profile, often less effective lighting, and unpredictable movements demand extra caution from your side.
Understanding common mistakes can help you avoid fines and, more importantly, prevent accidents.
| Violation | Why It’s Wrong | Correct Behaviour | Potential Consequence |
|---|---|---|---|
| Not activating headlamps at sunset or in tunnels. | Violates RVV 1990, significantly increases crash risk. | Activate dipped beam immediately at sunset or in low visibility. | Fine, increased risk of collisions. |
| Using high-beam with oncoming traffic within 200 m. | Causes severe glare, temporarily blinding others. | Dim to dipped beam as soon as oncoming traffic is detected. | Fine, potential liability for accidents. |
| Leaving fog lights on in clear conditions. | Creates unnecessary glare and nuisance. | Only use fog lights when visibility is genuinely below 50 m. | Fine. |
| Relying on auxiliary LED bars as primary illumination. | Illegal; auxiliary lights are supplementary only. | Keep dipped beam on; use auxiliary lights only to supplement. | Fine, inadequate primary illumination. |
| Riding with dirty or obstructed headlamp lenses. | Reduces light output, impairs visibility. | Clean lenses regularly; ensure no mud or stickers. | Fine, higher accident probability. |
| Using coloured (e.g., blue) auxiliary lights. | Colours other than white (or amber for fog) are prohibited. | Use only white (or amber for fog) lights. | Fine, considered illegal modification. |
| Headlamp misalignment. | Causes glare or reduces own visibility. | Re-align headlamp to vehicle specifications. | Fine, reduced safety for all. |
The optimal use of your lighting system is highly contextual. What's appropriate on a deserted rural road is not in a bustling city centre.
Always activate your dipped beam before entering a tunnel or underpass, even if it appears well-lit. Lighting conditions can change quickly, and the law mandates light use. High beam is generally prohibited in tunnels due to the reflective surfaces of tunnel walls, which can amplify glare.
Many modern mopeds and scooters feature automatic lighting systems that switch lights on/off based on ambient light. While convenient, remember that you, the rider, remain legally responsible for ensuring your lights are active and correctly set when required. If an automatic system fails to activate or dim in time, you must manually override it.
The strict regulations and recommendations for night riding are not arbitrary; they are rooted in the physics of light, the limitations of human vision, and extensive safety research.
By understanding these underlying reasons, you can appreciate the importance of rigorous compliance and proactive safety measures when riding your AM vehicle after dark.
Lesson content overview
Explore all units and lessons included in this driving theory course.
Explore search topics learners often look for when studying Night Riding, Visibility, and Lighting Requirements. These topics reflect common questions about road rules, driving situations, safety guidance, and lesson level theory preparation for learners in the Netherlands.
Browse additional driving theory lessons that cover connected traffic rules, road signs, and common driving situations related to this topic. Improve your understanding of how different rules interact across everyday traffic scenarios.
Understand the crucial rules and techniques for safe night riding in the Netherlands. Learn about mandatory lighting requirements, how darkness affects perception, and strategies to maximize your visibility as an AM category rider.

This lesson details the functions of the various lights on a car and the legal requirements for their use. You will learn the difference between dipped beams (dimlicht), which are the standard headlights for night driving and poor visibility, and main beams (grootlicht), which can only be used when they won't dazzle other road users. The content also covers the use of sidelights (stadslicht) for parking and the automatic function of Daytime Running Lights (DRLs). Correct usage is vital for visibility and avoiding blinding other drivers.
This lesson focuses on the dual challenge of visibility: seeing the road ahead and ensuring other drivers see you. It covers the legal requirements and tactical use of headlights ('koplampen'), including when to use high and low beams, and the importance of daytime running lights. Additionally, it explores strategies for enhancing personal conspicuity through high-visibility and reflective clothing, and using lane positioning to stand out in traffic and avoid blind spots.

This lesson focuses on the use of specialized lights for specific situations. You will learn the strict conditions under which fog lights may be used: the rear fog light is only permitted when visibility from fog or snow is less than 50 meters, and not in rain. The lesson also explains the correct use of hazard warning lights, which are intended to warn other drivers of a stationary obstruction (like a breakdown or the tail end of a sudden traffic jam) or while being towed.
This lesson covers the full range of lights and signals required on a vehicle for visibility and communication. You will learn about the mandatory requirements for headlights, taillights, brake lights, indicators, and reflectors. The curriculum emphasizes the driver's legal responsibility to ensure all lights are clean and functional before every journey. The correct use and function of the horn as an audible warning device in case of imminent danger are also explained.

This lesson addresses the dual challenge of poor visibility: being able to see the road ahead and ensuring other road users can see you. It covers techniques for riding in fog and heavy rain, such as using appropriate lights and reducing speed to match sight distance. The lesson also discusses practical issues like helmet visor fogging and the importance of wearing high-visibility or reflective clothing to enhance conspicuity in low-light conditions.

This lesson focuses on the importance of maintaining clear visibility in all directions. You will learn about the legal requirement to have clean windows, mirrors, and lights, and the proper use of demisters and wipers. The content provides strategies for managing sun glare using sun visors and sunglasses. It also addresses the issue of being dazzled by the headlights of other vehicles at night and how to react safely by slowing down and looking towards the right edge of the road.
This lesson goes beyond the legal requirements of lighting to teach you how to use it strategically to stand out in traffic. You will learn the importance of always riding with your low-beam headlight on, and the appropriate, considerate use of the high beam to make yourself more noticeable from a distance. The content also covers using turn signals well in advance and tapping the brakes to flash the brake light before slowing.
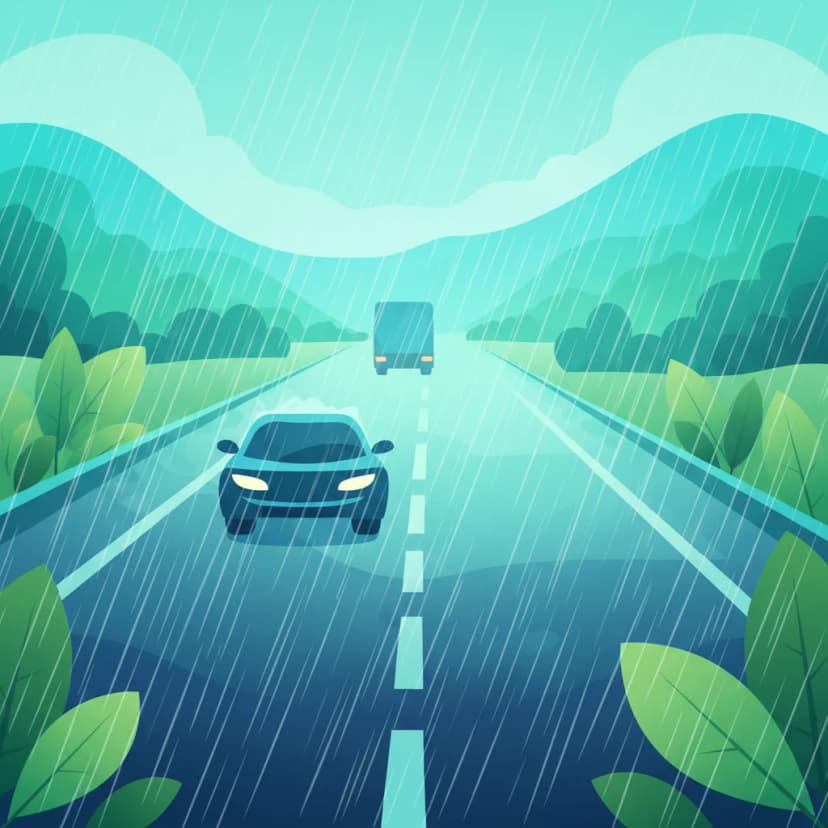
This lesson explains why the standard two-second rule is insufficient in adverse conditions and requires extension. It details how factors like rain, fog, and darkness reduce both visibility and tire grip, thereby significantly increasing total stopping distance. The content provides practical guidelines, such as extending the following gap to four seconds or more in the wet, to ensure the rider always has enough time and space to stop safely, regardless of the conditions.
This lesson covers the mandatory lighting and signaling equipment for A2 motorcycles under Dutch law, ensuring you remain visible and communicate your intentions correctly. You will learn the rules for using headlights, taillights, turn signals, and brake lights in various conditions, including daytime and adverse weather. The content also addresses the importance of maintaining this equipment and using hand signals as a valid secondary method of communication in traffic.
This lesson provides a detailed guide to riding in wet and low-visibility conditions. You will learn to make all your control inputs—braking, accelerating, and steering—exceptionally smooth to avoid breaking traction on slippery surfaces. The content covers the dangers of painted lines and manhole covers when wet, and the importance of increasing your following distance dramatically to account for longer braking distances.
Learn how darkness impacts your perception of speed and distance. This lesson provides essential guidance on adjusting your riding behaviour, including speed, following distance, and hazard anticipation, for safer travel at night.
This lesson details the functions of the various lights on a car and the legal requirements for their use. You will learn the difference between dipped beams (dimlicht), which are the standard headlights for night driving and poor visibility, and main beams (grootlicht), which can only be used when they won't dazzle other road users. The content also covers the use of sidelights (stadslicht) for parking and the automatic function of Daytime Running Lights (DRLs). Correct usage is vital for visibility and avoiding blinding other drivers.

This lesson emphasizes the critical importance of adapting your speed to prevailing conditions, which may require driving slower than the legal limit. You will learn how factors like rain, fog, snow, and darkness significantly increase braking distances and reduce visibility. The curriculum explains the dangers of aquaplaning on wet roads and black ice in winter. The core principle taught is that a safe driver always adjusts their speed to ensure they can stop within the distance they can see to be clear.

This lesson addresses the significant dangers of rider fatigue, which are amplified during night riding. It explains the physiological effects of tiredness on reaction time, decision-making, and vision. Strategies for managing fatigue are presented, including the importance of proper pre-ride rest, taking regular breaks, staying hydrated, and recognizing the early warning signs of drowsiness to know when it is essential to stop riding and rest.
This lesson focuses on the use of specialized lights for specific situations. You will learn the strict conditions under which fog lights may be used: the rear fog light is only permitted when visibility from fog or snow is less than 50 meters, and not in rain. The lesson also explains the correct use of hazard warning lights, which are intended to warn other drivers of a stationary obstruction (like a breakdown or the tail end of a sudden traffic jam) or while being towed.
This lesson reinforces the critical relationship between adverse conditions, reduced traction, and massively increased stopping distances. It provides a clear framework for how much riders need to increase their following distance and reduce their overall speed to maintain a safe margin for error. The curriculum teaches riders to constantly reassess their speed based on visual feedback from the road surface and the level of visibility, ensuring they can always stop within the distance they can clearly see.
This lesson goes beyond the legal requirements of lighting to teach you how to use it strategically to stand out in traffic. You will learn the importance of always riding with your low-beam headlight on, and the appropriate, considerate use of the high beam to make yourself more noticeable from a distance. The content also covers using turn signals well in advance and tapping the brakes to flash the brake light before slowing.
This lesson explains why the standard two-second rule is insufficient in adverse conditions and requires extension. It details how factors like rain, fog, and darkness reduce both visibility and tire grip, thereby significantly increasing total stopping distance. The content provides practical guidelines, such as extending the following gap to four seconds or more in the wet, to ensure the rider always has enough time and space to stop safely, regardless of the conditions.
This lesson focuses on the crucial safety strategy of adjusting your riding for adverse conditions. You will learn that on wet roads, your braking distance can double, necessitating a much larger following distance (e.g., a four-second gap or more). The content covers the risks of reduced visibility in fog and at night, and the destabilizing effects of strong crosswinds, explaining how a greater space cushion provides the time and space needed to react safely.

This lesson provides practical advice for driving in challenging weather. You will learn about the risk of aquaplaning in heavy rain and how to react, as well as how to manage the effects of strong crosswinds. The curriculum covers winter driving, explaining the danger of black ice, the benefits of winter tires, and techniques for avoiding and correcting a skid. A key focus is on adjusting driving style: increasing following distances, reducing speed, and making gentle steering and braking inputs.
This lesson focuses on the unique demands of riding at sustained high speeds on motorways ('snelwegen'). It covers essential topics such as strict lane discipline, safe overtaking procedures, and maintaining a greater following distance to compensate for higher reaction and braking times. The content also addresses the physical and mental challenges, including managing wind blast, increased noise levels, and maintaining heightened situational awareness over long distances to combat fatigue.
Find clear answers to common questions learners have about Night Riding, Visibility, and Lighting Requirements. Learn how the lesson is structured, which driving theory objectives it supports, and how it fits into the overall learning path of units and curriculum progression in the Netherlands. These explanations help you understand key concepts, lesson flow, and exam focused study goals.
In the Netherlands, both mopeds (bromfiets) and scooters (snorfiets) must have a working headlight and taillight when riding between sunset and sunrise, or during periods of reduced visibility. The headlight must emit white or yellow light, and the taillight must emit red light. Ensure your lights are clean and properly aimed for optimal visibility and to avoid dazzling other road users.
High beams are intended for use on unlit roads where there is no oncoming traffic and you are not following another vehicle closely. You must dip your headlights back to low beam when you see oncoming traffic or when you are approaching a vehicle from behind to avoid dazzling other road users. Always be prepared to switch them off immediately if necessary.
Darkness can significantly impair your judgment of speed and distance. Distances may appear shorter, and it can be harder to accurately gauge the speed of approaching vehicles or your own speed. This is why it's crucial to ride at a speed that allows you to stop safely within the distance you can see clearly illuminated by your headlights.
To increase your visibility, wear bright or fluorescent clothing, especially in lighter colours like yellow, white, or green. Incorporate reflective elements on your clothing, helmet, or vehicle. Ensure your own vehicle lights are clean and functioning correctly. Position yourself appropriately in your lane so that you are visible and avoid blind spots.
Yes, speed pedelecs often have specific lighting requirements, similar to those for cars or light motorcycles. They must be equipped with a functioning headlight, taillight, brake lights, and often indicators. Always check the specific regulations for speed pedelecs, as they may differ from standard mopeds or scooters, especially concerning visibility aids and braking signals.