
Beyond the basic legal requirements, this lesson teaches you how to use your motorcycle's lighting to maximise your visibility on Dutch roads. Understanding how to be seen is crucial for safe riding and for passing your Category A2 theory exam. We'll explore how to use your lights and signals proactively to communicate your intentions and avoid hazardous situations.

In the Complete CBR Theory Course for the Dutch Motorcycle License (Category A2), understanding visibility is paramount for motorcycle safety. This lesson extends beyond the basic legal requirements for motorcycle lighting, delving into strategic techniques to maximize your conspicuity on the road. Conspicuity is your ability to be easily seen, detected, and recognized by other road users, allowing them sufficient time to react safely to your presence. Mastering these advanced lighting techniques significantly reduces the risk of collisions, particularly those where other drivers might claim they "didn't see" the motorcycle.
Many collisions involving motorcycles occur because other drivers fail to perceive the motorcycle in their peripheral vision or misjudge its distance and speed. Effective lighting, combined with defensive road positioning, actively combats these perception challenges. This lesson will equip you with the knowledge to use your motorcycle's lighting system as a proactive safety tool, ensuring you are not just legally compliant, but also maximally visible under all riding conditions.
Motorcycles, by their nature, present a smaller frontal profile compared to cars, making them harder to detect, especially in busy traffic or against complex backgrounds. Human perception, particularly peripheral vision, relies on movement, contrast, and light intensity to register objects. Strategic use of lighting leverages these principles, ensuring your motorcycle stands out effectively.
The primary goal of advanced lighting use is to increase the detection distance and recognition time for other road users. This extra time can be critical, as the average driver's perception-reaction time is approximately 1.5 seconds. Gaining even a few extra meters of warning can prevent an incident, particularly at higher speeds where reaction distances are greater. By making yourself detectable, recognizable, and locatable from a distance that allows safe decision-making, you actively contribute to your own safety and that of others.
Effective motorcycle lighting extends beyond simply turning on a switch. It involves understanding when and how to use various light functions to convey your presence and intentions clearly.
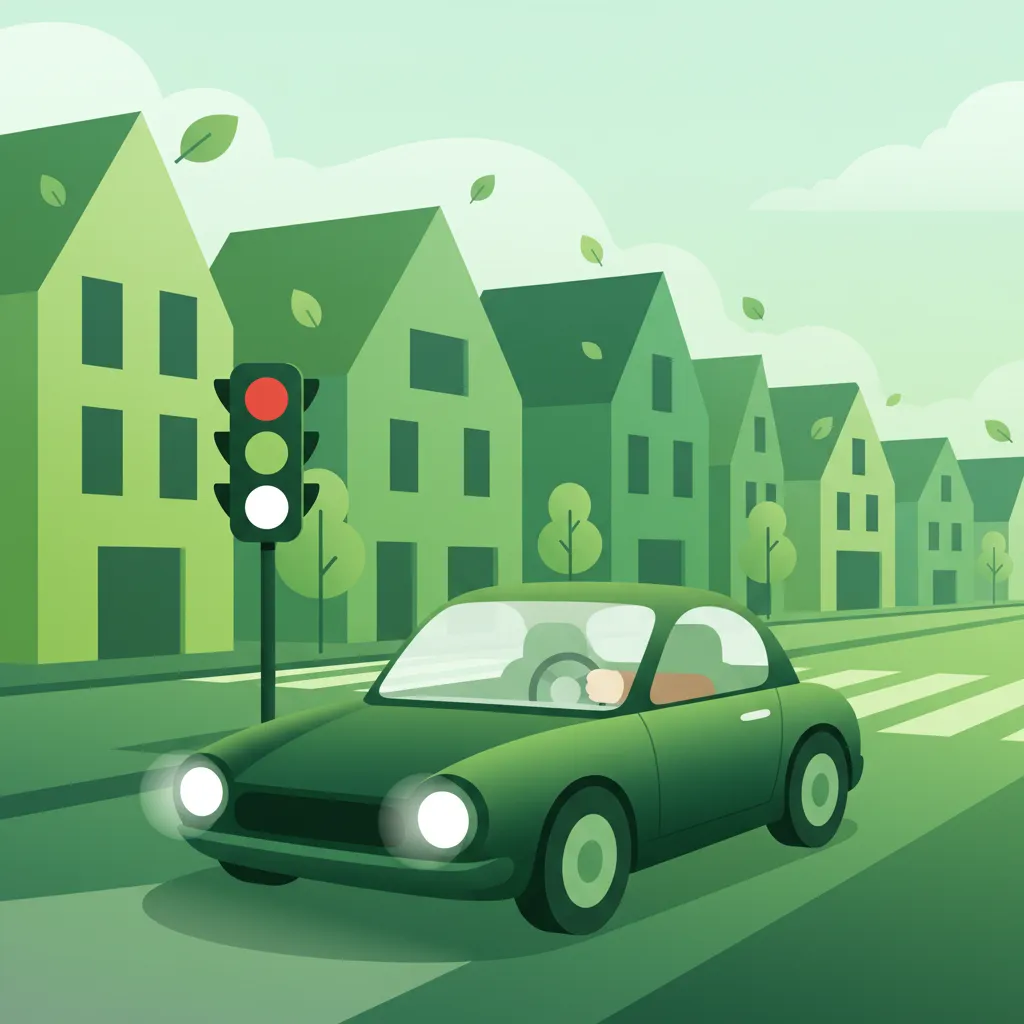
The low-beam (dipped) headlight is your fundamental tool for conspicuity. In the Netherlands, as per RVV 1990 Article 8-1a, it is legally mandatory for motorcycles to have their low-beam headlight illuminated at all times when in motion, regardless of ambient light conditions. This includes bright sunny days.
The low-beam provides a consistent, wide-angle light spread that makes your motorcycle identifiable to other road users. While it might seem unnecessary on a sunny day, the contrast created by the illuminated headlight dramatically improves your visibility to drivers whose attention may be elsewhere. It helps overcome the challenge of a motorcycle blending into the background and ensures that your vehicle is registered in other drivers' peripheral vision. Neglecting this crucial step significantly diminishes your baseline conspicuity, leading to a higher risk of being overlooked.
While the low-beam is for continuous use, the high-beam (main) headlight offers a powerful means to extend your detection range, especially on dark, unlit roads.
The high-beam projects a longer-range, more intense, and narrower beam. This can make you visible to other road users from a greater distance (typically 100-150 meters), which is particularly useful on rural roads or highways where speeds are higher and reaction times become more critical. However, its use is strictly conditional. RVV 1990 Article 8-3b states that the high-beam may only be activated when it is necessary and when there is no risk of dazzling oncoming traffic or drivers of vehicles ahead.
Using your high-beam when other vehicles are within the glare zone (generally within 150 meters) is not only illegal but extremely dangerous. It can cause temporary blindness, disorienting other drivers and drastically increasing the risk of a collision.
Therefore, you must be prepared to switch instantly back to low-beam as soon as you detect an oncoming vehicle or approach a vehicle from behind. A brief flash of the high-beam (pulsed high-beam) can be used to signal your presence on dark roads, provided it does not cause dazzling.
Your turn indicators (signals) are vital communication tools that convey your intention to change direction or lanes. Activating them well in advance provides crucial notice to other road users.
Prompt and sustained signalling allows drivers behind and approaching you to anticipate your manoeuvre, adjust their speed, and modify their lane position accordingly. This prevents sudden reactions and contributes to smoother traffic flow and reduced collision risk. A quick flick of the indicator, or signalling too late, defeats its purpose by not providing sufficient reaction time.
RVV 1990 Article 14-1 mandates that signalling devices must be used a sufficient distance before the manoeuvre. While the exact distances may vary slightly, general guidelines in the Netherlands suggest:
Brake-light tapping is a proactive technique designed to provide an earlier warning to following vehicles, especially other motorcyclists, about your impending deceleration.
When you briefly activate your brake light before fully applying the brakes, it creates an intermittent visual cue that is highly effective at attracting attention. This "flash" enhances the perceived deceleration distance for the following driver, giving them precious milliseconds to react. This technique is particularly valuable on wet roads, during low visibility, or in situations where you anticipate a significant reduction in speed.
While there is no specific prohibition against brake-light tapping in RVV 1990, the flash intensity must not exceed that of a standard brake light to avoid dazzling. Excessive or continuous flashing can lead to habituation, where other drivers begin to ignore the warning, or it could be misinterpreted as a hazard signal. It should be used judiciously, for brief periods (e.g., 0.2-0.5 seconds), to maintain its effectiveness. Some modern motorcycles feature electronic flash-on-partial-brake systems that automate this process.
Beyond the standard lights, how you manage your overall lighting setup contributes to your conspicuity. Directional light management involves adjusting your headlamp aim and considering auxiliary lighting options.
Proper headlamp aim is critical. An improperly aimed headlight, especially the low-beam, can either blind oncoming traffic (if too high) or reduce your own effective visibility (if too low). Always ensure your headlamp is adjusted according to manufacturer specifications and re-check it after carrying a passenger or heavy luggage, as this can alter the motorcycle's geometry and thus the beam angle. RVV 1990 Article 8-2 mandates that headlamps must be set to illuminate the road surface without causing glare to oncoming traffic.
Auxiliary lighting can further enhance conspicuity. This includes side-mounted lights (often called "halo" lights) or additional front-mounted driving lights.
Adherence to specific Dutch road traffic legislation is non-negotiable for safe and legal riding. The Reglement Verkeersregels en Verkeerstekens 1990 (RVV 1990) outlines the fundamental requirements for vehicle lighting.
Mandatory Low-Beam Headlight Use:
Conditional High-Beam Headlight Use:
Early and Clear Turn Indicator Use:
Prohibition of Flashing Rear Lights (While Moving):
Permitted Brake-Light Tapping:
Auxiliary Side Light Colour and Steady State:
Correct Headlamp Aim:
The effectiveness of your lighting strategy can significantly change depending on environmental and situational factors. Adapting your lighting choices to these conditions is a mark of an advanced and safe rider.
At night, especially on roads without street lighting, the need for maximum visibility is obvious.
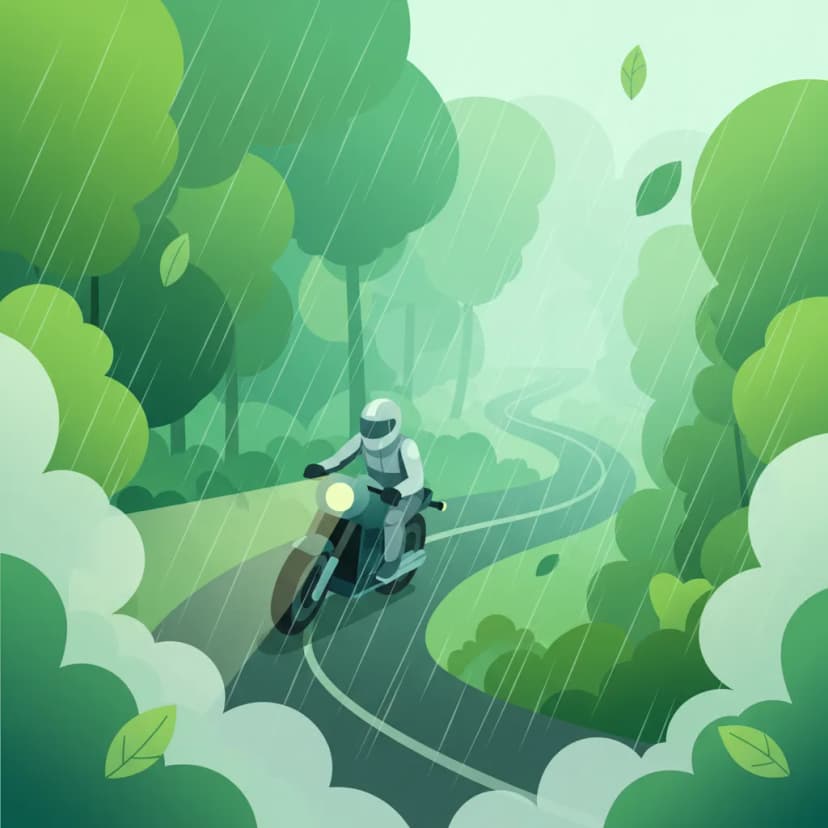
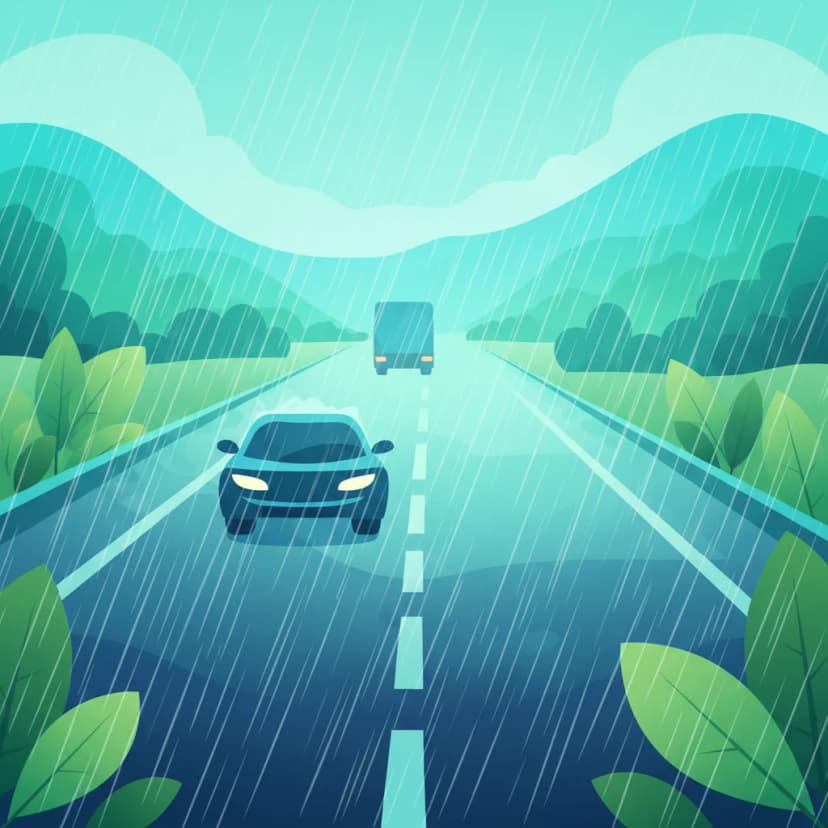
Conditions like heavy rain, mist, or falling snow significantly reduce contrast and visibility, even during daylight hours.
In busy city environments, constant vigilance and clear communication are key.
On rural highways where speeds are higher (e.g., ≥ 80 km/h), distances are covered quickly, demanding earlier warnings.
Carrying a passenger or heavy luggage can alter your motorcycle's suspension and rake angle.
Pedestrians and cyclists rely heavily on visual cues from motor vehicles.
A non-functional light is not just an inconvenience; it's a safety hazard and a legal violation.
Understanding the principles behind these techniques reinforces their importance for every Category A2 rider.
While specific recent Dutch data may vary, studies consistently show a strong correlation between motorcycle lighting use and collision rates. For example, older Dutch road safety data (2000-2022) indicated that motorcycles involved in collisions where the rider had the low-beam off had a statistically higher fatality rate compared to those with their low-beam on. This underscores the tangible, life-saving impact of proper lighting.
By now, you should have a thorough understanding that motorcycle lighting is far more than a legal formality; it is a critical, active safety component. Strategic use of your lighting system significantly enhances your conspicuity, reduces reaction times for other road users, and ultimately lowers your risk of being involved in a collision.
By internalizing and applying these advanced lighting principles, you elevate your riding skills and actively contribute to a safer road environment for everyone.
Lesson content overview
Explore all units and lessons included in this driving theory course.
Explore search topics learners often look for when studying Advanced Use of Motorcycle Lighting for Conspicuity. These topics reflect common questions about road rules, driving situations, safety guidance, and lesson level theory preparation for learners in the Netherlands.
Browse additional driving theory lessons that cover connected traffic rules, road signs, and common driving situations related to this topic. Improve your understanding of how different rules interact across everyday traffic scenarios.
Go beyond basic requirements to learn how to strategically use your motorcycle's headlights, brake lights, and indicators. This lesson explains how to maximize visibility to other road users in various Dutch traffic conditions, reducing collision risk.
This lesson covers the mandatory lighting and signaling equipment for A2 motorcycles under Dutch law, ensuring you remain visible and communicate your intentions correctly. You will learn the rules for using headlights, taillights, turn signals, and brake lights in various conditions, including daytime and adverse weather. The content also addresses the importance of maintaining this equipment and using hand signals as a valid secondary method of communication in traffic.
This lesson focuses on the dual challenge of visibility: seeing the road ahead and ensuring other drivers see you. It covers the legal requirements and tactical use of headlights ('koplampen'), including when to use high and low beams, and the importance of daytime running lights. Additionally, it explores strategies for enhancing personal conspicuity through high-visibility and reflective clothing, and using lane positioning to stand out in traffic and avoid blind spots.

Riding at night presents two main challenges: seeing the road and being seen by others. This lesson covers the legal requirements for your vehicle's lighting system and how to use it effectively, including when to use high beams. It also emphasizes strategies to increase your own conspicuity, such as wearing bright or reflective clothing. You will learn how darkness affects your perception of speed and distance and how to adapt your riding to compensate for these limitations.
This lesson provides a comprehensive overview of all light and audible signals mandated by Dutch traffic law, detailing when and how each must be used for optimal visibility and communication. It covers the correct use of headlights, turn signals, and hazard lights, as well as the legally appropriate situations for using the horn to alert other road users. The curriculum clarifies legal requirements for lighting equipment and the potential penalties for misuse, ensuring riders can signal their intentions clearly and legally.
This lesson covers the full range of lights and signals required on a vehicle for visibility and communication. You will learn about the mandatory requirements for headlights, taillights, brake lights, indicators, and reflectors. The curriculum emphasizes the driver's legal responsibility to ensure all lights are clean and functional before every journey. The correct use and function of the horn as an audible warning device in case of imminent danger are also explained.

Your vehicle's lights and horn are your primary tools for seeing, being seen, and communicating warnings. This lesson guides you through a simple but vital check of all electrical components before you ride. You will learn how to verify the function of your headlight (high and low beam), taillight, brake light (using both front and rear brake levers), and turn signals. It also covers checking the horn's operation and ensuring all mandatory reflectors are clean and intact.

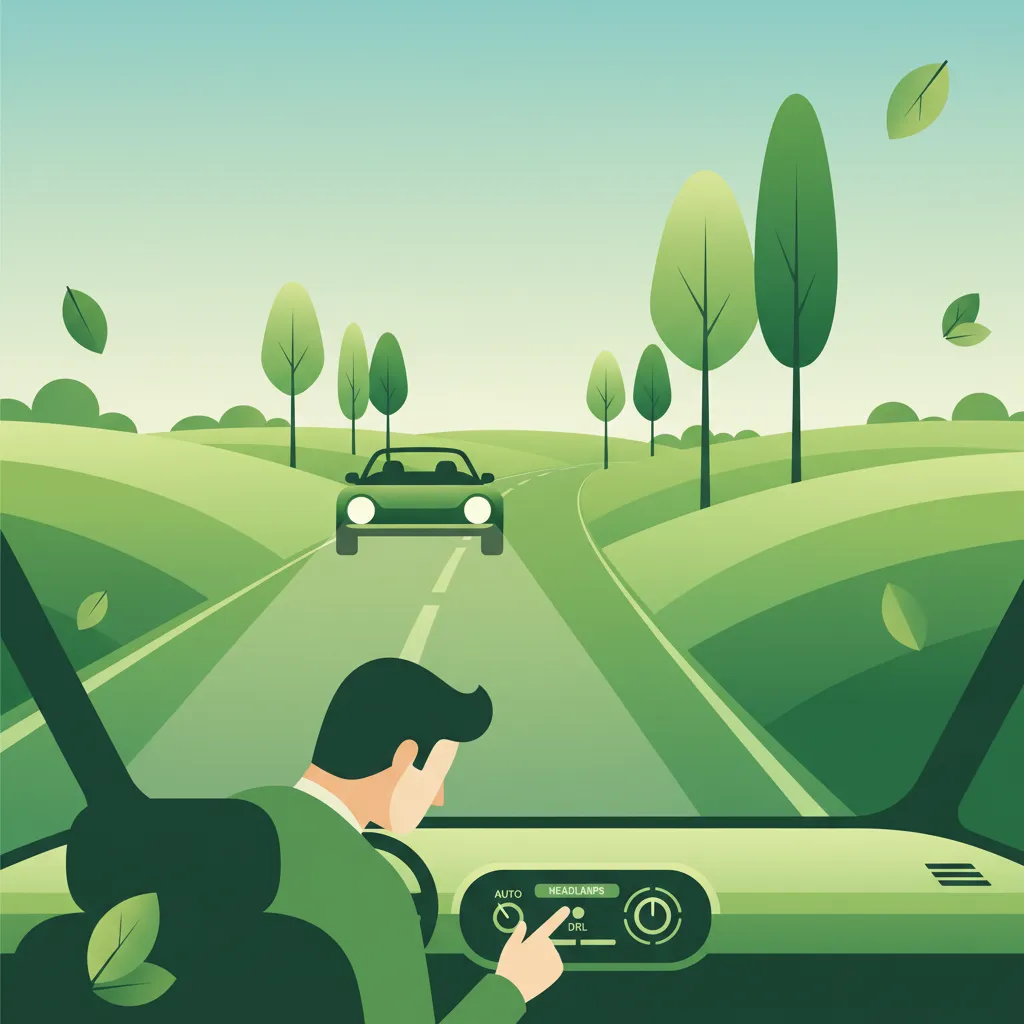
This lesson details the functions of the various lights on a car and the legal requirements for their use. You will learn the difference between dipped beams (dimlicht), which are the standard headlights for night driving and poor visibility, and main beams (grootlicht), which can only be used when they won't dazzle other road users. The content also covers the use of sidelights (stadslicht) for parking and the automatic function of Daytime Running Lights (DRLs). Correct usage is vital for visibility and avoiding blinding other drivers.
This lesson details the systematic procedure for checking the functionality of all lights and indicators before a ride. This simple but critical safety check includes verifying the operation of the high and low beam headlight, the taillight, the brake light (using both front and rear brake activators), and all four turn signals. Ensuring all lights are working is a legal requirement and fundamental for visibility and communicating intentions to other road users.

Effective communication with other road users is vital for safety. This lesson details the legal requirements and proper use of your vehicle's signaling equipment, including headlights, brake lights, and turn signals (indicators). It also explains the specific situations in which using the horn is permitted to avert danger. Finally, it covers the mandatory placement and type of reflectors that ensure your vehicle remains visible to others, especially in low-light conditions.

This lesson addresses the dual challenge of poor visibility: being able to see the road ahead and ensuring other road users can see you. It covers techniques for riding in fog and heavy rain, such as using appropriate lights and reducing speed to match sight distance. The lesson also discusses practical issues like helmet visor fogging and the importance of wearing high-visibility or reflective clothing to enhance conspicuity in low-light conditions.
Understand how Dutch motorcycle lighting regulations apply in various scenarios, from unlit rural roads and highways to urban traffic and poor weather. Learn to adapt your lighting for optimal safety and visibility.
This lesson addresses the dual challenge of poor visibility: being able to see the road ahead and ensuring other road users can see you. It covers techniques for riding in fog and heavy rain, such as using appropriate lights and reducing speed to match sight distance. The lesson also discusses practical issues like helmet visor fogging and the importance of wearing high-visibility or reflective clothing to enhance conspicuity in low-light conditions.
This lesson focuses on the dual challenge of visibility: seeing the road ahead and ensuring other drivers see you. It covers the legal requirements and tactical use of headlights ('koplampen'), including when to use high and low beams, and the importance of daytime running lights. Additionally, it explores strategies for enhancing personal conspicuity through high-visibility and reflective clothing, and using lane positioning to stand out in traffic and avoid blind spots.
Riding at night presents two main challenges: seeing the road and being seen by others. This lesson covers the legal requirements for your vehicle's lighting system and how to use it effectively, including when to use high beams. It also emphasizes strategies to increase your own conspicuity, such as wearing bright or reflective clothing. You will learn how darkness affects your perception of speed and distance and how to adapt your riding to compensate for these limitations.

This lesson focuses on the use of specialized lights for specific situations. You will learn the strict conditions under which fog lights may be used: the rear fog light is only permitted when visibility from fog or snow is less than 50 meters, and not in rain. The lesson also explains the correct use of hazard warning lights, which are intended to warn other drivers of a stationary obstruction (like a breakdown or the tail end of a sudden traffic jam) or while being towed.
This lesson covers the mandatory lighting and signaling equipment for A2 motorcycles under Dutch law, ensuring you remain visible and communicate your intentions correctly. You will learn the rules for using headlights, taillights, turn signals, and brake lights in various conditions, including daytime and adverse weather. The content also addresses the importance of maintaining this equipment and using hand signals as a valid secondary method of communication in traffic.
This lesson provides a detailed guide to riding in wet and low-visibility conditions. You will learn to make all your control inputs—braking, accelerating, and steering—exceptionally smooth to avoid breaking traction on slippery surfaces. The content covers the dangers of painted lines and manhole covers when wet, and the importance of increasing your following distance dramatically to account for longer braking distances.
This lesson explains why the standard two-second rule is insufficient in adverse conditions and requires extension. It details how factors like rain, fog, and darkness reduce both visibility and tire grip, thereby significantly increasing total stopping distance. The content provides practical guidelines, such as extending the following gap to four seconds or more in the wet, to ensure the rider always has enough time and space to stop safely, regardless of the conditions.
This lesson details the functions of the various lights on a car and the legal requirements for their use. You will learn the difference between dipped beams (dimlicht), which are the standard headlights for night driving and poor visibility, and main beams (grootlicht), which can only be used when they won't dazzle other road users. The content also covers the use of sidelights (stadslicht) for parking and the automatic function of Daytime Running Lights (DRLs). Correct usage is vital for visibility and avoiding blinding other drivers.

This lesson covers the universal Dutch road rules with a specific focus on their application to light motorcycles. It details the various speed limits for different road types, from urban areas to motorways, and explains the correct procedures for overtaking and lane positioning. The legal aspects of lane filtering in congestion are also examined, alongside mandatory equipment use like daytime running lights, to ensure riders can integrate safely and legally into traffic flow.
This lesson covers the full range of lights and signals required on a vehicle for visibility and communication. You will learn about the mandatory requirements for headlights, taillights, brake lights, indicators, and reflectors. The curriculum emphasizes the driver's legal responsibility to ensure all lights are clean and functional before every journey. The correct use and function of the horn as an audible warning device in case of imminent danger are also explained.
Find clear answers to common questions learners have about Advanced Use of Motorcycle Lighting for Conspicuity. Learn how the lesson is structured, which driving theory objectives it supports, and how it fits into the overall learning path of units and curriculum progression in the Netherlands. These explanations help you understand key concepts, lesson flow, and exam focused study goals.
Riding with your low-beam headlight on, even during the day, makes your motorcycle significantly more visible to other road users. This is a legal requirement for motorcycles in the Netherlands and greatly helps in preventing accidents, especially in busy traffic or poor visibility conditions. It ensures you are seen from a greater distance.
You can use your high-beam headlight outside built-up areas when there is no oncoming traffic, and you are not following a vehicle closely enough for your high beam to dazzle its driver. It's crucial to switch back to low beam promptly when meeting other road users or when approaching them from behind to avoid causing temporary blindness.
Tapping your brake pedal briefly before you start to slow down causes your brake light to flash. This provides a clear, immediate visual cue to following drivers that you are about to reduce speed, giving them more time to react and preventing them from running into you. It's a proactive safety measure that complements simply applying the brakes.
Yes, the Dutch CBR theory exam for motorcycles includes questions related to visibility and the correct use of lighting. These questions assess your understanding of how to use your headlights, indicators, and brake lights effectively to communicate with other road users and ensure your safety.
Indicators are used to signal your intention to turn or change lanes, indicating a future manoeuvre. Tapping the brake light is specifically used to signal that you are about to reduce your speed, alerting vehicles behind you. Both are vital communication tools but serve distinct purposes.