
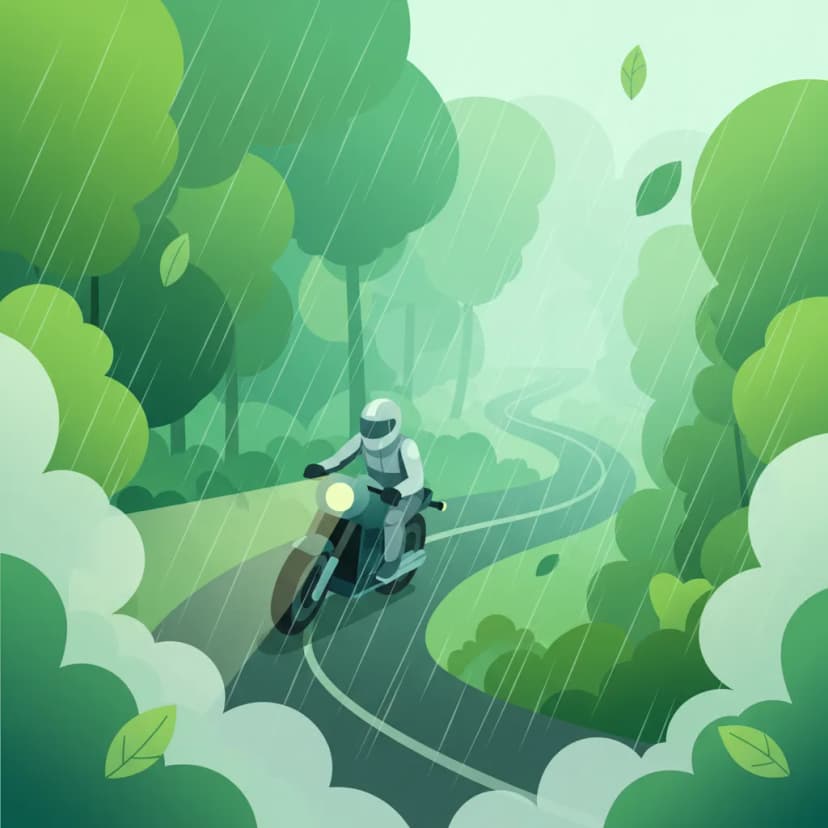
Riding a motorcycle in adverse weather conditions like fog, heavy rain, or snow presents unique challenges to visibility. This lesson focuses on how to see and be seen effectively in these situations, ensuring you can navigate safely and pass your A1 motorcycle theory exam in the Netherlands.

Navigating the roads on a motorcycle demands constant vigilance, but adverse weather conditions like fog, heavy rain, and snow introduce significant challenges to a rider's ability to see and be seen. This lesson, crucial for the Dutch A1 Motorcycle Theory exam, explores the dual problem of reduced visibility: how to effectively see the road ahead and how to ensure other road users can detect you in time to react safely. Mastery of these concepts is vital for minimizing collision risk and fulfilling your legal obligations as a motorcyclist in the Netherlands.
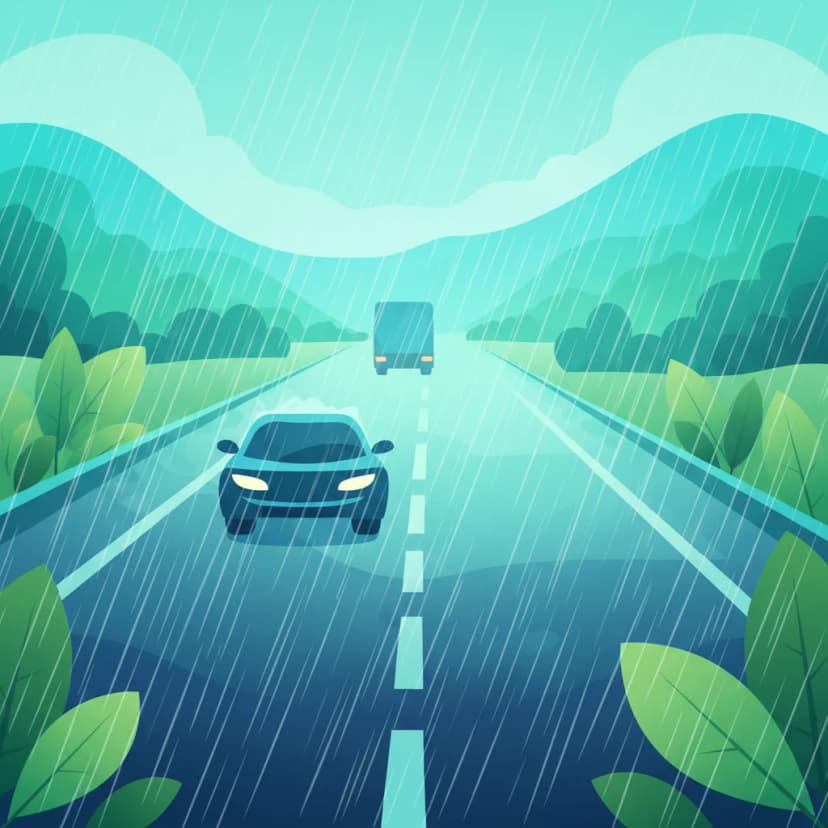
Reduced Sight Distance (RSD) is the fundamental challenge posed by poor weather. It refers to the maximum distance at which you can reliably identify an object, assess its relevance, and initiate a timely response. When visibility is poor, this critical distance shrinks dramatically, necessitating significant adjustments to your riding behavior.
The reason for reduced visibility in adverse weather lies in how light interacts with atmospheric particles.
The scattering of light by water droplets (Mie scattering) is wavelength-dependent, but in dense fog, all wavelengths are scattered, leading to a general loss of contrast and illumination.
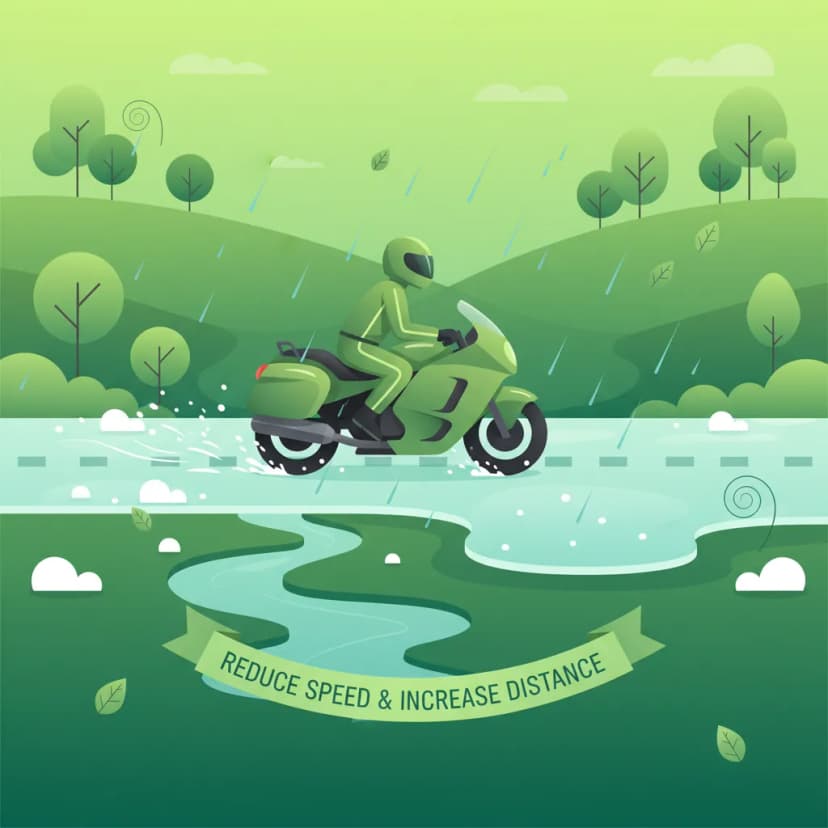
When visibility drops, your safe riding speed must decrease proportionally. The core principle is that you must always be able to stop your motorcycle within the distance you can clearly see. This is often referred to as the sight distance rule.
The total stopping distance comprises two main components:
In low visibility, both components are affected. Your perception-reaction time lengthens due to lower contrast, and wet or icy roads increase braking distance. Therefore, maintaining a safe speed becomes paramount. For instance, if you can only see 30 meters ahead, your combined perception-reaction and braking distance must be less than 30 meters. This typically means a significantly reduced speed.
Continuously scan the road ahead and adjust your speed the instant visibility degrades. Never assume the road ahead is clear beyond what you can see.
Human vision and cognition are less efficient in low-contrast environments. When the road ahead is blurred by fog or rain, it takes longer for your brain to process visual information, identify potential hazards, and decide on a course of action. Studies show that average perception-reaction time can increase by 0.5 to 1 second in dense fog compared to clear conditions. This extended reaction time directly translates to a longer perception-reaction distance, demanding a further reduction in speed to maintain safety margins.
Beyond seeing the road, it's equally critical that other road users can see you. Conspicuity refers to how easily a rider and their motorcycle are detected, recognized, and located by other traffic participants. This is achieved through both active and passive measures.
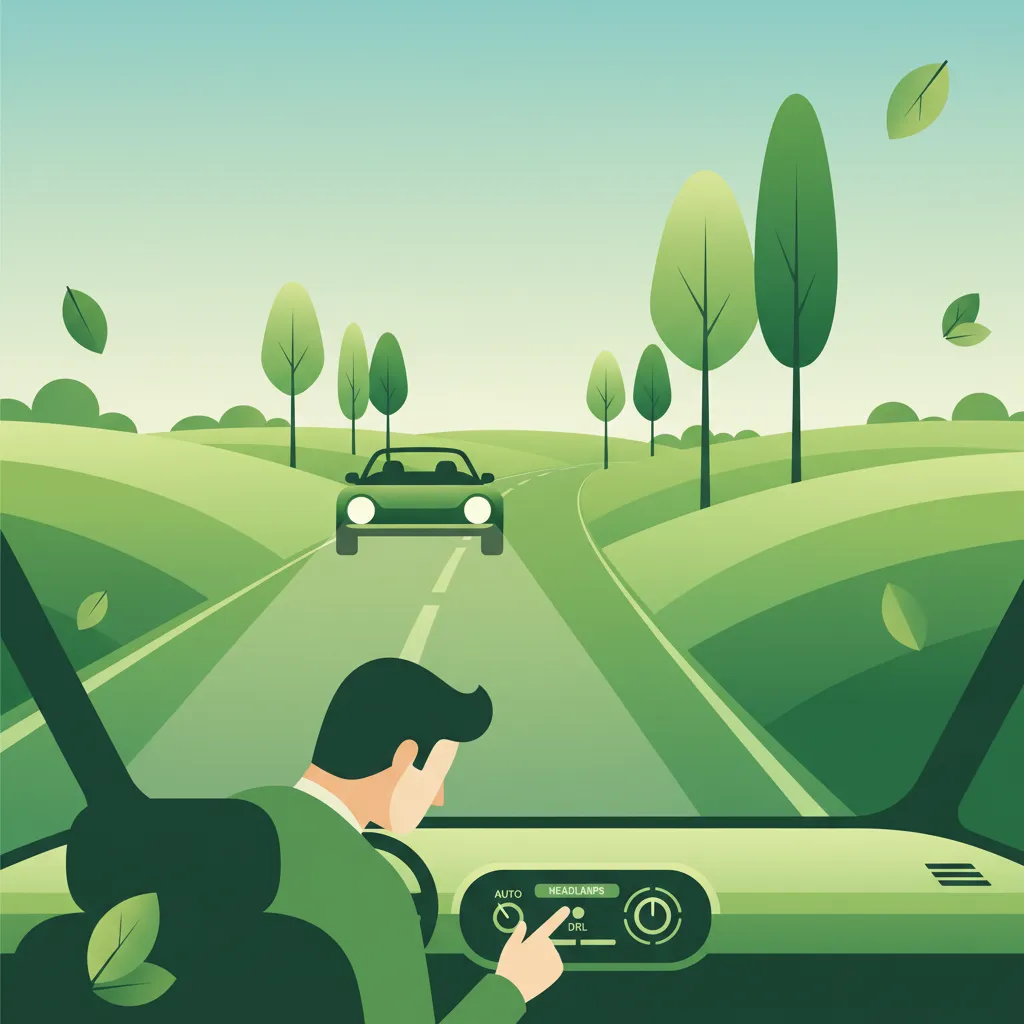
Dutch traffic law (RVV 1990) provides a clear hierarchy for lighting use, designed to maximize your visibility without dazzling other drivers.
Your motorcycle's headlamps (specifically the low beam, or dimlicht) are your primary source of illumination and conspicuity.
Front fog lights (mistlichten) are designed to emit a wide, low-angled beam that cuts through fog more effectively than regular headlamps, reducing back-scatter.
The rear fog light (achtermistlicht) is a single, extra-bright red light located at the back of your motorcycle, significantly more intense than your standard tail light.
Many modern motorcycles are equipped with Daytime Running Lights (DRL). These are designed to make your motorcycle more visible during daylight hours.
Active lighting is essential, but passive measures significantly boost your visibility.
zichtbaar (visible) under conditions of reduced visibility. This broad statement supports the importance of wearing appropriate gear.Fluorescent colors (such as bright yellow, green, or orange) are highly effective during the day, particularly in overcast or rainy conditions. They absorb ultraviolet light and re-emit it as visible light, making them appear brighter than conventional colors. Wearing a fluorescent jacket or vest can significantly increase the distance at which you are noticed by other drivers.
Retro-reflective materials (often found in strips on clothing or motorcycle components) reflect light directly back to its source, meaning they glow brightly when hit by headlights. This is crucial for nighttime visibility and in low-light conditions where fluorescent colors are less effective. A combination of fluorescent and reflective materials offers the best all-around protection.
Ensure your helmet has reflective elements or consider adding reflective stickers. Many motorcycles also come with factory-fitted reflectors on the sides, front, and rear. Keep these clean and undamaged to maximize their effectiveness. Even small reflective surfaces can make a significant difference in how early you are detected.
Do not rely solely on your motorcycle's lights. Your body and helmet are often the first parts of you that other road users will see.
Adapting your riding style is paramount when facing visibility challenges. These techniques combine legal requirements with best practices for safety.
As discussed, your speed must directly correlate with your Reduced Sight Distance (RSD).
The standard "two-second rule" for following distance is insufficient in adverse weather.
Your position within your lane can significantly impact your conspicuity and safety.
links van het midden) can improve your visibility to both oncoming traffic and vehicles behind you. This gives others a clearer view of your lights and reflective gear, reducing the chance of them overlooking you.A fogged helmet visor or a dirty windscreen can be as dangerous as external fog. Your ability to see must not be compromised by your own equipment.
een kiertje) can quickly clear fog, but be cautious of rain entering or reduced protection.Never ride with a severely fogged or obscured visor. Your general duty of care (RVV 1990 art. 3.4) legally obliges you to ensure a clear view of the road.
Adverse weather also affects how your motorcycle handles.
Understanding the specific legal requirements in the Netherlands is critical for safe and compliant riding. These regulations are primarily found in the Reglement Verkeersregels en Verkeerstekens 1990 (RVV 1990) and the Wegenverkeerswet (Road Traffic Act).
RVV 1990 Article 5.1 states that drivers must activate their headlamps (low beam) when visibility is less than 150 meters, or between sunset and sunrise. This rule ensures that your vehicle is both seen by others and that you have adequate illumination of the road.
RVV 1990 Article 5.2 specifies that front fog lights are permitted only when visibility is less than 50 meters due to fog, heavy rain, or snowfall. It is crucial to switch them off immediately when visibility improves beyond 50 meters to prevent dazzling other road users.
RVV 1990 Article 5.3 permits the use of a rear fog light only when visibility is less than 50 meters due to fog or heavy snowfall. It adds an important caveat: the rear fog light must be switched off if you are following another vehicle within 50 meters. This prevents the powerful rear fog light from creating glare for the driver behind you.
RVV 1990 Article 5.10 mandates that motorcycles must always have an operational red rear light and rear reflectors. These are essential for basic conspicuity to following traffic, both day and night.
Wegenverkeerswet Article 22 establishes a general legal obligation for all road users to ensure they are zichtbaar (visible) in conditions of reduced visibility. This broadly supports the use of appropriate lighting, reflective clothing, and other conspicuity measures.
RVV 1990 Article 3.4 imposes a general "duty of care" on all drivers to adapt their speed and maneuvers to the prevailing conditions. This article is often cited in cases involving accidents in adverse weather, underscoring the legal responsibility to ride safely within the limits of visibility and road conditions.
Even experienced riders can make mistakes in challenging conditions. Being aware of these common pitfalls can help you avoid them.
A frequent error is using front fog lights when visibility is greater than 50 meters, for example, in moderate rain. This is illegal and causes unnecessary glare for oncoming traffic. Similarly, leaving the rear fog light on when following another vehicle closely is both illegal and dangerous. Always know the 50-meter rule for fog lights and the 150-meter rule for headlamps.
Humans often suffer from an "optimism bias," subconsciously believing they can see further or react faster than is actually possible in low visibility. This leads to maintaining speeds that are too high for the conditions. Consistently apply the sight distance rule and reduce your speed dramatically, even if it feels excessively slow.
Relying solely on your motorcycle's lights, especially older models, is insufficient. Failing to wear high-visibility clothing with reflective elements at night or in heavy rain significantly reduces your detection distance for other drivers, increasing collision risk. Make reflective gear a standard part of your adverse-weather kit.
Allowing your helmet visor to fog up reduces your own visual range to just a few meters, making you effectively blind. This is a severe safety hazard and a breach of your duty of care. Always ensure your anti-fog measures (Pinlock, sprays, ventilation) are in place and effective before riding.
The specifics of your riding strategy will vary based on the type and severity of the weather.
Beyond rules and techniques, understanding the science and human factors behind visibility challenges enhances your overall safety.
The physical phenomenon of light scattering by atmospheric aerosols is not uniform. The size of the water droplets or ice crystals determines how effectively they scatter different wavelengths of light. Fog lights are designed with specific beam patterns and color temperatures to cut through this scattering layer more effectively and reduce the back-scatter that can blind a rider using high beams.
Our visual system relies heavily on contrast to discern objects and judge distances. When contrast is low, our eyes struggle to focus, depth perception degrades, and peripheral vision is impaired. This leads to a longer time needed for our brains to process information, often resulting in delayed reactions. Cognitive load also increases, potentially leading to tunnel vision or errors in judgment.
Statistics from the Dutch Ministry of Infrastructure (e.g., SWOV) consistently show that adverse weather conditions, particularly fog and heavy rain, are contributing factors in a significant percentage of road accidents. Motorcyclists, as vulnerable road users, are disproportionately affected due to their smaller profile and less protection. Adhering to the guidelines in this lesson directly reduces these risks by increasing both your ability to see and your conspicuity to others. For instance, specific reports have shown a notable increase in motorcycle collisions during foggy conditions, with a substantial portion linked to insufficient lighting or reflective gear.
Lesson content overview
Explore all units and lessons included in this driving theory course.
Explore search topics learners often look for when studying Visibility Challenges in Fog, Rain, and Snow. These topics reflect common questions about road rules, driving situations, safety guidance, and lesson level theory preparation for learners in the Netherlands.
Browse additional driving theory lessons that cover connected traffic rules, road signs, and common driving situations related to this topic. Improve your understanding of how different rules interact across everyday traffic scenarios.
Learn how fog, rain, and snow reduce your sight distance and how to ensure you are seen by other road users. Covers Dutch visibility rules, lighting, and high-visibility gear for safe riding.
This lesson provides a detailed guide to riding in wet and low-visibility conditions. You will learn to make all your control inputs—braking, accelerating, and steering—exceptionally smooth to avoid breaking traction on slippery surfaces. The content covers the dangers of painted lines and manhole covers when wet, and the importance of increasing your following distance dramatically to account for longer braking distances.
This lesson provides survival strategies for riding in the most challenging weather conditions, including heavy rain, snow, and potential ice. It emphasizes the importance of mental preparation, drastically reduced speeds, and hyper-smooth inputs for throttle, brakes, and steering. The content also covers identifying high-risk areas for 'black ice,' such as bridges and shaded spots, and the critical role of appropriate waterproof and insulated gear in preventing hypothermia and maintaining concentration.
This lesson explains why the standard two-second rule is insufficient in adverse conditions and requires extension. It details how factors like rain, fog, and darkness reduce both visibility and tire grip, thereby significantly increasing total stopping distance. The content provides practical guidelines, such as extending the following gap to four seconds or more in the wet, to ensure the rider always has enough time and space to stop safely, regardless of the conditions.
This lesson focuses on the dual challenge of visibility: seeing the road ahead and ensuring other drivers see you. It covers the legal requirements and tactical use of headlights ('koplampen'), including when to use high and low beams, and the importance of daytime running lights. Additionally, it explores strategies for enhancing personal conspicuity through high-visibility and reflective clothing, and using lane positioning to stand out in traffic and avoid blind spots.
This lesson reinforces the critical relationship between adverse conditions, reduced traction, and massively increased stopping distances. It provides a clear framework for how much riders need to increase their following distance and reduce their overall speed to maintain a safe margin for error. The curriculum teaches riders to constantly reassess their speed based on visual feedback from the road surface and the level of visibility, ensuring they can always stop within the distance they can clearly see.
This lesson goes beyond the legal requirements of lighting to teach you how to use it strategically to stand out in traffic. You will learn the importance of always riding with your low-beam headlight on, and the appropriate, considerate use of the high beam to make yourself more noticeable from a distance. The content also covers using turn signals well in advance and tapping the brakes to flash the brake light before slowing.

This lesson provides practical advice for driving in challenging weather. You will learn about the risk of aquaplaning in heavy rain and how to react, as well as how to manage the effects of strong crosswinds. The curriculum covers winter driving, explaining the danger of black ice, the benefits of winter tires, and techniques for avoiding and correcting a skid. A key focus is on adjusting driving style: increasing following distances, reducing speed, and making gentle steering and braking inputs.
This lesson covers the critical decision-making process of when to stop riding altogether because weather conditions have become too hazardous to continue safely. It provides procedures for safely pulling off the road, finding suitable shelter, and making yourself and your motorcycle as visible as possible to other traffic. The content emphasizes that there is no shame in stopping, and that rider preservation is the highest priority when faced with extreme conditions like gale-force winds or torrential downpours.

Riding on two wheels requires special care on surfaces with reduced grip. This lesson teaches you how to handle challenging conditions like rain, ice, wet leaves, or tram tracks. Key principles include reducing speed significantly, making all control inputs (braking, accelerating, steering) much more smoothly and gradually, and increasing your following distance to allow for much longer stopping distances. Recognizing potentially slippery areas is a critical part of proactive hazard perception.

This lesson emphasizes the critical importance of adapting your speed to prevailing conditions, which may require driving slower than the legal limit. You will learn how factors like rain, fog, snow, and darkness significantly increase braking distances and reduce visibility. The curriculum explains the dangers of aquaplaning on wet roads and black ice in winter. The core principle taught is that a safe driver always adjusts their speed to ensure they can stop within the distance they can see to be clear.
Master safe riding techniques for low visibility and slippery roads in the Netherlands. This lesson focuses on adjusting speed, following distances, braking, cornering, and managing equipment like helmets in adverse weather.
This lesson provides survival strategies for riding in the most challenging weather conditions, including heavy rain, snow, and potential ice. It emphasizes the importance of mental preparation, drastically reduced speeds, and hyper-smooth inputs for throttle, brakes, and steering. The content also covers identifying high-risk areas for 'black ice,' such as bridges and shaded spots, and the critical role of appropriate waterproof and insulated gear in preventing hypothermia and maintaining concentration.
This lesson covers the critical decision-making process of when to stop riding altogether because weather conditions have become too hazardous to continue safely. It provides procedures for safely pulling off the road, finding suitable shelter, and making yourself and your motorcycle as visible as possible to other traffic. The content emphasizes that there is no shame in stopping, and that rider preservation is the highest priority when faced with extreme conditions like gale-force winds or torrential downpours.
This lesson reinforces the critical relationship between adverse conditions, reduced traction, and massively increased stopping distances. It provides a clear framework for how much riders need to increase their following distance and reduce their overall speed to maintain a safe margin for error. The curriculum teaches riders to constantly reassess their speed based on visual feedback from the road surface and the level of visibility, ensuring they can always stop within the distance they can clearly see.
This lesson provides a detailed guide to riding in wet and low-visibility conditions. You will learn to make all your control inputs—braking, accelerating, and steering—exceptionally smooth to avoid breaking traction on slippery surfaces. The content covers the dangers of painted lines and manhole covers when wet, and the importance of increasing your following distance dramatically to account for longer braking distances.

This lesson explains how to counteract the effects of strong winds, which can easily upset a motorcycle's stability. It covers techniques like maintaining a relaxed grip on the handlebars and leaning into a steady crosswind. The lesson also addresses the impact of temperature, explaining how cold weather affects both the rider (risk of hypothermia, reduced concentration) and the motorcycle (reduced tire grip until warmed up), and emphasizes the need for appropriate protective gear.
This lesson explains why the standard two-second rule is insufficient in adverse conditions and requires extension. It details how factors like rain, fog, and darkness reduce both visibility and tire grip, thereby significantly increasing total stopping distance. The content provides practical guidelines, such as extending the following gap to four seconds or more in the wet, to ensure the rider always has enough time and space to stop safely, regardless of the conditions.
Riding on two wheels requires special care on surfaces with reduced grip. This lesson teaches you how to handle challenging conditions like rain, ice, wet leaves, or tram tracks. Key principles include reducing speed significantly, making all control inputs (braking, accelerating, steering) much more smoothly and gradually, and increasing your following distance to allow for much longer stopping distances. Recognizing potentially slippery areas is a critical part of proactive hazard perception.

Rain significantly reduces tire grip and rider visibility. This lesson covers the essential adjustments needed for wet-weather riding, including reducing speed, increasing following distance, and applying all controls more smoothly. It explains the danger of hydroplaning (aquaplaning) when tires lose contact with the road over standing water and how to avoid it. You will also learn about the importance of good tire tread depth for channeling water away and maintaining traction.

The posted speed limit is a maximum, not a target. This lesson teaches the crucial skill of adapting your speed to prevailing conditions. You will learn how to assess factors like traffic density, poor weather (rain, fog), limited visibility (at night), and slippery road surfaces. Adjusting your speed downwards in these situations provides you with more time to react to hazards and significantly reduces the risk of losing control or being involved in a collision.

This lesson explains the science behind reduced grip on wet surfaces and the dangerous phenomenon of hydroplaning, where a tire rides on a layer of water instead of the road. It details the critical roles of tire tread depth, tire pressure, and riding speed in maintaining contact with the asphalt. Riders will learn techniques for riding in the rain, including using exceptionally smooth control inputs and proactively reducing speed when approaching standing water.
Find clear answers to common questions learners have about Visibility Challenges in Fog, Rain, and Snow. Learn how the lesson is structured, which driving theory objectives it supports, and how it fits into the overall learning path of units and curriculum progression in the Netherlands. These explanations help you understand key concepts, lesson flow, and exam focused study goals.
In fog, Dutch regulations generally require you to use your dipped headlights (dimlicht). Some modern motorcycles may have separate fog lights; check your specific model and local advisory. The goal is to make yourself visible to others without dazzling them, while also improving your own ability to see the road ahead.
The general rule is to match your speed to your sight distance. If you can only see 50 meters ahead, your speed should be appropriate for stopping within that distance. For the A1 theory exam, expect questions that test your judgment of safe speeds based on visibility limitations, often around 50-80 km/h in moderate fog, but always prioritising sight distance.
To prevent visor fogging, ensure your helmet has good ventilation. Using an anti-fog spray or visor insert can be very effective. You can also slightly crack open the visor (if safe and possible) to allow airflow. Avoid touching the inside of the visor, as this can spread moisture and worsen the fogging.
Motorcycles are less visible than cars, especially in poor weather or low light. High-visibility clothing, often fluorescent yellow or orange with reflective strips, significantly increases your conspicuity, making it easier for other road users to see you. This is crucial for avoiding accidents and is a topic frequently covered in the A1 motorcycle theory exam.
While this specific lesson focuses on visibility, the broader topic of riding in rain is related to aquaplaning. The theory exam will cover how to reduce speed and avoid aquaplaning by maintaining safe distances and avoiding standing water, which ties into maintaining visibility and control.