
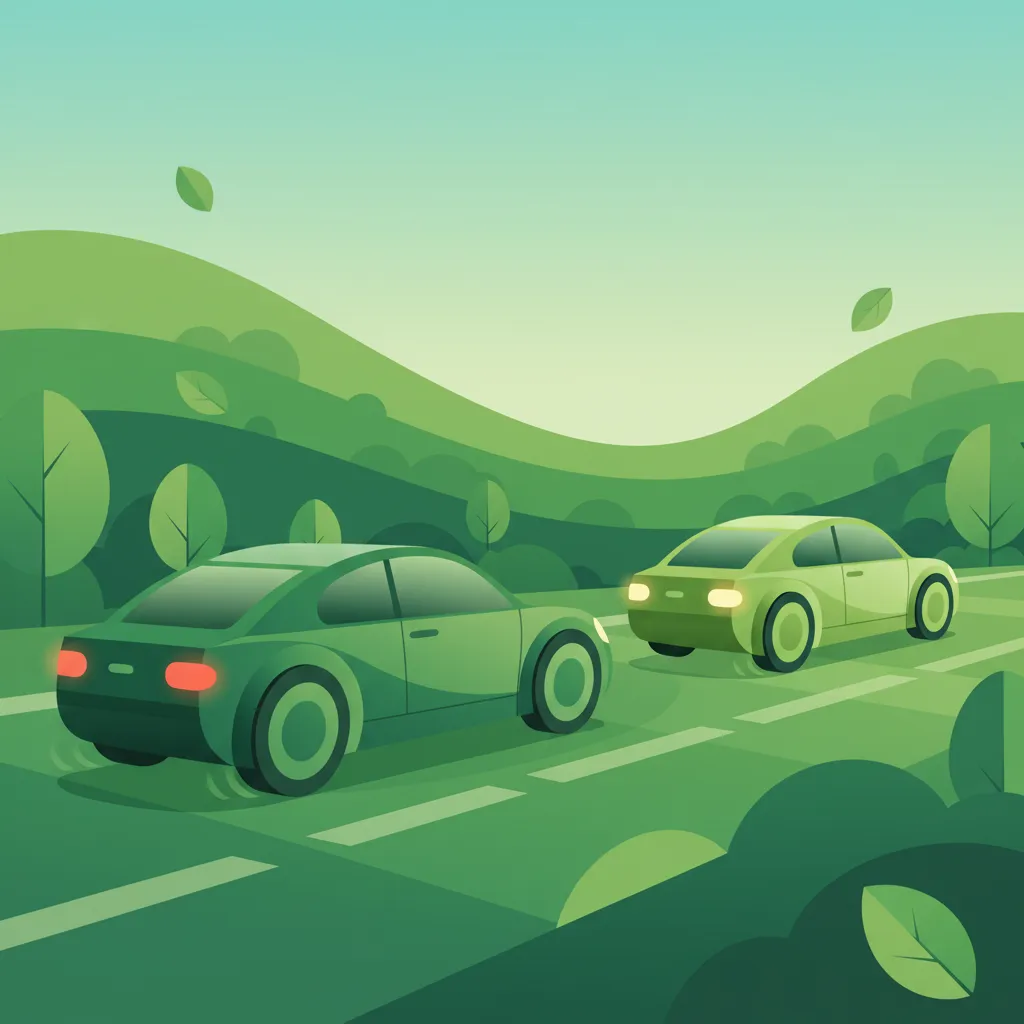
Welcome to the lesson on Clutch, Gearbox, and Engine Braking, a crucial part of your Dutch A1 Motorcycle Theory preparation. Understanding these controls is fundamental for safe and efficient riding. This lesson builds upon basic motorcycle operation principles and sets the stage for mastering speed and manoeuvre control, directly impacting your success in the CBR theory exam.

Operating a motorcycle smoothly and safely requires a deep understanding and skillful manipulation of its primary controls, particularly the clutch, gearbox, and engine braking. These interconnected systems allow you to manage the engine’s power output, adjust your speed, and maintain stability on the road. For the Dutch A1 Motorcycle Theory exam and safe riding in the Netherlands, mastering these techniques is not just about passing a test; it's fundamental to your control over the vehicle in all traffic conditions.
This lesson delves into the mechanics and practical application of these crucial components. We will explore how the clutch engages and disengages power, how the gearbox modifies torque and speed, and how engine braking provides a natural, controlled method of deceleration. Developing proficiency in these areas will ensure smooth acceleration, efficient power delivery, and confident speed management without undue reliance on your motorcycle's friction brakes.
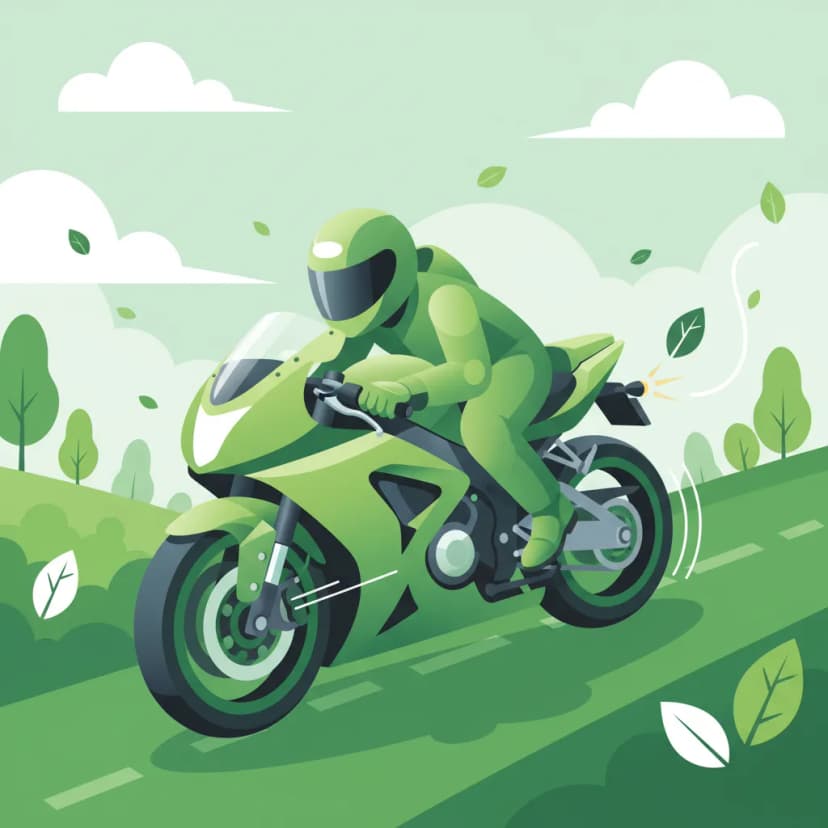
The drivetrain of an A1 class motorcycle (up to 125 cc and 11 kW) is designed for a direct and responsive riding experience. Unlike many cars, motorcycles typically use a manual, sequential gearbox that requires active rider input through both the clutch lever and the gear pedal. This system demands coordination and understanding to operate effectively and safely.
The clutch is a critical mechanical assembly that acts as a bridge between the engine and the gearbox. Its primary function is to engage or disengage the engine's power output from the transmission, allowing for smooth starts, stops, and gear changes without stalling the engine or damaging the gears.
When you pull the clutch lever on the left handlebar, you disengage the clutch. This separates the engine from the transmission, allowing the engine to run freely without transmitting power to the rear wheel. When the clutch lever is released, the clutch plates within the assembly engage, progressively connecting the engine's power to the gearbox and subsequently to the rear wheel.
A gradual release of the clutch lever, combined with appropriate throttle input, allows for a smooth take-off from a standstill. An abrupt release, especially from a low RPM, can cause the engine to stall or result in a sudden, jerky acceleration known as "clutch dump."
Most modern A1 motorcycles are equipped with a wet multi-plate clutch. In this design, several friction plates and steel plates are immersed in engine oil. The oil helps to dissipate heat, lubricate the components, and provide smoother engagement. This type of clutch is durable and provides consistent performance. While less common on A1 bikes, some older or low-cost models might feature a dry single-plate clutch, which operates without oil and tends to be more abrupt in engagement.
Effective clutch control is paramount for safe motorcycle operation. When starting from a standstill, fully pull in the clutch lever, select first gear, and then gently release the lever while simultaneously opening the throttle smoothly. The goal is to find the "friction zone," where the clutch plates begin to make contact, allowing the motorcycle to move forward without stalling or surging.
When stopping, pull in the clutch lever completely just before the motorcycle comes to a halt to prevent the engine from stalling. During gear changes, the clutch is briefly disengaged to relieve tension on the gears, allowing for a smooth shift before re-engaging. Consistently riding the clutch—keeping it partially engaged while moving—is a common mistake that leads to premature wear and overheating.
The gearbox, or transmission, is a sequential manual system that allows the rider to select different gear ratios. Each gear ratio converts the engine's power into varying levels of torque (rotational force) and speed delivered to the rear wheel. This enables the motorcycle to accelerate efficiently, maintain speed, and climb inclines under diverse conditions. A1 motorcycles typically feature 5-speed or 6-speed transmissions.
Lower gears (e.g., 1st, 2nd) have higher numerical gear ratios, meaning the engine rotates many times for each rotation of the rear wheel. This results in greater torque at the wheel, providing strong acceleration and power for starting or climbing steep hills. Conversely, higher gears (e.g., 5th, 6th) have lower numerical ratios. In these gears, the engine rotates fewer times per wheel rotation, leading to higher speeds at lower engine RPM (Revolutions Per Minute), which is ideal for cruising and fuel efficiency.
Motorcycle gearboxes are sequential, meaning you must shift through gears in order: 1st, 2nd, 3rd, and so on. The gear lever is operated by your right foot. Typically, pushing down selects first gear (or neutral if already in first and some bikes have 1-N-2-3-4-5-6 pattern), while lifting up selects neutral from first, and then sequentially higher gears.
Upshifting involves moving to a higher gear. This is usually done by briefly closing the throttle, pulling the clutch lever, lifting the gear pedal, and then releasing the clutch and opening the throttle smoothly. For most upshifts, especially at higher RPMs, a very quick throttle blip or even a "clutchless" shift (using only precise throttle timing) can be performed, but full clutch use is recommended for beginners. The goal is to maintain engine RPM within the optimal torque band, which for many A1 sport bikes is typically between 6,000 and 10,000 RPM.
Downshifting involves moving to a lower gear. This is crucial for slowing down, preparing for corners, or gaining power for acceleration. Downshifting typically involves closing the throttle, pulling the clutch lever, pressing the gear pedal down, and then performing rev-matching before smoothly releasing the clutch. Downshifting without rev-matching can cause abrupt engine braking, rear-wheel lock-up, and destabilization.
Rev-matching, also known as throttle blipping, is an advanced technique that significantly enhances the smoothness and safety of downshifts. It involves synchronizing the engine speed with the wheel speed required for the lower gear, eliminating harsh transitions and maintaining vehicle stability.
When you downshift, the lower gear ratio would naturally cause the engine to spin much faster to match the current road speed. If the clutch is simply released without intervention, the slower-spinning engine attempts to instantly match the faster-spinning wheel, resulting in a sudden, jarring deceleration. Rev-matching addresses this by briefly opening the throttle (blipping) while the clutch is disengaged. This raises the engine's RPM to approximately what it will need to be in the target lower gear, thus "matching" the engine speed to the wheel speed.
The primary benefits of rev-matching are enhanced safety and comfort. By smoothing the transition between gears, rev-matching prevents:
Practice is key to mastering the timing and feel of rev-matching. It becomes second nature with experience and greatly improves your riding proficiency.
Engine braking is a natural phenomenon where the motorcycle’s engine helps to slow the vehicle down when the throttle is closed while a gear remains engaged. This technique is a crucial part of a comprehensive speed management strategy for A1 motorcycle riders.
When you close the throttle, the fuel supply to the engine is cut or significantly reduced, but the engine's pistons continue to move due to the momentum of the motorcycle. The internal resistance created by the engine's compression and friction absorbs kinetic energy, converting it into heat. This absorption of energy acts as a braking force, slowing the motorcycle down without direct input from the friction brakes. The lower the gear, the more pronounced the engine braking effect because of the higher gear ratio (more engine revolutions per wheel revolution).
Engine braking is exceptionally useful in several riding situations:
While powerful, engine braking should rarely be used in isolation. It is best combined with light application of your friction brakes (front and rear) for optimal control and safety.
A skilled rider constantly evaluates the riding environment to select the most appropriate gear. This isn't just about speed; it's about matching the engine's torque output to the demands of the road, load, and desired acceleration. This strategy ensures efficiency, responsiveness, and maximum control.
Your gear selection should be a dynamic decision based on several factors:
For most A1 sport bikes, the optimal torque band often lies between 6,000 and 10,000 RPM. Staying within this range allows for responsive acceleration and efficient power delivery. Always listen to your engine and feel the motorcycle’s response to guide your gear choices.
Two common mistakes riders make regarding gear selection are "lugging" and "over-revving."
Always be aware of your motorcycle's redline and avoid exceeding it to prevent serious engine damage.
While the Dutch Traffic Regulations (Reglement Verkeersregels en Verkeerstekens 1990, or RVV 1990) do not specifically dictate how to change gears or use engine braking, they do impose general obligations that are directly relevant to these techniques. Safe and proper use of the clutch, gearbox, and engine braking helps you comply with these laws.
Familiarize yourself with the specific articles of the RVV 1990 as they apply to general vehicle control. Understanding the intent behind these laws will guide your practical application of clutch, gearbox, and engine braking techniques.
Even experienced riders can occasionally make mistakes, but beginners are particularly prone to certain errors. Understanding these pitfalls is the first step to avoiding them.
Your approach to clutch, gearbox, and engine braking should never be static. Environmental conditions, road type, traffic density, and even your motorcycle's load should influence your technique.
| Condition | Variation in Principle | Reasoning |
|---|---|---|
| Wet or icy road surface | Reduce reliance on engine braking; moderate throttle blips to avoid sudden torque spikes. | Lower tire-grip coefficient; sudden deceleration can cause rear‑wheel slip. |
| Heavy rain reducing visibility | Prioritise smooth gear changes; avoid abrupt clutch releases that may cause loss of balance. | Rider must keep both eyes on the road; sudden movements compromise stability. |
| Urban traffic (stop‑and‑go) | Frequent use of 1st/2nd gear, clutch fully disengaged at stops, use engine braking only for slight speed adjustments. | Minimises wear, ensures rapid response to traffic lights and pedestrian crossings. |
| Motorway cruising (≥80 km/h) | Shift to higher gear (5th/6th) early, keep RPM within efficient band (≈6,000–8,000 RPM). Use clutch only for overtaking or exit maneuvers. | Improves fuel economy, reduces noise, prevents over‑revving. |
| Steep downhill (≥5 % grade) | Downshift to a gear that provides sufficient engine braking without over‑revving; maintain light rear brake. | Prevents brake overheating, maintains controllable speed. |
| Heavy load (passenger + luggage) | Select lower gear earlier, keep higher RPM to compensate for increased inertia. | Additional mass raises required torque for acceleration and deceleration. |
| Vehicle maintenance issue (slipping clutch plates) | Use gentler clutch inputs, avoid high‑torque launches; rely more on throttle control and friction braking. | Prevents clutch damage and unexpected loss of drive. |
| Interaction with vulnerable road users (cyclists, pedestrians) | Gradual deceleration using engine braking and rear brake, avoid abrupt downshifts that could startle others. | Enhances predictability, reduces risk of collisions. |
Let's explore how these concepts come together in real-world riding situations.
Decision Point: Starting from a stop at a traffic light on a flat, dry road.
Correct Behavior: The rider pulls in the clutch fully, selects 1st gear, and as the light turns green, gently releases the clutch lever to the friction zone while smoothly opening the throttle to achieve an engine speed of approximately 3,000 RPM. Once moving, the rider quickly upshifts to 2nd gear at around 7,000 RPM, ensuring continuous, smooth acceleration.
Explanation: This controlled start prevents stalling, minimizes clutch wear, and ensures the motorcycle is under stable control, complying with RVV 1990 Article 5.1. Rapidly engaging the clutch or excessive throttle could lead to a sudden surge, which might startle other road users or cause a loss of balance.
Decision Point: Reducing speed on a 6% downhill grade without overheating the friction brakes.
Correct Behavior: While cruising in 4th gear, the rider anticipates the descent, closes the throttle, and downshifts to 3rd gear, performing a rev-match to smoothly bring the engine RPM up to around 9,000 RPM. If further deceleration is needed, the rider may downshift again to 2nd gear, allowing the strong engine braking to absorb kinetic energy. Light, intermittent application of the rear brake can supplement this for fine-tuning speed.
Explanation: Using engine braking prevents the friction brakes from overheating, a condition known as brake fade, which extends stopping distances and compromises safety. This strategy ensures the rider adapts speed to road conditions (RVV 1990 Article 5.3) while maintaining vehicle control.
Decision Point: Overtaking a slower vehicle on a motorway.
Correct Behavior: The rider, cruising in 5th gear, signals their intention to overtake. Before initiating the maneuver, they downshift to 4th gear with a precise rev-match. This immediately brings the engine into a more powerful RPM range (e.g., 9,500 RPM), providing ample torque for rapid acceleration. After safely overtaking and returning to their lane, the rider upshifts back to 5th gear for efficient cruising.
Explanation: Selecting a lower gear for overtaking ensures that the engine can deliver maximum power quickly, allowing for a swift and safe maneuver. Attempting to overtake in too high a gear would result in sluggish acceleration, prolonging the time spent in the opposing lane or alongside the overtaken vehicle, increasing risk. This complies with RVV 1990 Article 5.1, ensuring safe interaction with other traffic.
Decision Point: Entering an urban corner on a wet road with stable traction.
Correct Behavior: Before entering the corner, the rider downshifts to 2nd gear, carefully performing a rev-match to keep the engine RPM around 7,000 RPM. Through the corner, the rider maintains a gentle, consistent throttle to stabilize the chassis and avoids any abrupt changes in engine braking or acceleration that could break traction on the wet surface.
Explanation: Rev-matching is particularly critical on wet surfaces as it prevents sudden torque shocks that can overwhelm tire grip, leading to a rear-wheel slide or lock-up. Smooth transitions and a judicious use of engine braking, combined with appropriate friction brake application, align with RVV 1990 Article 5.2 on proportional braking and Article 7.1 on maintaining control.
Mastering the clutch, gearbox, and engine braking is fundamental for any rider seeking to safely and confidently operate an A1 motorcycle in the Netherlands. These skills are not merely mechanical actions; they are an integral part of your overall control, stability, and responsiveness on the road. From performing a smooth urban start to skillfully descending a steep rural hill, your proficiency in these areas will define your riding experience and adherence to Dutch traffic regulations.
By consistently practicing proper clutch-throttle coordination, understanding optimal gear selection, and effectively using rev-matching and engine braking, you will develop the intuitive control necessary to react to diverse road conditions and traffic scenarios. This mastery will not only prepare you thoroughly for your Dutch A1 Motorcycle Theory exam but also lay a strong foundation for a lifetime of safe and enjoyable motorcycling.
Lesson content overview
Explore all units and lessons included in this driving theory course.
Explore search topics learners often look for when studying Clutch, Gearbox, and Engine Braking. These topics reflect common questions about road rules, driving situations, safety guidance, and lesson level theory preparation for learners in the Netherlands.
Browse additional driving theory lessons that cover connected traffic rules, road signs, and common driving situations related to this topic. Improve your understanding of how different rules interact across everyday traffic scenarios.
Explore advanced clutch, gearbox, and engine braking methods for A1 motorcycles. Learn sophisticated rev-matching, smooth shifting, and strategic speed control techniques relevant to Dutch traffic laws and safe riding.
This lesson provides a comprehensive guide to safe and effective deceleration on a motorcycle. You will learn the principles of controlled braking, including the progressive application of both the front and rear brakes to maximize stopping power while maintaining stability. The content also explains the role of engine braking in managing speed and how the Anti-lock Braking System (ABS) helps prevent wheel lock-up during hard braking.

This lesson teaches the technique of progressive braking, which involves applying the brakes smoothly and gradually rather than abruptly. This method allows the motorcycle's weight to transfer forward in a controlled manner, compressing the front suspension and increasing the size of the front tire's contact patch. This, in turn, maximizes available grip and allows for harder, safer braking without unsettling the chassis or locking a wheel.
This lesson provides a detailed breakdown of high-speed braking techniques, emphasizing the correct balance and application of the front ('voorrem') and rear ('achterrem') brakes. It explains the physics of weight transfer under braking and why the front brake provides the majority of stopping power. Techniques for progressive, smooth application to avoid overloading the front tire and losing traction are covered, ensuring riders can slow down quickly and safely from any speed.

Riding on two wheels requires special care on surfaces with reduced grip. This lesson teaches you how to handle challenging conditions like rain, ice, wet leaves, or tram tracks. Key principles include reducing speed significantly, making all control inputs (braking, accelerating, steering) much more smoothly and gradually, and increasing your following distance to allow for much longer stopping distances. Recognizing potentially slippery areas is a critical part of proactive hazard perception.
This lesson focuses on managing the unique acceleration characteristics of a 35 kW A2 motorcycle. You will learn about the relationship between engine power, torque, and acceleration, and how to apply throttle smoothly to maintain traction and stability. The content provides techniques for effective gear selection to ensure you have responsive power when needed for overtaking, while also preventing jerky or uncontrolled acceleration.

This lesson teaches the principles of performing a controlled emergency stop ('noodsremmen') to achieve the shortest possible stopping distance without losing control. It details the technique of applying both brakes firmly and progressively, managing the forward weight transfer, and maintaining an upright body posture to maximize braking efficiency. The content emphasizes braking in a straight line and looking ahead to where you want to stop, not at the obstacle.

This lesson covers braking techniques beyond simply applying the brake levers. You will learn about the concept of engine braking (decelerating by releasing the throttle or downshifting) for controlled slowing. It also explains the function of an Anti-lock Braking System (ABS), a safety feature on some models that prevents wheels from locking during hard braking, allowing you to maintain steering control and reduce the chance of a skid.
This lesson moves beyond basic braking to teach advanced techniques for optimal stopping performance. You will learn that the front brake provides the majority of your stopping power due to forward weight transfer, but that skillful application of the rear brake is crucial for stability. The content covers the concept of progressive braking—squeezing the levers smoothly—to manage traction and prevent wheel lock, especially on motorcycles without ABS.

This lesson reinforces the fundamental rule of Dutch highway driving: use the rightmost lane available and use the lanes to the left only for overtaking. You will learn the complete, safe overtaking procedure: check mirrors, signal, perform a shoulder check for the blind spot, smoothly move over, accelerate past the vehicle, and then return to the right lane when safe.

This lesson outlines the step-by-step procedure for executing a controlled emergency stop in a straight line. It emphasizes keeping the motorcycle upright, looking ahead, and applying both brakes firmly and progressively up to the point of maximum traction (or ABS activation). Understanding this technique is critical for minimizing stopping distance in a sudden hazard scenario and is a key skill assessed in practical motorcycle training.
Identify and understand frequent mistakes riders make with their motorcycle's clutch, gearbox, and engine braking. Learn how to avoid these errors to ensure safe operation and compliance with Dutch traffic regulations.
This lesson provides a comprehensive guide to safe and effective deceleration on a motorcycle. You will learn the principles of controlled braking, including the progressive application of both the front and rear brakes to maximize stopping power while maintaining stability. The content also explains the role of engine braking in managing speed and how the Anti-lock Braking System (ABS) helps prevent wheel lock-up during hard braking.
This lesson outlines the step-by-step procedure for executing a controlled emergency stop in a straight line. It emphasizes keeping the motorcycle upright, looking ahead, and applying both brakes firmly and progressively up to the point of maximum traction (or ABS activation). Understanding this technique is critical for minimizing stopping distance in a sudden hazard scenario and is a key skill assessed in practical motorcycle training.
This lesson teaches the technique of progressive braking, which involves applying the brakes smoothly and gradually rather than abruptly. This method allows the motorcycle's weight to transfer forward in a controlled manner, compressing the front suspension and increasing the size of the front tire's contact patch. This, in turn, maximizes available grip and allows for harder, safer braking without unsettling the chassis or locking a wheel.

This lesson provides an overview of the most important routine maintenance tasks a rider should be aware of. It covers the why and how of regularly checking and lubricating the drive chain to prevent premature wear. Additionally, it explains how to check the engine oil level and recognize the signs that brake pads or fluid need attention, empowering riders to keep their motorcycles in a safe and reliable condition between professional services.

This lesson focuses on the physical skill of an emergency stop, building on previous braking lessons. You will learn to adopt a braced body position, keeping your arms straight and looking ahead, not down. The content details the technique of applying both brakes rapidly but progressively to the point of maximum traction, and how to trust and utilize ABS if your motorcycle is equipped with it.

This lesson explains the phenomenon of brake fade, a temporary loss of braking performance caused by overheating, and how to avoid it. It also details the essential maintenance and pre-ride inspection points for a motorcycle's braking system. Learners will understand how to check brake fluid levels, inspect brake pads for wear, and assess the overall condition of brake lines and levers to ensure the system is always in safe, working order.

This lesson prepares you for a critical situation: performing a maximum-force emergency stop. You will learn the correct body posture and braking technique to stop in the shortest possible distance without losing control. The content provides a clear explanation of how ABS works by rapidly pulsing the brakes to prevent the wheels from locking, allowing you to maintain steering control even during a panic stop.

This lesson provides a step-by-step guide to executing a safe and legal overtaking maneuver. It covers the entire process: assessing the situation for a sufficient gap in oncoming traffic, performing necessary mirror and shoulder checks, signaling intent, and accelerating decisively. The lesson also highlights situations where overtaking is prohibited by law, such as before pedestrian crossings or where there are solid white lines.

This lesson teaches riders how to conduct regular visual inspections of their motorcycle's braking system, a critical safety routine. It covers how to check the thickness of brake pads and look for signs of wear or damage on brake discs. The curriculum also explains the importance of monitoring the brake fluid level and condition, as old fluid can compromise braking performance, ensuring the system is always ready for an emergency.
This lesson covers braking techniques beyond simply applying the brake levers. You will learn about the concept of engine braking (decelerating by releasing the throttle or downshifting) for controlled slowing. It also explains the function of an Anti-lock Braking System (ABS), a safety feature on some models that prevents wheels from locking during hard braking, allowing you to maintain steering control and reduce the chance of a skid.
Find clear answers to common questions learners have about Clutch, Gearbox, and Engine Braking. Learn how the lesson is structured, which driving theory objectives it supports, and how it fits into the overall learning path of units and curriculum progression in the Netherlands. These explanations help you understand key concepts, lesson flow, and exam focused study goals.
The clutch temporarily disconnects the engine from the rear wheel, allowing you to change gears smoothly without stalling the engine or damaging the gearbox. It's essential for starting from a standstill, stopping, and changing to a higher or lower gear.
Engine braking uses the engine's internal resistance to slow down the motorcycle. It's a crucial technique for managing speed, especially on downhill slopes or when approaching slower traffic, as it complements the primary brakes and can help prevent brake fade.
Rev-matching is the technique of blipping the throttle (briefly accelerating) just before completing a downshift. This raises the engine speed to match the speed of the rear wheel in the lower gear, resulting in a much smoother transition and preventing the rear wheel from locking up.
Generally, lower gears (1st, 2nd) are for starting and low speeds, providing more power. Higher gears (4th, 5th, 6th) are for cruising at higher speeds, offering better fuel efficiency and a more relaxed ride. The goal is to keep the engine within its optimal power band for the current speed and road conditions.
Yes, the CBR theory exam for the A1 licence includes questions that test your understanding of basic motorcycle operation, including how to use the clutch, gearbox, and the principles of engine braking for safe speed management. Understanding these controls is vital for passing.