
Welcome to the essential A1 Motorcycle Maintenance lesson for your Dutch CBR theory exam. Building on your knowledge of vehicle controls and safety checks, this module covers the vital routine maintenance of your engine, drive chain, and braking systems. Understanding these basics is key to keeping your motorcycle safe and roadworthy between services and is a common topic in the CBR theory test.

Maintaining your motorcycle is not merely a recommendation; it's a fundamental aspect of safe riding, optimal performance, and legal compliance in the Netherlands. For riders pursuing the Dutch A1 motorcycle licence, understanding basic maintenance tasks for the engine, drive chain, and braking system is crucial. This lesson will equip you with the knowledge to keep your motorcycle in a safe and reliable condition between professional services, preparing you for both daily rides and the stringent requirements of the CBR licence exam.
Proper maintenance acts as a preventive measure, significantly reducing the risk of mechanical failures that could lead to dangerous situations on the road. It ensures that crucial components like your engine, power transmission system, and brakes function as intended, directly impacting your ability to control the motorcycle, stop effectively, and react safely to changing traffic conditions.
The mechanical integrity of your motorcycle directly translates into your safety and the safety of other road users. Components degrade over time due to friction, heat, and material fatigue. Neglecting these issues can lead to accelerated wear, sudden breakdowns, or catastrophic failures. For A1 riders, who might be newer to motorcycling, this preventive approach is even more critical, as minor mechanical issues can be more challenging to manage.
Beyond personal safety, Dutch traffic law, specifically the Reglement Verkeersregels en Verkeerstekens (RVV 1990), mandates that all motorcycles must be kept in a "good and safe condition." Failure to comply can result in fines, invalidation of insurance, and even the refusal of your CBR practical exam. Regular maintenance ensures your vehicle meets these legal obligations and is always roadworthy.
Dutch legislation sets clear standards for vehicle condition. Article 1.5 of the RVV 1990 states that motorcycles must have sufficient lubricating oil, functional brakes, and a safe drivetrain. Article 1.6 further specifies that the braking system must provide adequate stopping power, and brake pads must have sufficient friction material. These regulations are not just theoretical; they are actively enforced during police checks, the Centrale Verkeersinspectie (CVI), and the CBR practical exam.
Neglecting these maintenance aspects not only risks your safety but can also have serious legal and financial consequences. An invalid insurance policy due to a poorly maintained vehicle could leave you liable for significant costs in the event of an accident.
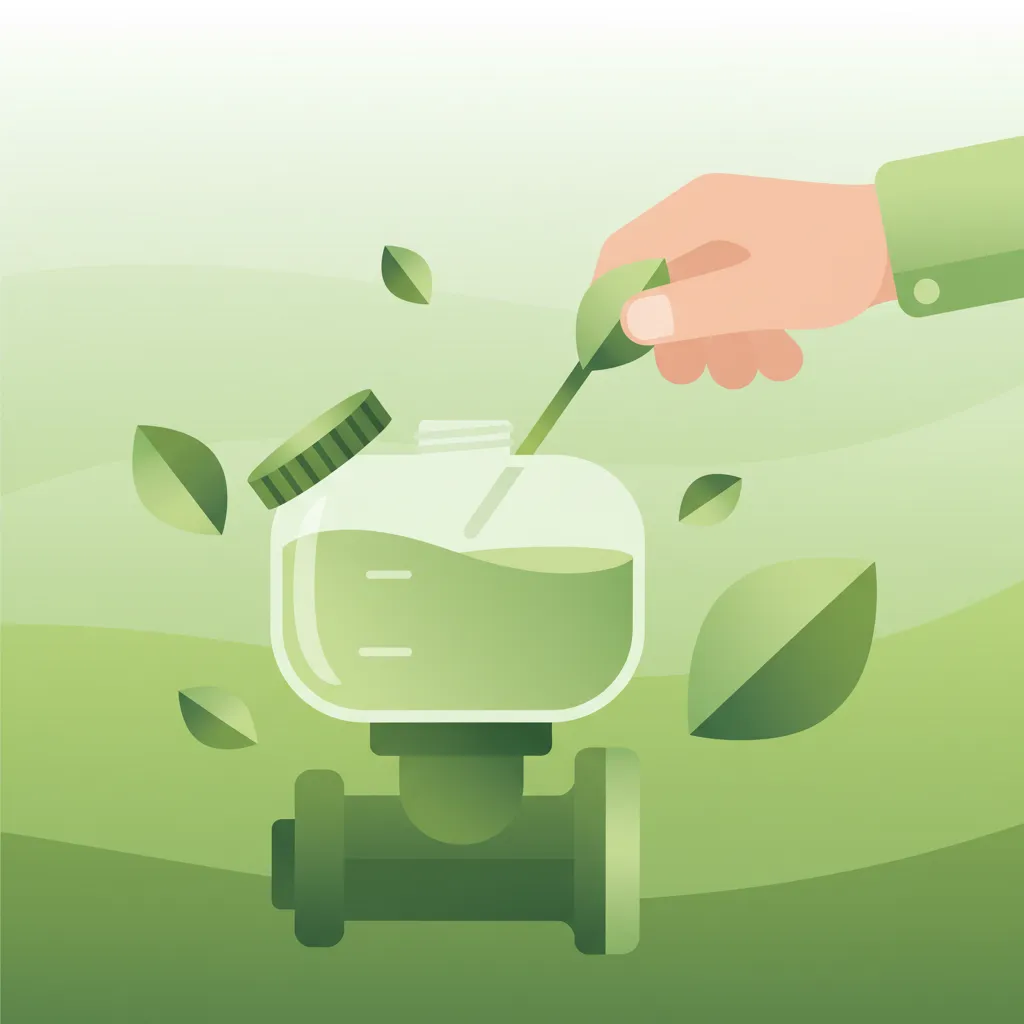
Engine oil is the lifeblood of your motorcycle's engine. It performs multiple critical functions: lubrication to reduce friction between moving parts, cooling by carrying heat away from engine components, cleaning by suspending contaminants, and sealing to improve combustion efficiency. Maintaining the correct oil level and ensuring its quality are paramount for engine longevity and performance.
Insufficient oil leads to increased metal-to-metal contact, causing overheating, excessive wear, and potentially catastrophic engine damage, such as piston seizure. Overfilling, on the other hand, can lead to foaming of the oil, increased crankcase pressure, and potential damage to seals, ultimately reducing lubrication effectiveness.
The procedure for checking engine oil varies slightly depending on your motorcycle's design (e.g., wet sump with a dipstick, or dry sump with an oil tank). Always consult your motorcycle's owner's manual for the precise method.
Always check your owner's manual for the specific procedure and recommended oil type for your motorcycle. Incorrect oil type or checking method can lead to inaccurate readings or engine damage.
Engine oils are classified by their viscosity grade, such as 10W-40. The "W" indicates "winter" viscosity, relating to performance at lower temperatures, while the second number refers to viscosity at operating temperature. Your manufacturer specifies the correct viscosity grade based on engine design and expected operating temperatures.
You'll also encounter synthetic, semi-synthetic, and mineral oils. Synthetic oils generally offer superior performance, better temperature stability, and longer change intervals, but come at a higher cost. Mineral oils are more traditional and cost-effective. Always use the type and grade recommended by your motorcycle manufacturer to ensure optimal lubrication and engine protection.
Riding with an oil level below the minimum mark means insufficient lubrication, leading to metal-on-metal friction, increased heat, and rapid wear of engine components. This can culminate in engine seizure, a catastrophic failure where moving parts weld together due to extreme heat and friction.
Contaminated oil is also a significant hazard. Over time, oil degrades, losing its lubricating properties, and accumulates combustion by-products and metal particles. If the oil appears milky, it could indicate water contamination (e.g., from a head gasket leak), which severely compromises its lubricating ability and can lead to corrosion. Regular oil changes at manufacturer-specified intervals (e.g., every 3,000 to 5,000 km for many A1 motorcycles) are vital.
The drive chain is responsible for transferring power from your engine's output shaft to the rear wheel. It's a critical component of the drivetrain and requires regular attention to ensure efficient power transfer and prevent premature wear or failure. A well-maintained chain contributes to smoother riding, better fuel economy, and reduces the risk of a dangerous chain breakage.
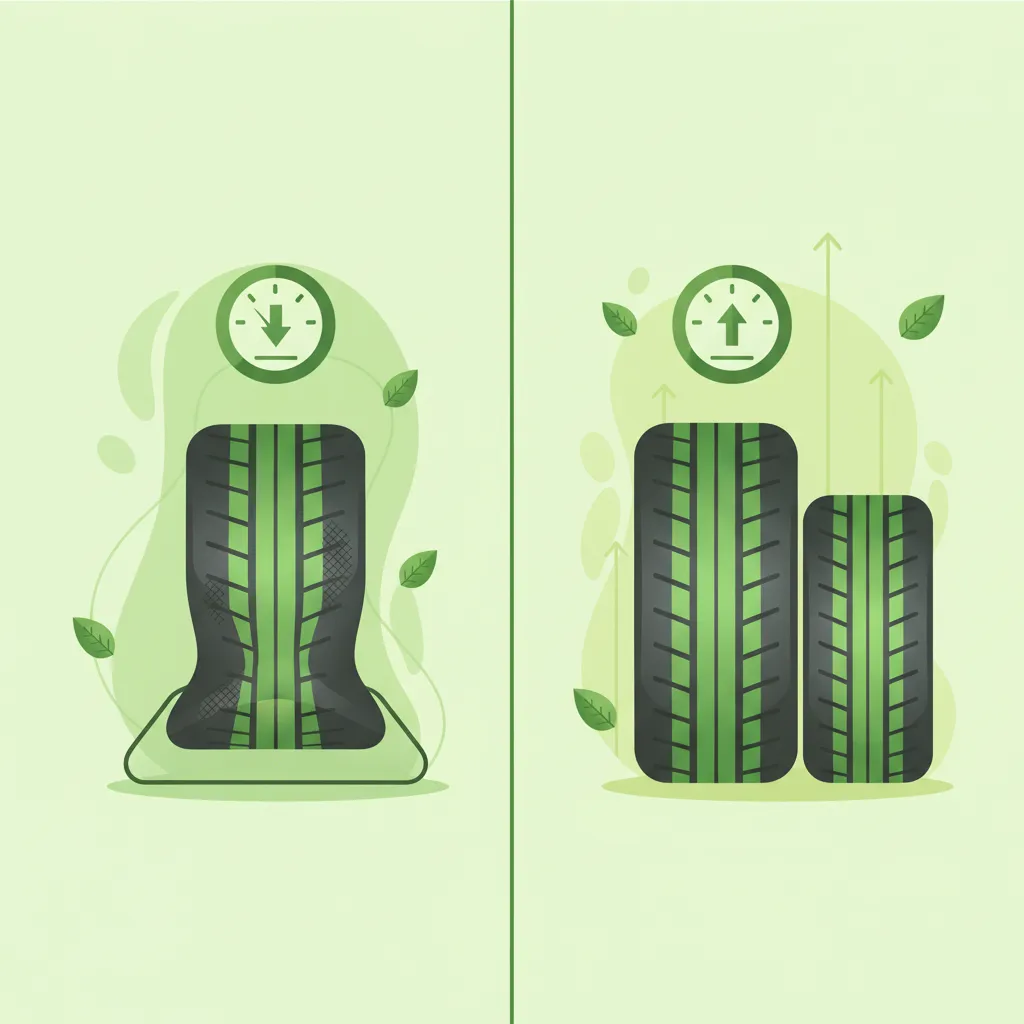
Chain tension, or slack, is the amount of vertical movement the chain has at its midpoint when the motorcycle is on level ground. Incorrect tension is a common cause of accelerated chain and sprocket wear. Too tight a chain puts excessive stress on the engine's output shaft bearing and the rear wheel hub bearing, while too loose a chain can skip teeth on the sprockets, cause erratic power delivery (chain "hop"), or even derail, potentially locking the rear wheel.
After adjusting chain tension, always re-check your rear wheel alignment to ensure it runs true. Misaligned wheels can cause excessive tire wear and affect handling.
Regular cleaning and lubrication extend chain life dramatically. Dirt and grime act as an abrasive paste, grinding away at the chain's rollers and pins. Lubrication reduces friction, prevents rust, and helps seal the internal O-rings or X-rings that retain factory grease.
The frequency of lubrication depends on riding conditions. A general rule is to lubricate every 500 km or after riding in heavy rain. Neglecting lubrication can lead to rapid chain wear, increased friction, and even a noisy, rough drivetrain.
A worn chain will stretch over time, appearing longer than a new one. This stretch leads to uneven power transmission and can be detected by measuring chain slack at various points. More visibly, individual rollers might appear worn or "hooked."
Sprockets, both front and rear, wear in conjunction with the chain. A new chain on worn sprockets or vice-versa will accelerate wear on the newer component. Worn sprockets exhibit a "shark-tooth" profile, where the teeth become thin and pointed instead of uniformly rounded. If your chain needs replacement, it's generally advised to replace both sprockets simultaneously to ensure even wear and optimal performance.
Incorrect chain tension leads to a cascade of problems. A chain that is too tight experiences excessive stress, particularly on the output shaft and wheel bearings, leading to premature failure. It can also reduce the rear suspension's effectiveness. A chain that is too loose can whip, creating jerky power delivery, wearing the chain guides, and increasing the risk of it coming off the sprockets, which can lock the rear wheel and cause a serious accident.
Poor lubrication, or using an incompatible lubricant (like WD-40 alone, which is not designed for lasting chain lubrication), causes rapid wear due to friction and corrosion. This reduces the chain's lifespan, increases noise, and diminishes power transfer efficiency, potentially increasing fuel consumption.
Your motorcycle's braking system is your primary safety mechanism, responsible for safely slowing down and stopping. It comprises brake pads, discs (rotors), and hydraulic fluid (for most A1 motorcycles). Each component must be in excellent condition to guarantee reliable stopping power. Article 1.6 of the RVV 1990 explicitly mandates that brakes must be fully functional and possess sufficient friction material.
Brake pads are friction material pressed against the brake discs to generate stopping force. They wear down with use. Inspecting their thickness is a critical routine check.
Riding with excessively worn brake pads significantly reduces braking efficiency, increases stopping distances, and can damage the brake discs if the metal backing plate of the pad starts contacting the disc.
Brake discs, or rotors, are the metal plates that rotate with the wheel and against which the brake pads press. They must be smooth and flat to provide consistent braking. Over time, discs can wear down, developing grooves or becoming too thin.
Warped or deeply grooved discs lead to pulsating brake levers, reduced braking performance, and accelerated pad wear.
Brake fluid is a non-compressible hydraulic fluid that transmits the force from your brake lever or pedal to the brake calipers, activating the pads. Most motorcycles use DOT 4 or DOT 5.1 fluid, which are hygroscopic, meaning they absorb moisture from the air over time.
Water contamination in brake fluid is a serious safety concern. Water has a much lower boiling point than brake fluid. During heavy braking, the heat generated in the calipers can boil the water in the fluid, creating vapor bubbles. Since vapor is compressible, this leads to a "spongy" brake lever and significant loss of braking power, a phenomenon known as brake fade.
The Centrale Verkeersinspectie (CVI) guidelines, and most manufacturers, recommend flushing and replacing brake fluid every two years, regardless of mileage. This prevents dangerous moisture accumulation. Never mix different types of brake fluid (e.g., DOT 4 with DOT 5, which is silicone-based and incompatible with most systems).
Brake fade is the reduction in braking power due to excessive heat. This most commonly occurs when brake fluid boils (due to water contamination) or when pads and discs overheat and lose their friction properties. It manifests as a spongy brake lever or pedal that requires more effort to achieve the same stopping power, or even total loss of braking.
Maintaining hydraulic system integrity involves ensuring no air is present in the brake lines and that all seals are intact. Air bubbles, like water vapor, are compressible and will reduce hydraulic pressure, leading to a spongy lever feel and diminished braking. If you've replaced brake fluid, opened any part of the brake system, or notice a spongy lever, the system needs to be bled to remove air.
Adhering to a robust maintenance schedule is not just good practice; it's a legal obligation for all motorcyclists in the Netherlands. The regulatory framework ensures that all vehicles on public roads meet a minimum standard of safety.
The Reglement Verkeersregels en Verkeerstekens (RVV 1990) contains fundamental rules for road users and vehicle condition. As mentioned, Article 1.5 and 1.6 are crucial for motorcycle maintenance, broadly requiring the vehicle to be in a safe, roadworthy condition with functional parts, including the engine and brakes. Failure to comply can result in fines during roadside checks. For example, riding with a chain so worn it's deemed unsafe, or brake pads below minimum thickness, would constitute a violation.
The Centrale Verkeersinspectie (CVI) sets guidelines for vehicle inspections in the Netherlands. While passenger cars have a mandatory annual APK (Algemene Periodieke Keuring), motorcycles have different inspection intervals. For new motorcycles, the first inspection is often after four years, and then every two years. During a CVI inspection, items like chain wear, brake pad thickness, and the age and condition of brake fluid are rigorously checked. Failure to meet prescribed limits will result in the motorcycle failing the inspection, making it illegal to ride until repairs are made.
Before you even start the engine for your CBR practical motorcycle exam, the examiner will perform a thorough visual inspection of your motorcycle. This pre-ride check includes assessing critical maintenance items. The examiner has the right to refuse to conduct the test if the motorcycle fails any roadworthiness check, such as:
Ensuring your motorcycle is in impeccable mechanical condition is not just for passing the exam; it's a habit that fosters lifelong safe riding.
Motorcycle maintenance schedules are often provided for "normal" riding conditions. However, specific environmental factors, riding styles, and loads can accelerate wear and necessitate more frequent checks and interventions.
In cold weather, engine oil viscosity increases. While your chosen oil should be suitable for the temperature range, it means the engine takes slightly longer to warm up and for the oil to circulate efficiently. Chain contraction might also make a chain appear tighter; always measure slack after the chain has warmed up.
Wet conditions are particularly harsh on the drive chain. Water can quickly wash away lubricant and accelerate rust formation. After riding in rain, it's crucial to dry the chain thoroughly and re-lubricate it as soon as possible, regardless of the usual 500 km interval. For braking, some pad materials perform better in wet conditions (e.g., sintered pads maintaining friction when damp).
High-speed highway riding or carrying heavy loads (a passenger, luggage) places increased stress on almost every component.
If you install aftermarket performance parts, especially for the drivetrain or braking system, always follow the specific maintenance recommendations provided by the aftermarket manufacturer. These parts may have different tolerances or material compositions requiring altered service schedules.
After any significant engine overhaul or repair, it's mandatory to perform an initial oil fill and then verify the oil level during a "break-in" period. New components may have different tolerances, and proper lubrication during this initial phase is crucial for their longevity. Similarly, any work on the brake system (e.g., caliper rebuild) requires careful bleeding of the system to ensure no air remains.
At its heart, maintenance is about prevention. Instead of waiting for a component to fail, which can be dangerous and costly, preventive maintenance involves scheduled checks and interventions. This approach extends component life, ensures consistent performance, and guarantees legal compliance.
Key principles include:
By embracing these principles, you take proactive control over your motorcycle's health, ensuring it remains a safe and reliable companion on the Dutch roads.
Understanding maintenance theoretically is one thing; applying it in real-world scenarios is another. Here are some examples that illustrate the practical application of maintenance principles.
You're about to start your 15 km urban commute on a cold 5 °C morning. Correct Behavior: You check your engine oil on a cold engine, confirming it's above the minimum mark. After a short 5 km ride to warm up, you pull over to re-check your chain slack, finding it to be 28 mm – well within your motorcycle's 20-35 mm specification. Explanation: Cold oil is thicker, and the level appears stable. Re-checking the chain after a brief warm-up accounts for thermal expansion and provides a more accurate slack measurement for adjustment.
You are enjoying a 30 km ride on a rural two-lane road at 60 km/h, with a passenger on the back. Correct Behavior: Before the ride, you've ensured your brake pads are at 1.2 mm thickness and your brake fluid, replaced last year, has a water content of 1.4%, both acceptable. You notice no brake fade, even during slightly harder braking with the added load. Explanation: Carrying a passenger increases the load on the brakes. Well-maintained pads and fresh fluid ensure reliable stopping power without overheating or fade.
You're embarking on a 200 km highway journey at 120 km/h in 30 °C ambient temperatures. Correct Behavior: Knowing the demands of high-speed and high-temperature riding, you stop at a service station after 180 km. You quickly clean your chain and apply approved chain lubricant, then check its tension again (after it's cooled slightly) to ensure it's still within the 30 mm specification. Explanation: High speeds and temperatures accelerate chain wear and dry out lubricants. Proactive lubrication and tension checks prevent premature wear and maintain power delivery.
You've just performed an engine oil and brake fluid change and are scheduled for your CBR practical test next week. Correct Behavior: You meticulously fill the engine oil to the midpoint, thoroughly bleed the brakes until the lever feels firm, check your brake pad thickness and chain tension, and confirm all are within legal and manufacturer-specified limits. You also document the service in your maintenance log. Explanation: The CBR examiner will conduct a thorough pre-test inspection. Any maintenance deficiency, such as air in the brake lines causing a spongy lever, would result in the test being postponed. Proper bleeding is critical after a fluid change.
Lesson content overview
Explore all units and lessons included in this driving theory course.
Explore search topics learners often look for when studying Maintenance Basics for Engine, Chain, and Brakes. These topics reflect common questions about road rules, driving situations, safety guidance, and lesson level theory preparation for learners in the Netherlands.
Browse additional driving theory lessons that cover connected traffic rules, road signs, and common driving situations related to this topic. Improve your understanding of how different rules interact across everyday traffic scenarios.
Learn the fundamental routine maintenance for your A1 motorcycle, including checking engine oil levels, lubricating the drive chain, and inspecting brake system components. Ensure your vehicle is safe and compliant with Dutch regulations.

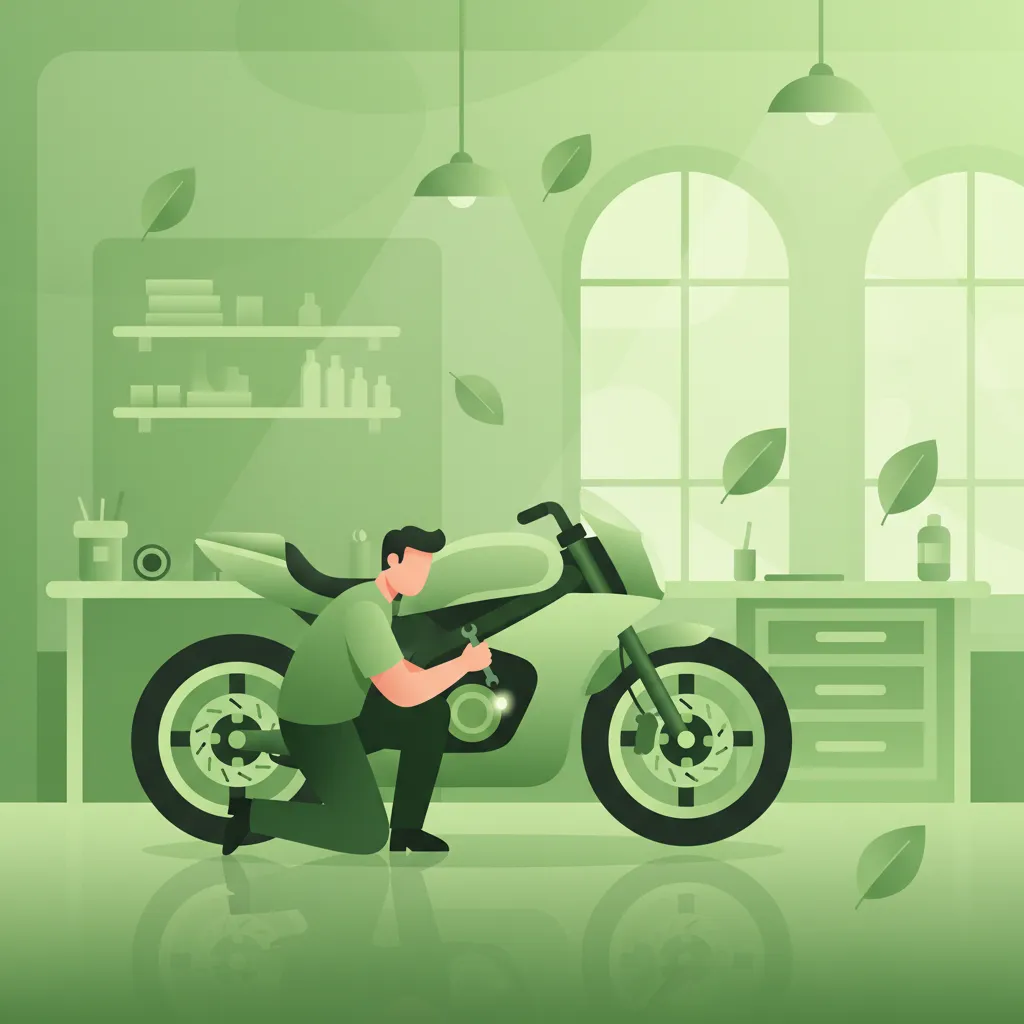
This lesson highlights the importance of adhering to the manufacturer's recommended maintenance schedule, which can be found in the owner's manual. It explains that regular servicing by qualified technicians is vital for long-term reliability and safety. The lesson also discusses the benefits of keeping a detailed service log, which not only helps track maintenance needs but also preserves the motorcycle's resale value.
This lesson teaches riders how to conduct regular visual inspections of their motorcycle's braking system, a critical safety routine. It covers how to check the thickness of brake pads and look for signs of wear or damage on brake discs. The curriculum also explains the importance of monitoring the brake fluid level and condition, as old fluid can compromise braking performance, ensuring the system is always ready for an emergency.

This lesson introduces a systematic pre-ride check, often remembered by the acronym T-CLOCS (Tires, Controls, Lights, Oil, Chassis, Stands). It provides a structured routine to ensure a motorcycle is safe to ride before every trip. Learners will understand how to quickly and efficiently inspect tire pressure and condition, verify all lights and controls are working, check fluid levels, and ensure the chassis and stand are secure.

This lesson explains the phenomenon of brake fade, a temporary loss of braking performance caused by overheating, and how to avoid it. It also details the essential maintenance and pre-ride inspection points for a motorcycle's braking system. Learners will understand how to check brake fluid levels, inspect brake pads for wear, and assess the overall condition of brake lines and levers to ensure the system is always in safe, working order.

This lesson explains the function of the clutch and gearbox in managing the motorcycle's power and speed. It details the correct techniques for upshifting and downshifting, including the concept of rev-matching for smoother transitions. The principles of engine braking are also covered, illustrating how releasing the throttle in gear provides controlled deceleration, which is a key skill for managing speed and reducing brake wear.

This lesson explains the precise legal definition of a Category A1 motorcycle, including the maximum 125cc displacement and 11 kW power output. It outlines the entire CBR licensing pathway, from meeting the minimum age requirement to passing both the theory and practical exams. Key administrative obligations such as vehicle registration (kenteken), mandatory insurance, and roadworthiness inspections (APK) are also detailed, ensuring a full understanding of legal compliance.
This lesson details the systematic procedure for checking the functionality of all lights and indicators before a ride. This simple but critical safety check includes verifying the operation of the high and low beam headlight, the taillight, the brake light (using both front and rear brake activators), and all four turn signals. Ensuring all lights are working is a legal requirement and fundamental for visibility and communicating intentions to other road users.

Your brakes are your most important safety feature. This lesson explains how to conduct a basic inspection of your braking system. For hydraulic brakes, you will learn how to check the brake fluid level and condition through the reservoir sight glass. The lesson also covers a visual inspection of brake pads for wear and checking brake discs for scoring or damage. Finally, it describes how to test the feel of the brake levers for firmness, ensuring the system is functioning correctly.
This lesson explains the legal framework for the mandatory periodic technical inspection (APK) as it applies to motorcycles in the Netherlands, although noting its specific applicability rules. It outlines the key safety and environmental components that are scrutinized during the inspection, such as brakes, tires, lighting, and exhaust emissions. Understanding these criteria helps riders maintain their vehicle in a constant state of roadworthiness and prepare for the formal inspection when required.

This lesson outlines the rider's responsibility for ensuring their motorcycle's engine and exhaust system comply with Dutch legal standards. It covers basic but vital pre-ride checks, such as verifying engine oil and coolant levels. A significant focus is placed on exhaust compliance, explaining the regulations regarding noise levels ('geluidseisen') and the rules surrounding aftermarket exhaust systems, including the requirement for approved markings and the use of 'dB-killers'.
Understand the legal requirements for motorcycle roadworthiness in the Netherlands, including engine, brakes, and drivetrain condition as mandated by RVV and enforced by CVI. Learn how proper maintenance impacts rider safety and CBR exam success.
This lesson highlights the importance of adhering to the manufacturer's recommended maintenance schedule, which can be found in the owner's manual. It explains that regular servicing by qualified technicians is vital for long-term reliability and safety. The lesson also discusses the benefits of keeping a detailed service log, which not only helps track maintenance needs but also preserves the motorcycle's resale value.
This lesson details the systematic procedure for checking the functionality of all lights and indicators before a ride. This simple but critical safety check includes verifying the operation of the high and low beam headlight, the taillight, the brake light (using both front and rear brake activators), and all four turn signals. Ensuring all lights are working is a legal requirement and fundamental for visibility and communicating intentions to other road users.
This lesson covers the mandatory lighting and signaling equipment for A2 motorcycles under Dutch law, ensuring you remain visible and communicate your intentions correctly. You will learn the rules for using headlights, taillights, turn signals, and brake lights in various conditions, including daytime and adverse weather. The content also addresses the importance of maintaining this equipment and using hand signals as a valid secondary method of communication in traffic.

Each season brings unique challenges for riders. This lesson discusses common seasonal hazards, such as wet autumn leaves that are as slippery as ice, the risk of black ice in winter, and increased agricultural traffic in the summer. It also highlights the importance of seasonal vehicle maintenance. For example, after winter, it is crucial to wash away corrosive road salt, and before winter, to check antifreeze and battery health, ensuring your vehicle is prepared for the conditions ahead.
This lesson explains the legal framework for the mandatory periodic technical inspection (APK) as it applies to motorcycles in the Netherlands, although noting its specific applicability rules. It outlines the key safety and environmental components that are scrutinized during the inspection, such as brakes, tires, lighting, and exhaust emissions. Understanding these criteria helps riders maintain their vehicle in a constant state of roadworthiness and prepare for the formal inspection when required.

Your vehicle's lights and horn are your primary tools for seeing, being seen, and communicating warnings. This lesson guides you through a simple but vital check of all electrical components before you ride. You will learn how to verify the function of your headlight (high and low beam), taillight, brake light (using both front and rear brake levers), and turn signals. It also covers checking the horn's operation and ensuring all mandatory reflectors are clean and intact.

This lesson prepares riders for the possibility of a routine police check ('verkeerscontrole'). It explains what officers typically inspect, which includes the required documentation, the roadworthiness of the motorcycle (e.g., tire tread depth, exhaust legality), and the rider's sobriety. The curriculum provides guidance on how to interact calmly and cooperatively with law enforcement, ensuring the stop proceeds smoothly and efficiently while being aware of one's basic rights.

Holding a license and owning a vehicle comes with continuous legal responsibilities. This lesson reminds you of the importance of renewing your driving license before it expires and ensuring your vehicle's insurance policy remains active. It also covers your duty to inform the relevant authorities (like the RDW) of any changes, such as a change of address. Fulfilling these administrative obligations is essential to remaining a legal and responsible road user in the Netherlands.
This lesson emphasizes that tires are the single most critical safety component on a motorcycle, being the only connection to the road. It provides detailed instructions on how to correctly check tire pressure ('bandenspanning') when the tires are cold and explains how to read tire wear indicators to assess remaining tread depth. The content also covers the legal minimum tread depth and the severe impact that incorrect pressure or excessive wear has on handling, braking, and overall safety.
This lesson provides a definitive list of the documents a motorcyclist must carry at all times when riding in the Netherlands. It specifies the requirement for a valid driving license ('rijbewijs') for the correct category, the vehicle registration card ('kentekenbewijs'), and proof of valid third-party liability insurance ('verzekeringsbewijs'). The content clarifies that failure to produce these documents during a police check can result in significant fines and legal complications.
Find clear answers to common questions learners have about Maintenance Basics for Engine, Chain, and Brakes. Learn how the lesson is structured, which driving theory objectives it supports, and how it fits into the overall learning path of units and curriculum progression in the Netherlands. These explanations help you understand key concepts, lesson flow, and exam focused study goals.
For A1 motorcycles, it's recommended to check your engine oil level at least once a week, or before any long journey. Consistent checking ensures your engine is adequately lubricated, preventing damage and ensuring optimal performance, which is a common point tested in the CBR theory exam.
The ideal chain tension allows for about 2-3 cm (roughly 1 inch) of up-and-down movement. Too tight, and it can damage components; too loose, and it can derail or cause poor performance. Always refer to your specific motorcycle's manual for exact specifications, as this can be a theory exam question.
Visually inspect the brake pads through the wheel spokes. If the friction material (the pad itself) is worn down to less than about 1-2 mm, it's time for replacement. You might also hear a squealing noise from the wear indicator or feel reduced braking performance. Knowing this is vital for the CBR theory test.
Neglecting chain maintenance can lead to premature wear of the chain, sprockets, and even the gearbox output shaft. A loose or worn chain can also affect your motorcycle's performance, handling, and in severe cases, could break or derail, causing a dangerous situation. This is crucial knowledge for safe A1 riding.
Yes, understanding basic vehicle maintenance, including checks on the engine, chain, and brakes, is part of the CBR theory exam. Questions often assess a rider's awareness of their vehicle's condition and its impact on safety and roadworthiness.