
This lesson in Unit 4 covers crucial safety procedures for AM license holders. You'll learn how to react correctly when an emergency vehicle needs priority and how to manage your vehicle safely during an emergency stop, skills vital for both the CBR theory exam and confident riding.

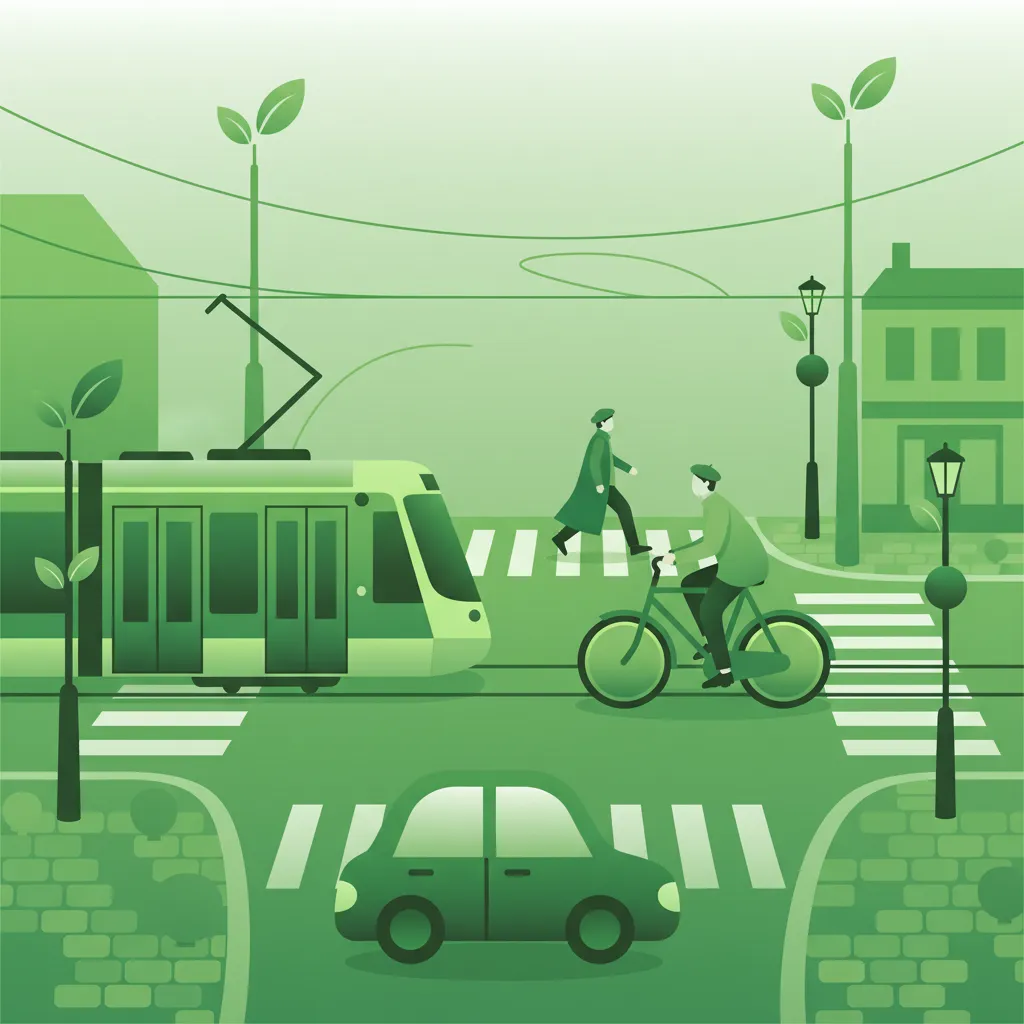
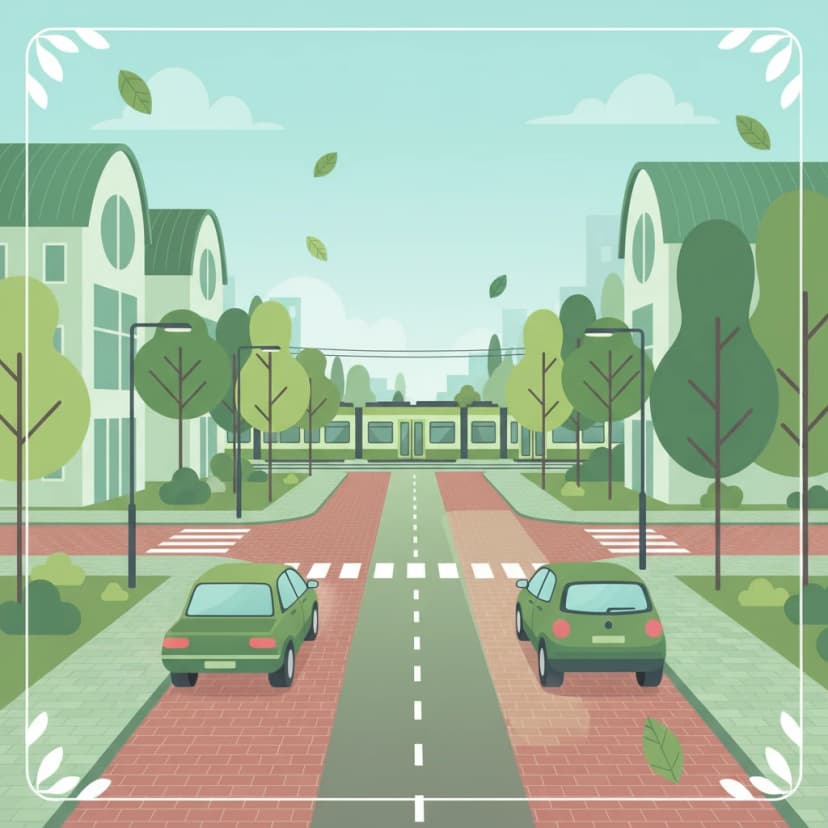
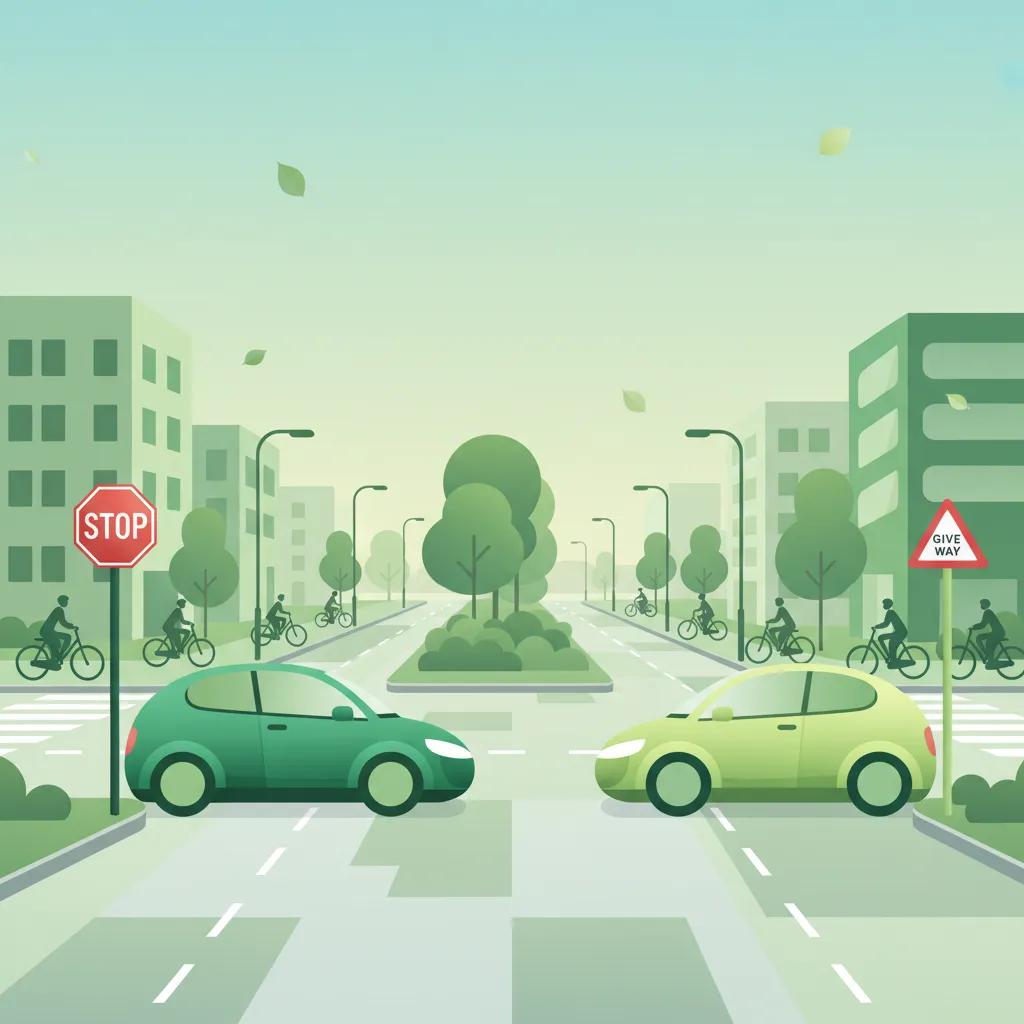
On Dutch roads, swift and correct actions are crucial during unexpected events. This lesson, vital for all Category AM (moped and scooter) drivers, details two critical situations: safely yielding to priority vehicles and performing an emergency stop due to a breakdown or obstruction. Mastering these procedures ensures your safety and that of other road users, while also complying with strict Dutch traffic laws.
Understanding and correctly executing these maneuvers helps prevent accidents, reduces congestion, and ensures emergency services can reach their destinations without delay. Failure to act appropriately can lead to severe consequences, including fines, penalties, and even dangerous collisions.
Priority vehicles, known as prioriteitsvoertuigen in Dutch, are specifically authorized vehicles that require immediate right-of-way on the road. Their purpose is to respond to emergencies quickly and efficiently, often in situations where every second counts. As a moped or scooter rider, recognizing these vehicles and understanding your obligations is paramount.
The main types of priority vehicles in the Netherlands include:
When any of these vehicles are actively using their emergency signals, they are asserting their legal right to priority, and all other road users, including moped and scooter riders, must give way without delay.
The identification of a priority vehicle relies on two distinct types of signals: visual and audible. According to Dutch law, specifically RVV 1990 article 18.1, the presence of these signals mandates your immediate attention and action.
A visual signal consisting of alternating blue flashing lights, mounted on a priority vehicle, indicating its emergency status and need for right-of-way.
Blue flashing lights are the primary visual indicator. These lights must be clearly visible, often mounted on the roof or integrated into the vehicle's bodywork. Their purpose is to alert road users of the approaching emergency vehicle, especially at a distance or in conditions where sound might be obscured.
An audible warning sound, continuous or intermittent, used by priority vehicles to alert road users of their approach and request for priority.
Sirens provide the audible warning. They can be continuous, often used in dense urban traffic to cut through noise, or intermittent, common in less congested areas. The combination of both blue lights and a siren signifies the highest level of urgency, requiring all road users to be immediately aware and prepare to yield. Even if you only perceive one of these signals (e.g., hearing a siren before seeing lights), you must prepare to give way.
Never confuse blue flashing lights with other flashing beacons, such as amber warning lights used by maintenance vehicles. Only blue flashing lights indicate a priority vehicle.
The legal framework for yielding to priority vehicles is explicitly defined in Dutch traffic regulations. The Wegenverkeerswet 1994 (Dutch Road Traffic Act 1994) and the Reglement Verkeersregels en Verkeerstekens 1990 (Traffic Rules and Traffic Signs 1990, or RVV 1990) lay out these critical obligations.
The mandatory action of slowing down, stopping, or moving aside to allow another road user, especially a priority vehicle, to proceed unobstructed.
RVV 1990 Article 18.2 unequivocally states that all road users must give way to a vehicle displaying a blue flashing light and sounding a siren. This applies universally to all traffic participants: car drivers, cyclists, pedestrians, and crucially, moped and scooter riders. Your action must be to create a clear, unobstructed path for the emergency vehicle as safely and quickly as possible.
Ignoring these signals, or failing to yield promptly and safely, constitutes a serious traffic offense. It not only endangers the lives of those in the emergency vehicle and the people they are trying to reach but also carries significant legal penalties under WVW 1994, including substantial fines and potential penalty points on your driving license.
As a moped or scooter rider, your smaller size and agility can be an advantage when yielding, but it also means you must be extra vigilant to ensure you are seen and do not inadvertently put yourself in a dangerous position. A systematic approach to yielding is vital.
When you detect a priority vehicle approaching, follow these steps to ensure a safe and legally compliant yielding procedure:
Remember that the priority vehicle might not always follow typical traffic lanes, especially in congested situations. Be prepared for them to use any available clear space. Your predictable actions make their passage safer.
When moving to the side of the road, maintaining adequate lateral clearance is essential. This is the minimum horizontal distance you keep between your vehicle and the edge of the carriageway, or between your vehicle and other obstacles.
The minimum horizontal distance maintained between a vehicle and the side of the road, or between two vehicles, particularly when yielding or changing lanes.
For moped and scooter riders, aim for at least 1 meter of clearance from the curb or nearest obstacle when you pull over. In adverse conditions like heavy rain, fog, or at night, increase this distance to at least 1.5 meters for added safety. This space ensures that the emergency vehicle can pass without any risk of contact with your vehicle.
On roads with designated hard shoulders (vluchtstrook on motorways) or emergency lanes, utilize these areas fully. In urban environments, if safely possible and not obstructing pedestrians or cyclists, you may temporarily pull onto the sidewalk or designated waiting areas, provided you can do so without causing danger. Always prioritize safety over strict adherence to lane lines when an emergency vehicle is approaching.
Several common errors can compromise safety and lead to legal issues when yielding:
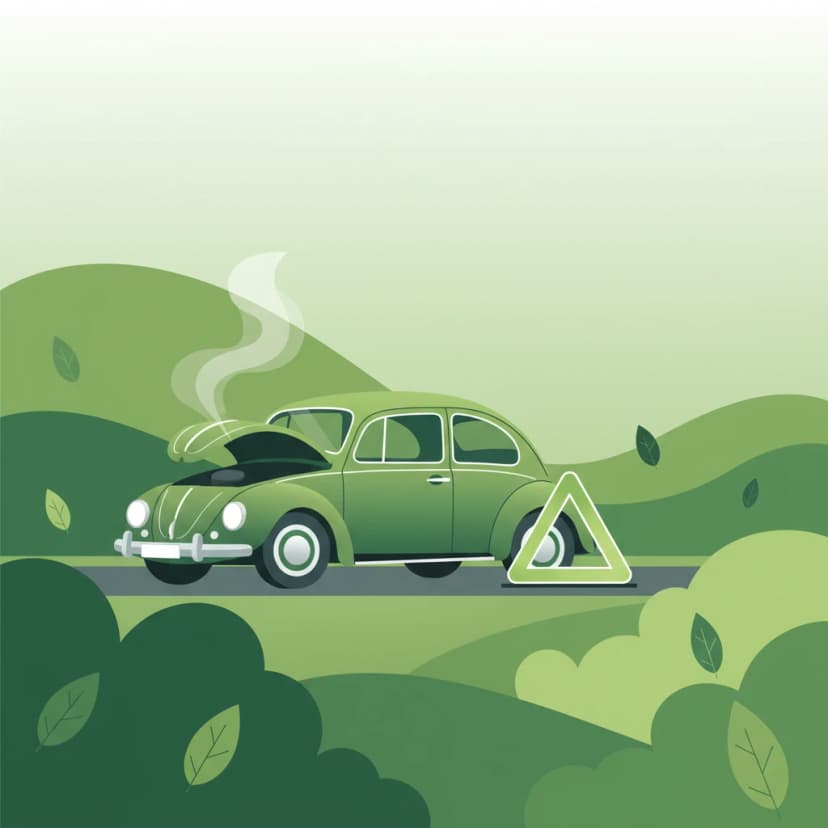
Beyond yielding to priority vehicles, knowing how to perform a safe emergency stop is crucial. This refers to an unplanned halt of your vehicle due to unforeseen circumstances, such as a mechanical failure, a sudden obstruction, or an immediate danger. Your actions during an emergency stop are critical for preventing further accidents.
An emergency stop is distinguished from a normal stop or parking by its unplanned and urgent nature. Situations necessitating an emergency stop for a moped or scooter rider include:
In any of these scenarios, your immediate priority is to bring your vehicle to a safe halt and then warn other road users of your presence.
One of the most important actions during an emergency stop is to activate your hazard warning lights. These are flashing amber lights that simultaneously illuminate all your vehicle's indicators (front and rear).
Flashing amber lights on a vehicle that activate all turn indicators simultaneously, used to signal that the vehicle is stopped or moving significantly slower due to a hazard or emergency.
RVV 1990 Article 20.1 explicitly states that hazard warning lights may only be used when a vehicle is stopped or moving at a significantly reduced speed due to an immediate hazard. Their purpose is to dramatically increase your vehicle's visibility, particularly in poor light conditions, bad weather, or on high-speed roads, alerting other drivers to an unexpected obstacle.
It is illegal and dangerous to use hazard warning lights while driving normally, even in adverse weather. This misleads other road users and can lead to fines.
After activating your hazard lights, the next critical step is to position your stopped vehicle as safely as possible. The goal is to minimize obstruction to traffic flow and reduce the risk of secondary collisions.
RVV 1990 Article 20.3 requires drivers to position a stopped vehicle as far to the right as practicable (or left in left-hand traffic, though not applicable in the Netherlands), ensuring it does not obstruct traffic flow.
Preferred locations for an emergency stop:
If it is absolutely impossible to move your vehicle off the main carriageway, ensure your hazard lights are active, and if safe to do so, dismount and move to a safe location away from traffic while waiting for assistance.
Your safety doesn't end once your vehicle is stopped. If you must exit your moped or scooter, especially on busy roads or at night, you become a pedestrian in a hazardous environment.
A reflective garment, typically yellow or orange, designed to enhance the wearer's visibility to other road users, especially in low light or poor weather conditions.
It is highly recommended, and often legally required under Dutch Road Traffic Act article 26 in certain situations, to carry and wear a high-visibility vest (veiligheidsvest) when you leave your vehicle on a public road in a potentially hazardous position. This vest significantly increases your visibility to passing traffic, reducing the risk of being hit.
Additionally, if space and conditions permit, place a warning triangle (gevarendriehoek) behind your stopped vehicle.
A portable, reflective triangular sign placed on the road behind a disabled vehicle to warn approaching traffic of the obstruction.
The warning triangle should be placed at a distance that provides ample warning to approaching drivers:
Always prioritize your personal safety when placing the triangle. If conditions are too dangerous (e.g., heavy traffic, poor visibility), it may be safer to rely solely on your hazard lights and remain in a safe location.
Compliance with Dutch traffic law is not just about avoiding penalties; it's about contributing to overall road safety. The rules governing priority vehicles and emergency stops are clear and strictly enforced.
The primary legal texts are the Reglement Verkeersregels en Verkeerstekens 1990 (RVV 1990), which details specific traffic rules and signs, and the Wegenverkeerswet 1994 (WVW 1994), which provides the overarching legal framework for road traffic.
Here's a summary of the key articles discussed:
These articles form the bedrock of safe driving practices during emergencies and are strictly enforced by law enforcement.
Failing to adhere to these regulations carries significant legal consequences. The specific penalties can vary based on the severity of the infraction and whether it results in a dangerous situation or an accident.
Generally, infractions can lead to:
Beyond legal repercussions, the greatest consequence of non-compliance is the increased risk of accidents, injuries, or even fatalities.
Responding to emergencies on the road is not a one-size-fits-all scenario. Factors like weather, road type, and other road users require you to adapt your actions.
Navigating emergency situations on the road requires a combination of knowledge, vigilance, and quick, decisive action. As a Category AM driver in the Netherlands, your ability to correctly yield to priority vehicles and perform a safe emergency stop is fundamental to road safety.
Always remember these core principles:
By integrating these practices into your everyday riding, you contribute to a safer, more efficient road network for everyone.
Lesson content overview
Explore all units and lessons included in this driving theory course.
Explore search topics learners often look for when studying Emergency Stops and Priority Vehicles. These topics reflect common questions about road rules, driving situations, safety guidance, and lesson level theory preparation for learners in the Netherlands.
Browse additional driving theory lessons that cover connected traffic rules, road signs, and common driving situations related to this topic. Improve your understanding of how different rules interact across everyday traffic scenarios.
Learn how to safely react when an emergency vehicle approaches with sirens and blue lights in the Netherlands. This lesson also details legally required actions for roadside breakdowns and hazard situations.
This lesson provides a clear action plan for when your car breaks down. You will learn to pull over to a safe location, preferably the hard shoulder on a motorway, and immediately activate your hazard warning lights. The curriculum explains the legal requirement to place a warning triangle a suitable distance behind the vehicle (if safe to do so) and the strong recommendation to wear a high-visibility jacket. Crucially, it instructs that all occupants should exit the vehicle on the safe side and wait behind the guardrail for assistance.

A vehicle breakdown can be a dangerous situation if not handled correctly. This lesson provides a clear safety protocol: switch on your hazard lights immediately, and move your vehicle as far to the right of the road or onto the hard shoulder as possible. For your personal safety, you should get away from the vehicle and stand behind a safety barrier if one is available. You will learn the steps for calling for roadside assistance and the legal requirements regarding warning triangles if applicable.

This lesson teaches the procedure for executing an emergency stop in response to a sudden, extreme hazard. You will learn how to apply maximum braking pressure quickly and decisively while keeping the steering wheel straight to maintain control. The role of the Anti-lock Braking System (ABS) in preventing wheel lock-up and allowing the driver to continue steering is explained. The lesson also covers the importance of checking mirrors, if time permits, and securing the vehicle safely after the stop.

This lesson details the legal obligation and safe procedures for yielding to emergency vehicles ('noodvoertuigen' or 'voorrangsvoertuigen') that are using audible and visual warnings. It provides clear guidance on how to safely create space, whether by pulling over, adjusting speed, or clearing an intersection, without causing a secondary hazard. The content emphasizes maintaining composure and making predictable maneuvers to allow emergency services to pass quickly and safely.

This lesson covers the procedures and safety considerations for driving in reverse and turning around. You will learn that reversing should only be done over short distances and when it does not endanger or obstruct other road users. The curriculum details techniques for turning in the road and identifies situations and locations where U-turns are prohibited. The importance of all-around observation, checking blind spots, and yielding to all other traffic is a central theme.
This lesson covers the full range of lights and signals required on a vehicle for visibility and communication. You will learn about the mandatory requirements for headlights, taillights, brake lights, indicators, and reflectors. The curriculum emphasizes the driver's legal responsibility to ensure all lights are clean and functional before every journey. The correct use and function of the horn as an audible warning device in case of imminent danger are also explained.

This lesson details the specific regulations for driving on Dutch motorways, identifiable by the G1 sign. You will learn the correct procedure for joining the flow of traffic using the acceleration lane and for leaving via the deceleration lane. The curriculum reinforces the 'keep right unless overtaking' rule for lane discipline. It also explains that stopping is strictly forbidden, and the hard shoulder (vluchtstrook) may only be used for genuine emergencies.
This lesson addresses special situations where standard priority rules are superseded. You will learn the absolute priority of emergency vehicles using sirens and flashing lights, and the correct procedure for giving them way safely. The content also explains the specific priority rules for trams, which often have right-of-way over other traffic, as well as for military columns and official funeral processions. Furthermore, the lesson reinforces the rules for yielding to pedestrians at designated zebra crossings.

This lesson provides foundational knowledge in emergency response. While not a full first aid course, it covers the basic principles of assisting an injured person until professional help arrives, such as ensuring their airway is clear. You will learn exactly what information to provide when you call 112, including the precise location, the number of vehicles and people involved, and the nature of any injuries. This ensures that the correct emergency services can be dispatched as quickly as possible.
This lesson focuses on the three most critical safety systems of a car. You will learn the legal minimum tire tread depth (1.6 mm) and the importance of maintaining correct tire pressure for safety and fuel efficiency. The content covers the basics of the braking system, including how to check brake fluid and recognize warning signs of worn brakes. Additionally, the lesson explains the function of the steering system and the importance of ensuring it operates smoothly and without issue.
Understand the critical Dutch traffic rules for yielding to priority vehicles like ambulances and police, and learn the correct procedure for performing a safe emergency stop due to breakdown. Essential theory for all drivers.
This lesson addresses special situations where standard priority rules are superseded. You will learn the absolute priority of emergency vehicles using sirens and flashing lights, and the correct procedure for giving them way safely. The content also explains the specific priority rules for trams, which often have right-of-way over other traffic, as well as for military columns and official funeral processions. Furthermore, the lesson reinforces the rules for yielding to pedestrians at designated zebra crossings.
This lesson details the legal obligation and safe procedures for yielding to emergency vehicles ('noodvoertuigen' or 'voorrangsvoertuigen') that are using audible and visual warnings. It provides clear guidance on how to safely create space, whether by pulling over, adjusting speed, or clearing an intersection, without causing a secondary hazard. The content emphasizes maintaining composure and making predictable maneuvers to allow emergency services to pass quickly and safely.
This lesson explains the foundational 'priority to the right' rule, which applies at intersections of equal roads where no other signs or markings dictate priority. You will learn to identify such junctions and understand your obligation to yield to traffic approaching from your right side. The lesson also clarifies important exceptions, such as when exiting a driveway, entering a paved road from an unpaved one, or when encountering a tram. Mastering this rule is crucial for navigating residential areas and city streets where signage is often minimal.
This lesson teaches the procedure for executing an emergency stop in response to a sudden, extreme hazard. You will learn how to apply maximum braking pressure quickly and decisively while keeping the steering wheel straight to maintain control. The role of the Anti-lock Braking System (ABS) in preventing wheel lock-up and allowing the driver to continue steering is explained. The lesson also covers the importance of checking mirrors, if time permits, and securing the vehicle safely after the stop.
This lesson explains the critical rules of priority involving pedestrians and cyclists to ensure the safety of vulnerable road users. You will learn the absolute requirement to stop for pedestrians on or waiting to use a 'zebrapad' (zebra crossing). The content also covers situations where you must yield to cyclists crossing your path, such as when turning across a dedicated bicycle lane (fietspad).

This lesson breaks down the rules of priority at intersections. You will learn to identify an 'equal' intersection where the default rule of giving way to traffic from the right applies. It also explains how priority is regulated by signs (such as the B6 Stop sign and B7 priority road sign) and road markings ('shark's teeth'). Understanding these hierarchies is crucial for making safe and correct decisions when crossing or turning at any junction.
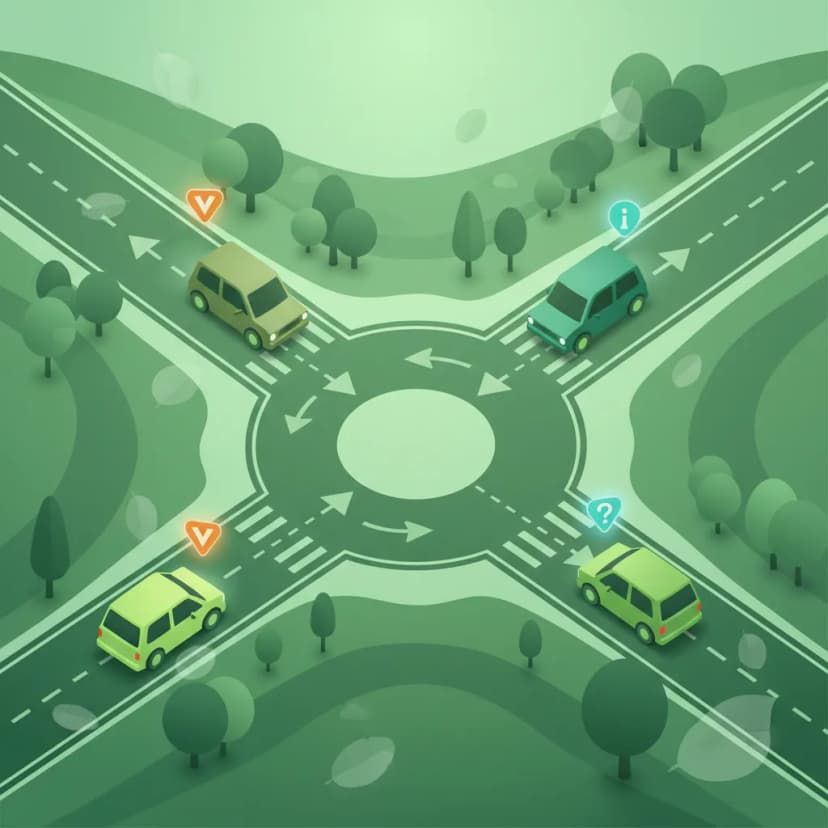
This lesson addresses the challenge of navigating equal-priority intersections, where no signs or markings dictate the right-of-way. You will master the fundamental Dutch traffic rule of giving priority to all drivers approaching from your right ('rechts voor'). The content focuses on developing advanced observational skills and clear communication to safely manage these situations, which are common in residential and urban areas.

This lesson introduces the foundational principles of right-of-way in the Netherlands, starting with the road user hierarchy and the default rule of giving priority to traffic from the right at equal intersections. You will learn to identify a priority road, marked by sign BORD 30, and understand how this designation overrides the default rule. The content establishes the legal framework for making priority decisions in the absence of specific signs or signals.
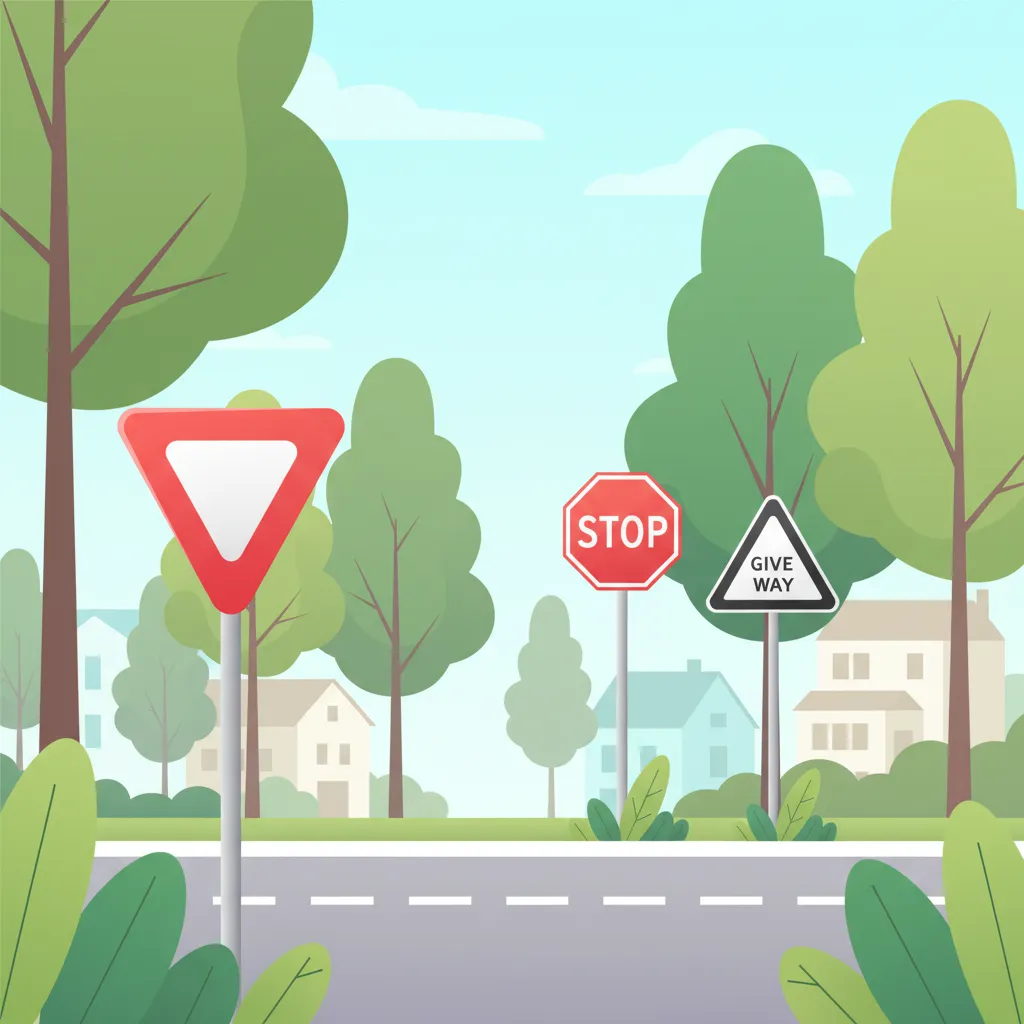
This lesson details the function of signs and markings that explicitly assign priority at intersections. You will learn the difference between the B5 yield sign, which requires giving way to intersecting traffic, and the B6 stop sign, which mandates a complete stop before proceeding. The content also covers the 'haaientanden' (shark teeth) road markings, which function similarly to a yield sign. Understanding how these signs interact with priority road signs (B1) is essential for correctly navigating controlled intersections.
This lesson details the specific actions required at intersections controlled by 'Stop' and 'Give Way' signs. You will learn the legal requirement to come to a complete stop at a stop line (BORD 44) and the obligation to yield to all crossing traffic when encountering give-way markings ('haaientanden'). The content covers safe approach speeds and effective scanning techniques for motorcyclists to accurately assess gaps in traffic before proceeding.
Find clear answers to common questions learners have about Emergency Stops and Priority Vehicles. Learn how the lesson is structured, which driving theory objectives it supports, and how it fits into the overall learning path of units and curriculum progression in the Netherlands. These explanations help you understand key concepts, lesson flow, and exam focused study goals.
Giving way means you must immediately make room for priority vehicles (such as ambulances, police cars, or fire engines) that are using audible and visual signals (sirens and blue flashing lights). You must stop or move aside safely and quickly to allow them to pass without obstruction. This is a legal requirement to ensure emergency services can reach their destination promptly.
When you hear sirens or see blue lights, first check your mirrors and surroundings to assess the situation. Indicate your intention to move over by signalling. Then, pull over to the side of the road (usually to the right, unless indicated otherwise) as safely and quickly as possible, stopping if necessary, to create a clear path for the emergency vehicle. Do not accelerate to get out of the way; prioritize safety.
Hazard warning lights should be used to alert other road users to a hazard. This includes when you are stopping unexpectedly due to a breakdown, are involved in an incident, or need to warn others of a dangerous situation, such as stopping on a busy road or at a location with poor visibility.
For a scooter, the principles are similar: brake firmly and smoothly, ideally using both brakes. However, you must also be mindful of maintaining balance, especially at lower speeds. Always check your surroundings before initiating the stop and be prepared for the vehicle's reaction. Activating hazard lights is crucial if stopping in a precarious location.
Failing to give way to an emergency vehicle is a serious traffic violation in the Netherlands. It can result in fines and penalty points on your license. More importantly, it can delay emergency services, potentially having life-threatening consequences for the person they are trying to help.