
In the Netherlands, ensuring your vehicle is in top condition is paramount for safety and passing your theory exam. This lesson dives into the critical components of your car: tires, brakes, and steering. Understanding these systems and their maintenance requirements is vital for both safe driving and successfully navigating questions on vehicle requirements in your CBR theory test.
Understanding your vehicle's fundamental safety systems—tires, brakes, and steering—is not just about passing your driving theory exam; it's crucial for your safety and the safety of others on Dutch roads. These three components form the core of vehicle control, directly influencing how your car accelerates, turns, and stops. Neglecting their maintenance or misunderstanding their function can lead to hazardous situations, increased stopping distances, and potential loss of control.
This lesson delves into the legal requirements, practical checks, and underlying mechanics of these vital systems, providing you with the knowledge to drive confidently and responsibly in the Netherlands.
Your vehicle's tires are the only point of contact with the road surface, making their condition paramount for safe driving. The tread, the patterned grooves on the tire's surface, is designed to provide grip, especially by evacuating water to prevent hydroplaning and ensuring traction in various weather conditions.
The depth of your tire tread directly affects its ability to grip the road, particularly in wet conditions. Deeper treads can channel away more water, maintaining contact between the tire rubber and the road surface. As tread wears down, this ability diminishes significantly, increasing the risk of losing control.
Insufficient tread depth also extends stopping distances, a critical factor for road safety. On dry roads, the impact might be less immediate, but on wet or slippery surfaces, the difference between adequate and inadequate tread can be the difference between a safe stop and an accident.
In the Netherlands, as specified in the Dutch traffic code (RVV 1990) §11.1, the legal minimum tread depth for all passenger car tires is 1.6 millimeters. This applies to the entire circumference and breadth of the tire tread that contacts the road. Once a tire wears below this limit, it is no longer considered safe or legal for use on public roads. This rule also applies to run-flat tires, which are designed to operate for a limited distance after a puncture but still require adequate tread for normal use.
Driving with tires below the legal minimum tread depth is not only dangerous but also illegal in the Netherlands. It can result in fines and points on your driving record, and your vehicle will fail its APK inspection.
Regularly checking your tire tread depth is a simple yet crucial maintenance task. You can use a dedicated tread depth gauge or, for a quick informal check, a €1 coin. The golden edge of a €1 coin is approximately 4 mm. If you can see the entire golden edge when inserting the coin into the main groove, your tread depth is likely below the recommended level and close to the legal minimum. A more precise measurement with a gauge is always advisable.
Correct tire pressure is fundamental to your vehicle's handling, stability, and fuel efficiency. It directly impacts the tire's contact patch – the area of the tire that touches the road – and how forces are transmitted between the vehicle and the road.
Your vehicle manufacturer specifies the recommended tire pressures, usually found on a sticker inside the driver's side door jamb, in the glove compartment, or in the owner's manual. These specifications often include different pressures for normal loads and maximum loads (e.g., when carrying multiple passengers or heavy cargo).
Consider checking your tire pressure at least once a month and always before long journeys. Remember to adjust for seasonal temperature changes; tire pressure drops in colder weather.
Tire pressure is not static; it changes with temperature and load. When carrying a heavy load or towing a trailer, you should increase tire pressure to the manufacturer's specified "maximum load" or "full load" setting to maintain optimal contact with the road and prevent excessive sidewall flex. Similarly, ambient temperature affects tire pressure: for every 10°C drop in temperature, tire pressure can decrease by approximately 0.1 bar.
A unit of pressure commonly used in Europe for measuring tire inflation. One bar is approximately equal to 14.5 pounds per square inch (psi).
The braking system is arguably the most critical safety system in your car, responsible for slowing down and stopping the vehicle. A well-maintained braking system ensures that you can react effectively to hazards and maintain control in emergencies.
Most modern cars use a hydraulic braking system. When you press the brake pedal, it pushes a piston in the master cylinder, which then pressurizes brake fluid. This pressurized fluid travels through brake lines to the calipers (for disc brakes) or wheel cylinders (for drum brakes) at each wheel. The calipers then squeeze brake pads against brake discs, or wheel cylinders push brake shoes against brake drums, creating friction that slows the wheels and, consequently, the vehicle.
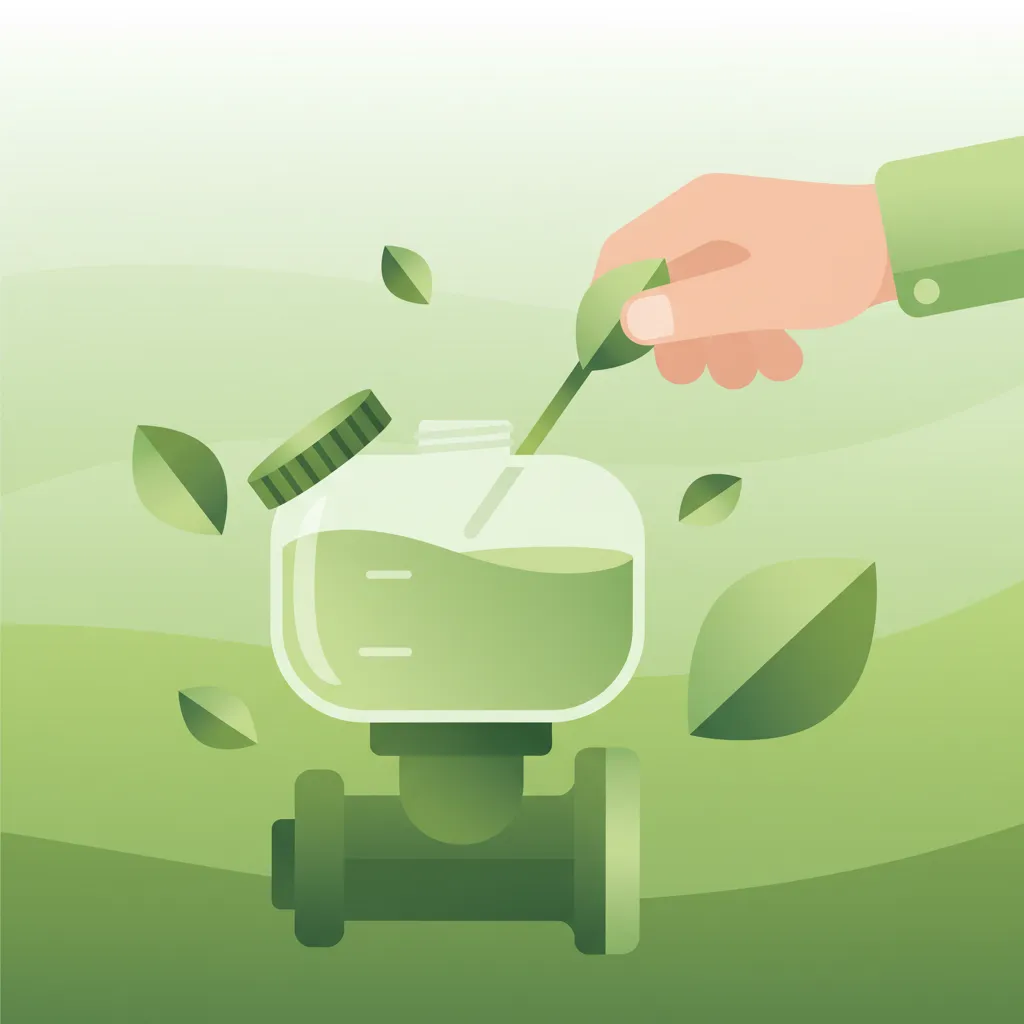
Brake fluid is a non-compressible hydraulic fluid that transmits the force from your brake pedal to the brake components at each wheel. Its quality and level are vital for the proper functioning of the entire braking system.
A temporary reduction or loss of braking power, often caused by the overheating of brake components due to prolonged or heavy braking, especially when brake fluid has absorbed too much moisture.
If your brake pedal feels spongy, goes to the floor easily, or if the brake warning light illuminates on your dashboard, have your braking system inspected immediately by a qualified mechanic. These are serious indicators of potential brake failure.
The Anti-Lock Braking System (ABS) is a crucial safety feature designed to prevent the wheels from locking up during hard or emergency braking. This system significantly enhances vehicle control, especially on slippery surfaces.
When you brake hard, particularly on low-friction surfaces like wet or icy roads, a wheel can lock up. A locked wheel skids, meaning it loses traction and the driver loses the ability to steer the vehicle. ABS uses sensors at each wheel to monitor their rotational speed. If a sensor detects that a wheel is about to lock up, the ABS computer rapidly modulates the brake pressure to that specific wheel, releasing and reapplying the brake many times per second. This rapid pulsing prevents the wheel from locking, allowing it to continue rotating, thus maintaining steering control.
When ABS activates, you might feel a pulsating sensation through the brake pedal and hear a grinding noise. This is normal and indicates the system is working. It's important to continue pressing the brake pedal firmly – do not pump the brakes. The ABS system is designed to do the pulsating for you.
ABS is mandatory for all vehicles meeting Euro emission standards post-2000. If the ABS warning light remains illuminated on your dashboard after starting the engine, it indicates a fault with the system, and it should be checked by a mechanic.
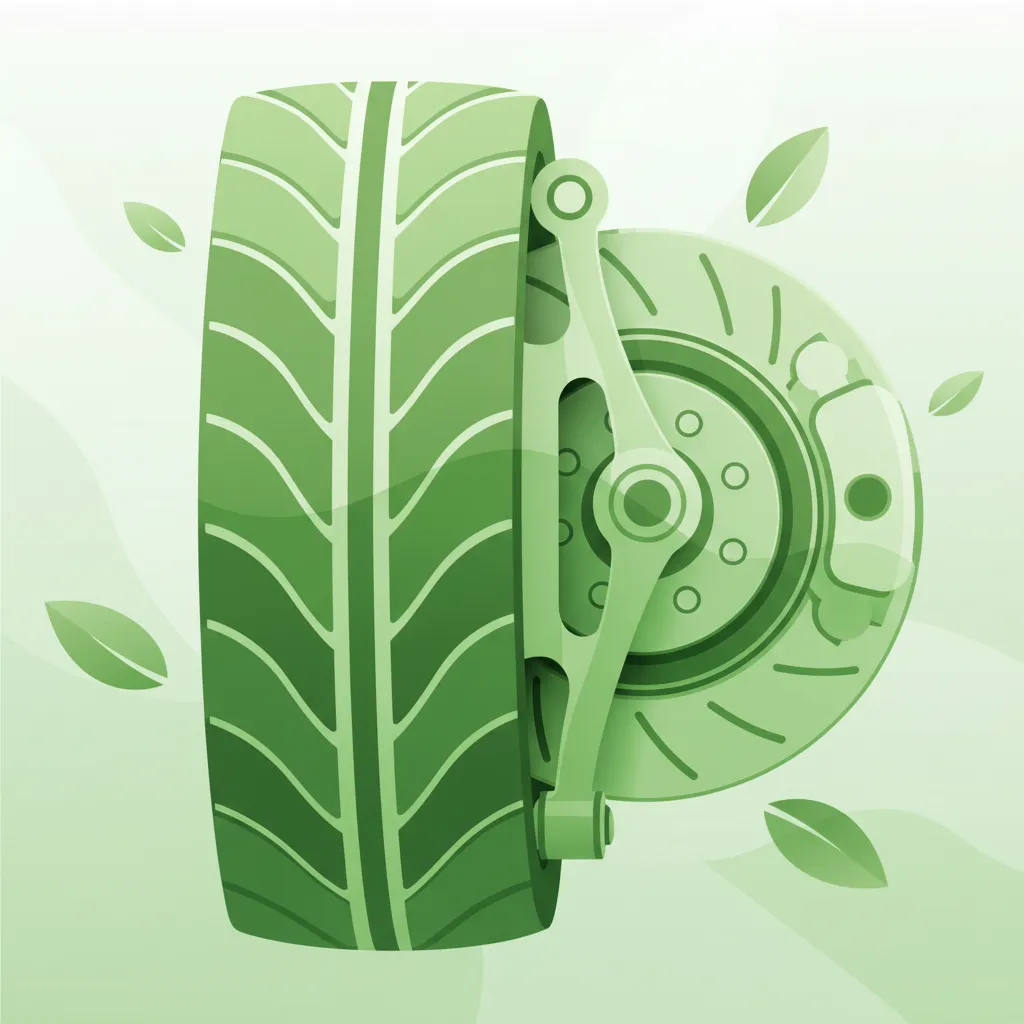
The steering system allows you to direct your vehicle, translating your input from the steering wheel into the movement of the front wheels. A responsive and accurate steering system is essential for safe driving, maneuverability, and maintaining your intended path.
Most modern passenger cars use a rack-and-pinion steering system. When you turn the steering wheel, it rotates a pinion gear, which engages with a horizontal toothed rack. This moves the rack side-to-side, which in turn moves the tie-rods connected to the steering knuckles, causing the front wheels to turn.
To reduce the effort required to turn the steering wheel, especially at low speeds or when parking, most vehicles incorporate power steering. This can be:
Steering geometry refers to the angles and relationships of the steering and suspension components. Key aspects include:
Wheel alignment is the process of adjusting these angles to the manufacturer's specifications. Proper alignment ensures:
If your vehicle pulls to one side, the steering wheel is off-center when driving straight, or you notice uneven tire wear, it's a strong indication that your wheel alignment needs to be checked. Hitting a large pothole or curb can easily throw off alignment.
These three systems are not isolated; they work in concert to provide overall vehicle control and safety. The effectiveness of one system profoundly impacts the others.
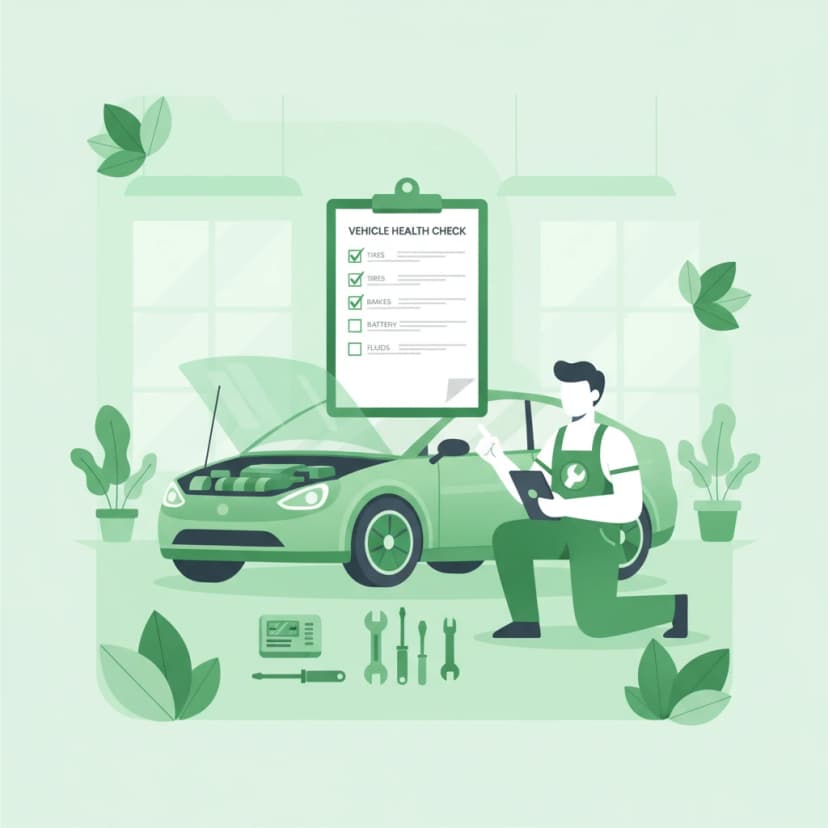
In the Netherlands, strict regulations govern the condition of your vehicle's tires, brakes, and steering to ensure road safety. The Algemene Periodieke Keuring (APK), the mandatory periodic vehicle inspection, is designed to enforce compliance with these standards.
During the APK inspection, your vehicle's tires will be thoroughly checked for:
The braking system will be inspected for:
The steering system will be checked for:
Regular maintenance and pre-emptive checks throughout the year are the best way to ensure your vehicle passes its APK inspection and, more importantly, remains safe on the road.
The performance of tires, brakes, and steering can be heavily influenced by external factors:
Lesson content overview
Explore all units and lessons included in this driving theory course.
Explore search topics learners often look for when studying Tires, Brakes, and Steering. These topics reflect common questions about road rules, driving situations, safety guidance, and lesson level theory preparation for learners in the Netherlands.
Browse additional driving theory lessons that cover connected traffic rules, road signs, and common driving situations related to this topic. Improve your understanding of how different rules interact across everyday traffic scenarios.
Learn the critical checks for your vehicle's tires, brakes, and steering systems required for safe driving and passing the Dutch theory exam. Understand legal limits and maintenance for vehicle control.

This lesson equips you with the knowledge to understand your vehicle's instrument panel and perform simple but vital maintenance checks. You will learn the meaning of common dashboard warning lights, such as those for the engine, oil pressure, battery, and brakes, and what action to take when they illuminate. The content provides a practical guide to checking and topping up essential fluids like engine oil, coolant, and windscreen washer fluid, which is a key part of responsible vehicle ownership.

Your brakes are your most important safety feature. This lesson explains how to conduct a basic inspection of your braking system. For hydraulic brakes, you will learn how to check the brake fluid level and condition through the reservoir sight glass. The lesson also covers a visual inspection of brake pads for wear and checking brake discs for scoring or damage. Finally, it describes how to test the feel of the brake levers for firmness, ensuring the system is functioning correctly.
This lesson covers the full range of lights and signals required on a vehicle for visibility and communication. You will learn about the mandatory requirements for headlights, taillights, brake lights, indicators, and reflectors. The curriculum emphasizes the driver's legal responsibility to ensure all lights are clean and functional before every journey. The correct use and function of the horn as an audible warning device in case of imminent danger are also explained.

This lesson introduces a systematic pre-ride check, often remembered by the acronym T-CLOCS (Tires, Controls, Lights, Oil, Chassis, Stands). It provides a structured routine to ensure a motorcycle is safe to ride before every trip. Learners will understand how to quickly and efficiently inspect tire pressure and condition, verify all lights and controls are working, check fluid levels, and ensure the chassis and stand are secure.
This lesson teaches riders how to conduct regular visual inspections of their motorcycle's braking system, a critical safety routine. It covers how to check the thickness of brake pads and look for signs of wear or damage on brake discs. The curriculum also explains the importance of monitoring the brake fluid level and condition, as old fluid can compromise braking performance, ensuring the system is always ready for an emergency.

Your tires are your only connection to the road, making their condition critically important for safety. This lesson teaches you how to perform a thorough tire inspection. You will learn how to check tire pressures using a gauge and adjust them to the manufacturer's specification. It also covers how to check for sufficient tread depth above the legal minimum and how to inspect the tire surfaces for cuts, bulges, or embedded objects that could lead to failure.

Your vehicle's lights and horn are your primary tools for seeing, being seen, and communicating warnings. This lesson guides you through a simple but vital check of all electrical components before you ride. You will learn how to verify the function of your headlight (high and low beam), taillight, brake light (using both front and rear brake levers), and turn signals. It also covers checking the horn's operation and ensuring all mandatory reflectors are clean and intact.
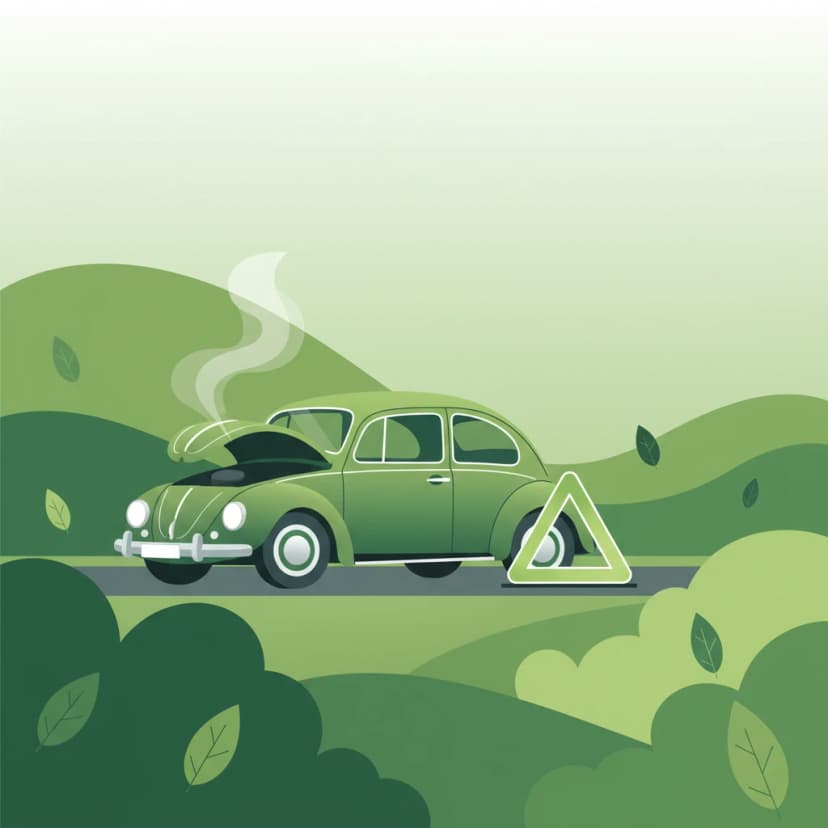
This lesson provides a clear action plan for when your car breaks down. You will learn to pull over to a safe location, preferably the hard shoulder on a motorway, and immediately activate your hazard warning lights. The curriculum explains the legal requirement to place a warning triangle a suitable distance behind the vehicle (if safe to do so) and the strong recommendation to wear a high-visibility jacket. Crucially, it instructs that all occupants should exit the vehicle on the safe side and wait behind the guardrail for assistance.
This lesson details the systematic procedure for checking the functionality of all lights and indicators before a ride. This simple but critical safety check includes verifying the operation of the high and low beam headlight, the taillight, the brake light (using both front and rear brake activators), and all four turn signals. Ensuring all lights are working is a legal requirement and fundamental for visibility and communicating intentions to other road users.
This lesson explains the purpose and frequency of the APK (Algemene Periodieke Keuring), the mandatory periodic safety and emissions inspection for vehicles in the Netherlands. You will understand what aspects of the car are checked, including brakes, steering, lights, and tires. The curriculum also details the essential documents you must have with you when driving, including the vehicle registration certificate (kentekenbewijs) and proof of insurance. Failure to comply with these requirements can result in significant fines.
Understand how tire condition, brake system functionality, and steering precision work together for optimal vehicle control. Explore how factors like weather and load affect these critical safety systems.

This lesson provides practical advice for driving in challenging weather. You will learn about the risk of aquaplaning in heavy rain and how to react, as well as how to manage the effects of strong crosswinds. The curriculum covers winter driving, explaining the danger of black ice, the benefits of winter tires, and techniques for avoiding and correcting a skid. A key focus is on adjusting driving style: increasing following distances, reducing speed, and making gentle steering and braking inputs.

This lesson emphasizes the critical importance of adapting your speed to prevailing conditions, which may require driving slower than the legal limit. You will learn how factors like rain, fog, snow, and darkness significantly increase braking distances and reduce visibility. The curriculum explains the dangers of aquaplaning on wet roads and black ice in winter. The core principle taught is that a safe driver always adjusts their speed to ensure they can stop within the distance they can see to be clear.

This lesson details the critical role that tires play in motorcycle safety, as they are the only connection to the road. It explains the importance of selecting the right type of tire for the season and expected riding conditions. The content provides a guide on how to perform regular pre-ride checks, including inspecting for correct inflation pressure, checking tread depth, and looking for any signs of damage or wear.

This lesson reinforces the critical relationship between adverse conditions, reduced traction, and massively increased stopping distances. It provides a clear framework for how much riders need to increase their following distance and reduce their overall speed to maintain a safe margin for error. The curriculum teaches riders to constantly reassess their speed based on visual feedback from the road surface and the level of visibility, ensuring they can always stop within the distance they can clearly see.

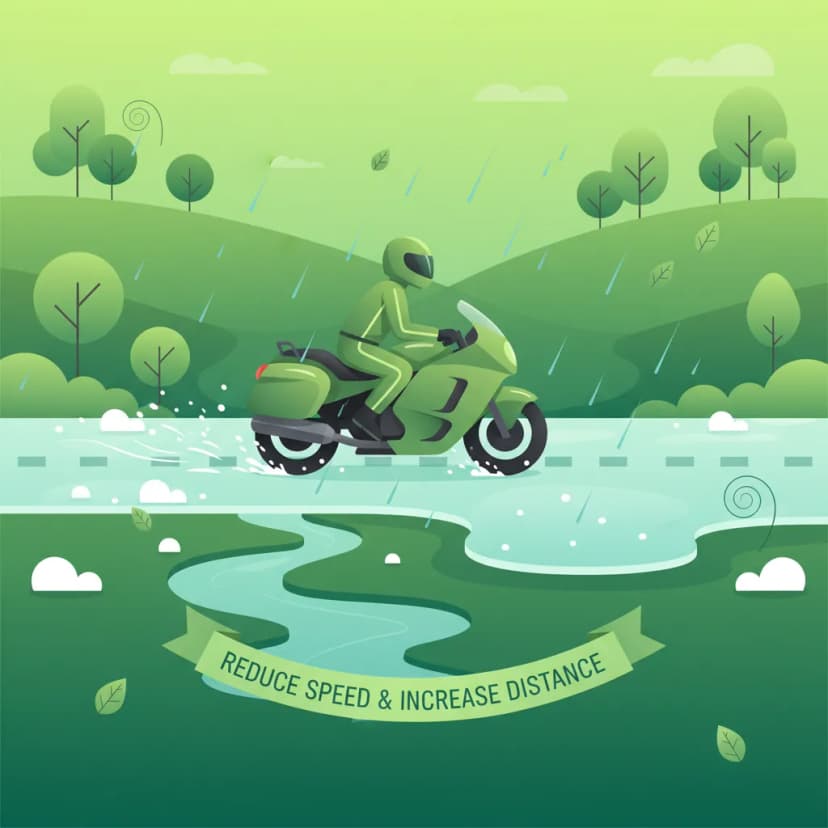
Riding on two wheels requires special care on surfaces with reduced grip. This lesson teaches you how to handle challenging conditions like rain, ice, wet leaves, or tram tracks. Key principles include reducing speed significantly, making all control inputs (braking, accelerating, steering) much more smoothly and gradually, and increasing your following distance to allow for much longer stopping distances. Recognizing potentially slippery areas is a critical part of proactive hazard perception.
This lesson explains the science behind reduced grip on wet surfaces and the dangerous phenomenon of hydroplaning, where a tire rides on a layer of water instead of the road. It details the critical roles of tire tread depth, tire pressure, and riding speed in maintaining contact with the asphalt. Riders will learn techniques for riding in the rain, including using exceptionally smooth control inputs and proactively reducing speed when approaching standing water.
This lesson provides survival strategies for riding in the most challenging weather conditions, including heavy rain, snow, and potential ice. It emphasizes the importance of mental preparation, drastically reduced speeds, and hyper-smooth inputs for throttle, brakes, and steering. The content also covers identifying high-risk areas for 'black ice,' such as bridges and shaded spots, and the critical role of appropriate waterproof and insulated gear in preventing hypothermia and maintaining concentration.

This lesson provides essential techniques for driving safely while towing. You will learn how the added weight increases your braking distance and how the extra length requires you to take wider turns. The curriculum addresses the challenging maneuver of reversing with a trailer and provides tips on how to control it. It also explains the phenomenon of 'snaking' or trailer sway, its causes (like crosswinds or improper loading), and how to correct it by gently reducing speed.

Rain significantly reduces tire grip and rider visibility. This lesson covers the essential adjustments needed for wet-weather riding, including reducing speed, increasing following distance, and applying all controls more smoothly. It explains the danger of hydroplaning (aquaplaning) when tires lose contact with the road over standing water and how to avoid it. You will also learn about the importance of good tire tread depth for channeling water away and maintaining traction.

This lesson explains how to counteract the effects of strong winds, which can easily upset a motorcycle's stability. It covers techniques like maintaining a relaxed grip on the handlebars and leaning into a steady crosswind. The lesson also addresses the impact of temperature, explaining how cold weather affects both the rider (risk of hypothermia, reduced concentration) and the motorcycle (reduced tire grip until warmed up), and emphasizes the need for appropriate protective gear.
Find clear answers to common questions learners have about Tires, Brakes, and Steering. Learn how the lesson is structured, which driving theory objectives it supports, and how it fits into the overall learning path of units and curriculum progression in the Netherlands. These explanations help you understand key concepts, lesson flow, and exam focused study goals.
In the Netherlands, the legal minimum tread depth for car tires is 1.6 mm across 75% of the tire's width. However, for optimal safety, especially in wet conditions, it is strongly recommended to replace tires when the tread reaches 2 mm.
Maintaining the correct tire pressure is crucial for several reasons. It ensures optimal grip on the road, which is vital for safe handling and braking. Under-inflated tires can lead to poor fuel efficiency and premature wear, while over-inflated tires can result in a harsher ride and uneven wear. Always check your car's manual or doorjamb sticker for the recommended pressure.
You should be alert to several warning signs. These include a squealing or grinding noise when braking, a spongy or soft brake pedal, the car pulling to one side when braking, or the brake warning light illuminating on your dashboard. If you notice any of these, have your brakes checked immediately by a professional.
It's good practice to check your brake fluid level regularly, perhaps once a month, as part of your general vehicle checks. The brake fluid reservoir is usually transparent, allowing you to see the level against a minimum and maximum marking. If the level is consistently low, it could indicate a leak and requires professional attention.
A malfunctioning steering system can make your car difficult or impossible to control. Symptoms might include stiff steering, play in the steering wheel (too much free movement), or unusual noises when turning. These issues significantly increase the risk of accidents, so prompt inspection and repair are essential.