
A vehicle breakdown can be stressful, but knowing the correct procedure is vital for your safety and that of others. This lesson provides a clear, step-by-step guide on what to do when your car stops working unexpectedly, focusing on safe practices both on regular roads and motorways. It's a critical part of Unit 12, preparing you for emergency situations and specific CBR exam questions.

Encountering a vehicle breakdown can be a stressful and potentially dangerous situation on the road. For drivers in the Netherlands, understanding the correct procedures is not only crucial for personal safety and the safety of other road users but also a legal obligation. This lesson provides a detailed action plan, covering everything from immediate vehicle positioning to legal requirements and occupant safety protocols, ensuring you are well-prepared to handle unexpected vehicle failures while driving.
Unexpected stops due to mechanical, electrical, or fuel-related issues can quickly lead to secondary incidents if not managed correctly. By learning the proper steps, you can significantly minimize collision risks, maintain smooth traffic flow, and protect yourself and your passengers while awaiting assistance. This knowledge is essential for all drivers pursuing a Dutch driving license (category B), as it links directly to fundamental road rules, high-visibility clothing regulations, vehicle inspection importance, and broader emergency response protocols.
When your vehicle suddenly loses operability and cannot be safely driven further, your immediate response is critical. The primary goal is to minimize danger to yourself, your occupants, and other road users by ensuring your vehicle is visible and positioned safely.
Safe Pull-Over: The very first step is to maneuver your vehicle out of the active flow of traffic. This means getting to a secure position off the travel lane as quickly and safely as possible.
Activate Hazard Warning Lights: Immediately upon stopping, turn on your vehicle’s hazard warning lights (Noodlampen). These flashing front and rear lights serve as an urgent signal to surrounding traffic that your vehicle is unexpectedly stationary and may pose a hazard.
Assess Your Surroundings: Once stopped and visible, quickly evaluate the safety of your location for the next steps, particularly for exiting the vehicle and placing a warning triangle.
A safe pull-over zone is any location on the road that allows your vehicle to stop without obstructing or endangering moving traffic. The type of road you are on dictates the safest option:
Never stop in the travel lane unless absolutely unavoidable due to sudden, complete vehicle failure, and even then, make every effort to move your vehicle to the safest possible position as quickly as you can.
The legal basis for these actions is primarily found in § 3.12 of the Road Traffic Act (RVV), which mandates pulling over onto the hard shoulder or any other safe area and immediately activating hazard warning lights. Failing to do so can lead to fines and increased accident risk.
Once your vehicle is safely stopped and hazard lights are active, the next priority is to make your presence even more conspicuous to approaching traffic, especially if your vehicle is in a vulnerable position or visibility is poor.
A warning triangle (waarschuwingsdriehoek) is a crucial visual cue for trailing traffic. Its correct deployment allows other drivers ample time to anticipate your stationary vehicle and adjust their speed and position.
A reflective triangular device, typically red, used to signal a stationary vehicle and alert approaching traffic to a potential hazard.
High-visibility clothing (hoogvisibiliteitskleding) refers to garments with reflective material, such as vests or jackets with reflective strips. While not always legally mandatory for breakdowns in the Netherlands, it is strongly recommended, especially:
Wearing such clothing significantly enhances your visibility to other drivers, giving them more time to react and reducing the risk of being struck. Even if your vehicle is completely off the travel lane, wearing reflective gear is a sensible precaution.
Once your vehicle is safely stopped, hazard lights are on, and the warning triangle is deployed (if safe to do so), the next critical step is to ensure the safety of all occupants.
Exit on the Safe Side: Instruct all occupants to exit the vehicle on the side away from moving traffic. On a motorway, this typically means exiting on the left side (passenger side in left-hand drive vehicles) if your vehicle is on the hard shoulder.
Move to a Secure Location: Once out of the vehicle, all occupants should move immediately to a secure location, preferably behind any available guardrail (hekken/guurrel) or barrier. If no barrier is present, move as far away from the edge of the road as safely possible.
Wait for Assistance: Remain in this safe location until professional roadside assistance (bijstandsverzekering) or emergency services arrive. Do not attempt to make repairs on the side of a busy road.
Never attempt to cross the motorway or busy road on foot. The speed and volume of traffic make this extremely dangerous.
While this occupant exit protocol may not be explicitly legislated in every detail, it is considered a fundamental part of good driving practice under the general safety provisions of traffic law, particularly RVV § 3.12, which aims to prevent hazards.
Different road environments and weather conditions require specific adaptations to the general breakdown protocol.
Motorways present unique challenges due to high speeds and heavy traffic flow (verkeersstroom).
Breakdowns in tunnels require a different approach due to confined spaces and specific safety systems.
In built-up areas, the rules for breakdown management are slightly different.
Heavy rain, fog, snow, or night-time conditions significantly reduce visibility, making breakdowns even more hazardous.
If your vehicle breaks down while towing a trailer, additional precautions are necessary.
Failing to follow breakdown procedures can lead to serious consequences, including accidents, injuries, and legal penalties.
Adhering to Dutch traffic regulations, including RVV § 3.12, is mandatory. Violations can lead to significant fines and increased liability in case of an accident.
Every step in the breakdown protocol is designed with specific safety principles in mind:
Understanding these underlying reasons reinforces the importance of diligent adherence to breakdown procedures.
Let's look at how these principles apply in various real-world situations:
Setting: You are driving 100 km/h on an Autosnelweg, 8 km north of Utrecht, during heavy rain. Your engine suddenly misfires and loses power. Action: You immediately slow down safely, pull your vehicle onto the hard shoulder (zijstrook) as far to the right as possible, and activate your hazard warning lights (Noodlampen). Despite the rain, you quickly and carefully place your warning triangle (waarschuwingsdriehoek) about 25 metres behind your vehicle, ensuring it's on the side with less rainfall penetration if possible. All occupants exit the vehicle on the side away from traffic, putting on high-visibility vests, and wait behind the guardrail (hekken/guurrel). You then call roadside assistance. Correct Choice: This driver followed all regulations and recommendations for a motorway breakdown in adverse weather, prioritizing visibility and occupant safety.
Setting: You are on a four-lane country road outside a built-up area (buiten de bebouwde kom) in daylight. Your vehicle stalls completely, and there are no designated shoulders, only a ditch next to the road. Action: You manage to guide your vehicle to the very edge of the road, next to the ditch, stopping as far off the travel lane as possible. You immediately activate your hazard warning lights. Due to the narrowness and immediate ditch, placing a warning triangle would either block part of the road or be ineffective, so you decide against it to avoid creating a new hazard. All occupants exit the vehicle on the side away from the active traffic lane and wait safely in the ditch, away from the moving vehicles. Correct Choice: The driver prioritized safe positioning and hazard signaling, correctly assessing that placing a triangle would be impractical or dangerous given the specific road conditions. Occupant safety was also maintained by moving away from traffic.
Setting: You are driving through a city tunnel at night when your engine stalls abruptly. Action: You immediately activate your hazard warning lights. Instead of exiting, you and your passengers remain inside the vehicle. You locate the nearest emergency intercom within the tunnel (usually marked) and use it to contact emergency services, clearly stating your location within the tunnel. Correct Choice: The driver correctly understood the unique safety protocols for tunnels, where remaining inside the vehicle and using the designated communication systems is crucial due to potential fumes, fire risks, and the structure of the tunnel itself.
Setting: You are on a busy urban side street in the evening. Your fuel gauge suddenly drops to empty, and your vehicle stops. Action: You manage to coast into a vacant parking spot on the side lane. You activate your hazard warning lights. Since your vehicle is completely off the main travel lane and in a designated parking area, a warning triangle is not required. You have a reflective jacket in your car, which you put on before calling for assistance, just as an added precaution in the dim light. Correct Choice: The driver safely positioned the vehicle off the main road, used hazard lights, and took a sensible precautionary measure with high-visibility clothing, correctly identifying when a warning triangle is not mandatory.
These scenarios highlight the importance of adapting general breakdown principles to specific contexts, always prioritizing safety and legal compliance.
Lesson content overview
Explore all units and lessons included in this driving theory course.
Explore search topics learners often look for when studying Handling a Vehicle Breakdown. These topics reflect common questions about road rules, driving situations, safety guidance, and lesson level theory preparation for learners in the Netherlands.
Browse additional driving theory lessons that cover connected traffic rules, road signs, and common driving situations related to this topic. Improve your understanding of how different rules interact across everyday traffic scenarios.
Learn the essential steps for safely managing a vehicle breakdown on Dutch roads. This includes understanding correct positioning, using hazard lights and warning triangles, and ensuring occupant safety, especially on motorways.

A vehicle breakdown can be a dangerous situation if not handled correctly. This lesson provides a clear safety protocol: switch on your hazard lights immediately, and move your vehicle as far to the right of the road or onto the hard shoulder as possible. For your personal safety, you should get away from the vehicle and stand behind a safety barrier if one is available. You will learn the steps for calling for roadside assistance and the legal requirements regarding warning triangles if applicable.
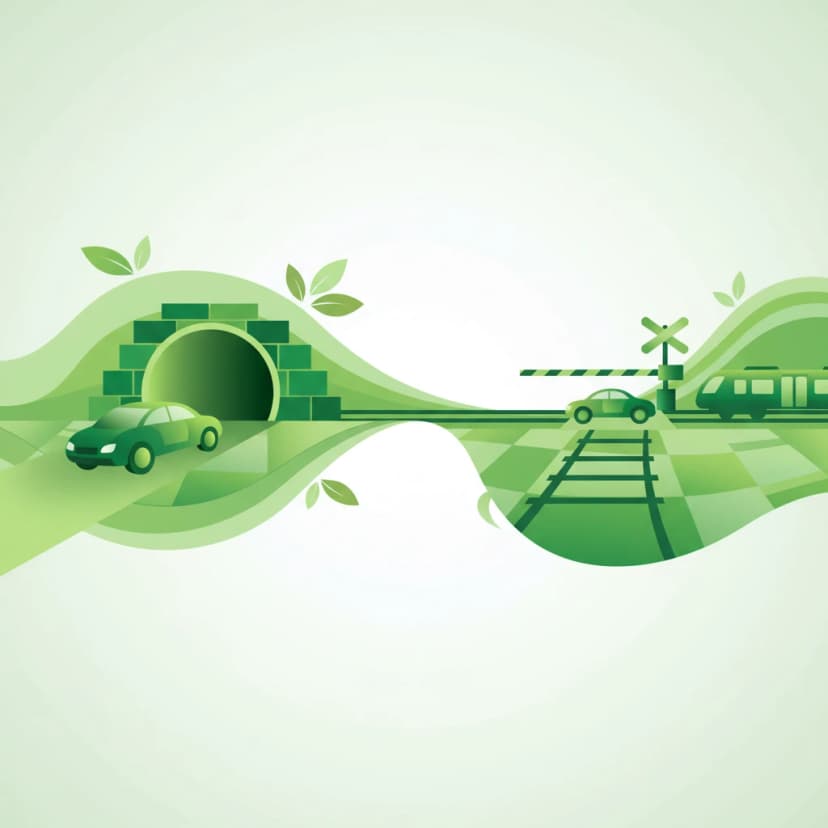
This lesson covers safety procedures for specific infrastructure. You will learn the importance of using dipped headlights in tunnels and what to do in case of a breakdown or fire inside a tunnel. The curriculum explains how to respond to the warning lights and barriers at movable bridges and railway level crossings, emphasizing that you must always stop for flashing red lights. The meaning of the St. Andrew's Crosses, indicating the number of railway tracks, is also covered.

This lesson details the legal obligation and safe procedures for yielding to emergency vehicles ('noodvoertuigen' or 'voorrangsvoertuigen') that are using audible and visual warnings. It provides clear guidance on how to safely create space, whether by pulling over, adjusting speed, or clearing an intersection, without causing a secondary hazard. The content emphasizes maintaining composure and making predictable maneuvers to allow emergency services to pass quickly and safely.
This lesson covers the full range of lights and signals required on a vehicle for visibility and communication. You will learn about the mandatory requirements for headlights, taillights, brake lights, indicators, and reflectors. The curriculum emphasizes the driver's legal responsibility to ensure all lights are clean and functional before every journey. The correct use and function of the horn as an audible warning device in case of imminent danger are also explained.

When an emergency vehicle approaches with sirens and blue flashing lights, you are legally required to give way. This lesson explains the correct procedure: check your surroundings, signal your intention, and move to the side of the road as safely and quickly as possible to create a clear path. It also covers the procedure for making an emergency stop due to a vehicle breakdown, including the use of hazard warning lights and positioning your vehicle for maximum safety.

This lesson details the specific regulations for driving on Dutch motorways, identifiable by the G1 sign. You will learn the correct procedure for joining the flow of traffic using the acceleration lane and for leaving via the deceleration lane. The curriculum reinforces the 'keep right unless overtaking' rule for lane discipline. It also explains that stopping is strictly forbidden, and the hard shoulder (vluchtstrook) may only be used for genuine emergencies.

This lesson introduces warning signs, which are designed to alert drivers to potential dangers or changes in road layout ahead. You will learn to interpret the triangular-shaped signs that indicate hazards such as sharp curves, slippery road surfaces (J27), or upcoming road works (J8). The curriculum explains how these signs help in anticipating risks and adjusting driving behavior accordingly, such as reducing speed or increasing alertness. A thorough understanding of warning signs is vital for proactive and defensive driving in various environments.

This lesson covers the procedures and safety considerations for driving in reverse and turning around. You will learn that reversing should only be done over short distances and when it does not endanger or obstruct other road users. The curriculum details techniques for turning in the road and identifies situations and locations where U-turns are prohibited. The importance of all-around observation, checking blind spots, and yielding to all other traffic is a central theme.
This lesson focuses on the specific hazards and techniques for safely sharing the road with heavy goods vehicles (HGVs) and buses. It provides a detailed explanation of their extensive blind spots ('dode hoek') and teaches riders where to position themselves to remain visible. The curriculum also covers how to manage the significant air turbulence created by these vehicles when overtaking and how to anticipate their wide turning circles at junctions and roundabouts.

This lesson reinforces the fundamental rule of Dutch highway driving: use the rightmost lane available and use the lanes to the left only for overtaking. You will learn the complete, safe overtaking procedure: check mirrors, signal, perform a shoulder check for the blind spot, smoothly move over, accelerate past the vehicle, and then return to the right lane when safe.
Explore various real-world scenarios of vehicle breakdowns and understand the specific Dutch traffic rules (RVV § 3.12) and safety measures applicable to each situation, such as tunnel breakdowns or rural road incidents.
A vehicle breakdown can be a dangerous situation if not handled correctly. This lesson provides a clear safety protocol: switch on your hazard lights immediately, and move your vehicle as far to the right of the road or onto the hard shoulder as possible. For your personal safety, you should get away from the vehicle and stand behind a safety barrier if one is available. You will learn the steps for calling for roadside assistance and the legal requirements regarding warning triangles if applicable.
This lesson details the legal obligation and safe procedures for yielding to emergency vehicles ('noodvoertuigen' or 'voorrangsvoertuigen') that are using audible and visual warnings. It provides clear guidance on how to safely create space, whether by pulling over, adjusting speed, or clearing an intersection, without causing a secondary hazard. The content emphasizes maintaining composure and making predictable maneuvers to allow emergency services to pass quickly and safely.
When an emergency vehicle approaches with sirens and blue flashing lights, you are legally required to give way. This lesson explains the correct procedure: check your surroundings, signal your intention, and move to the side of the road as safely and quickly as possible to create a clear path. It also covers the procedure for making an emergency stop due to a vehicle breakdown, including the use of hazard warning lights and positioning your vehicle for maximum safety.
This lesson addresses special situations where standard priority rules are superseded. You will learn the absolute priority of emergency vehicles using sirens and flashing lights, and the correct procedure for giving them way safely. The content also explains the specific priority rules for trams, which often have right-of-way over other traffic, as well as for military columns and official funeral processions. Furthermore, the lesson reinforces the rules for yielding to pedestrians at designated zebra crossings.
This lesson details the specific regulations for driving on Dutch motorways, identifiable by the G1 sign. You will learn the correct procedure for joining the flow of traffic using the acceleration lane and for leaving via the deceleration lane. The curriculum reinforces the 'keep right unless overtaking' rule for lane discipline. It also explains that stopping is strictly forbidden, and the hard shoulder (vluchtstrook) may only be used for genuine emergencies.
This lesson covers the procedures and safety considerations for driving in reverse and turning around. You will learn that reversing should only be done over short distances and when it does not endanger or obstruct other road users. The curriculum details techniques for turning in the road and identifies situations and locations where U-turns are prohibited. The importance of all-around observation, checking blind spots, and yielding to all other traffic is a central theme.
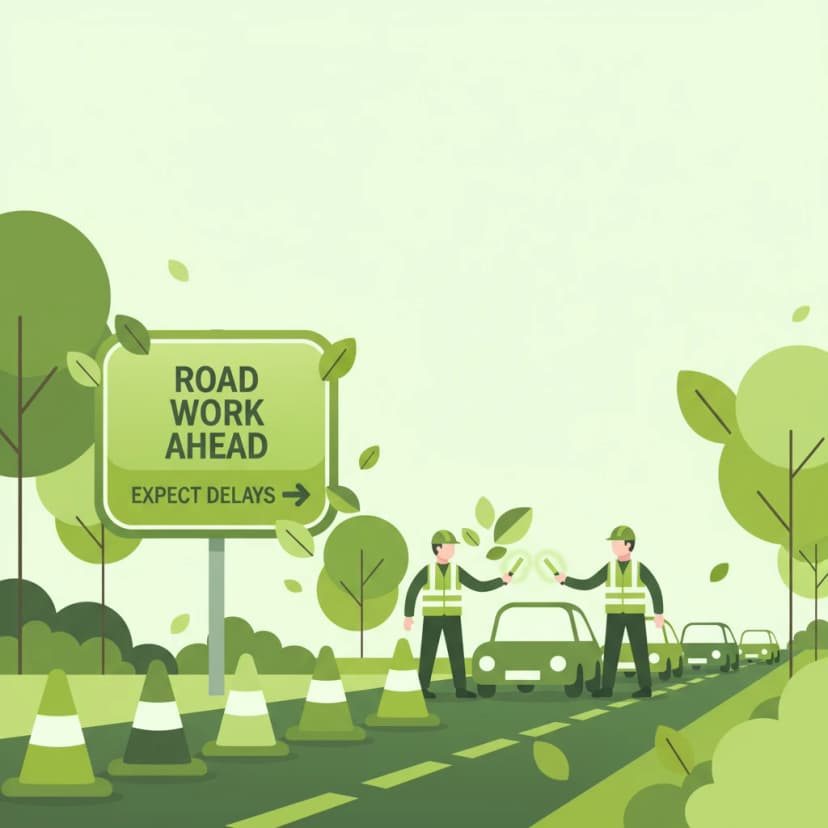
This lesson prepares you for encountering road works, a common feature on any road network. You will learn that signs and markings related to road works are often yellow and that they temporarily override permanent white markings and signs. The curriculum stresses the importance of adhering to temporary speed limits, being alert for workers and machinery, and navigating narrowed lanes. It also covers how to follow diversion routes ('omleiding') and obey instructions given by traffic controllers.
This lesson covers the full range of lights and signals required on a vehicle for visibility and communication. You will learn about the mandatory requirements for headlights, taillights, brake lights, indicators, and reflectors. The curriculum emphasizes the driver's legal responsibility to ensure all lights are clean and functional before every journey. The correct use and function of the horn as an audible warning device in case of imminent danger are also explained.

This lesson focuses on the use of specialized lights for specific situations. You will learn the strict conditions under which fog lights may be used: the rear fog light is only permitted when visibility from fog or snow is less than 50 meters, and not in rain. The lesson also explains the correct use of hazard warning lights, which are intended to warn other drivers of a stationary obstruction (like a breakdown or the tail end of a sudden traffic jam) or while being towed.

This lesson breaks down the rules of priority at intersections. You will learn to identify an 'equal' intersection where the default rule of giving way to traffic from the right applies. It also explains how priority is regulated by signs (such as the B6 Stop sign and B7 priority road sign) and road markings ('shark's teeth'). Understanding these hierarchies is crucial for making safe and correct decisions when crossing or turning at any junction.
Find clear answers to common questions learners have about Handling a Vehicle Breakdown. Learn how the lesson is structured, which driving theory objectives it supports, and how it fits into the overall learning path of units and curriculum progression in the Netherlands. These explanations help you understand key concepts, lesson flow, and exam focused study goals.
On motorways (autosnelweg), place the triangle at least 30 meters behind your vehicle, or further if visibility is poor. On other roads, aim for 100 meters if safe to do so. Always prioritize your safety; if placing the triangle is dangerous, do not attempt it and call for assistance immediately.
While not always legally mandatory to wear at all times during a breakdown in the Netherlands, it is extremely strongly recommended for your safety. You must ensure it is accessible inside the car, not in the boot, so you can put it on before exiting.
No, you should never stay in your car on the hard shoulder. Exit the vehicle on the side away from traffic, ensure all passengers do the same, and wait behind the guardrail or in a safe place well away from moving vehicles.
Always exit the vehicle on the side furthest away from moving traffic. For a car stopped on the right side of the road or on the hard shoulder, this means exiting on the passenger side (left side of the car). Always check for approaching traffic before opening the door.
On motorways, look for emergency telephones (call points) which connect directly to traffic control and can pinpoint your location. Otherwise, use your mobile phone to call roadside assistance (like ANWB) or emergency services if there is immediate danger.