
Welcome to the essential lesson on understanding your vehicle's dashboard warning lights and performing basic checks. This topic is crucial for both passing your Dutch driving theory exam and ensuring your car is roadworthy. Building on your knowledge of vehicle requirements, this lesson will demystify those often-confusing indicator lights and guide you through simple maintenance tasks.

As a driver in the Netherlands, comprehending your vehicle's instrument panel and performing basic maintenance checks are not merely good practices; they are crucial elements of safe and responsible vehicle ownership. Your dashboard serves as the primary communication hub for your vehicle's internal systems, alerting you to potential issues that, if ignored, could lead to serious safety hazards, significant mechanical damage, or even legal penalties under Dutch traffic law. This lesson will equip you with the knowledge to interpret these vital warnings and perform the fundamental checks necessary to keep your vehicle in optimal condition.
The illuminated symbols and gauges on your dashboard are critical indicators of your vehicle's health and operational status. They translate complex sensor data into immediate visual alerts, requiring prompt attention and understanding. Neglecting these signals can have severe consequences, ranging from unexpected breakdowns to catastrophic failures.
Every light, gauge, and symbol on your dashboard is designed to provide you with real-time feedback about your vehicle. This feedback is essential for maintaining safety, preventing costly repairs, and ensuring compliance with Dutch regulations. For instance, a warning light can signal anything from a minor sensor malfunction to an imminent engine failure, dictating whether you need to stop immediately or simply schedule a service appointment.
Understanding the fundamental principles behind your vehicle's monitoring systems is key to proactive maintenance and safe driving. These principles underpin the rationale for why certain actions are mandatory when specific dashboard lights illuminate.
Engine Health Monitoring: Modern vehicles continuously monitor critical engine parameters through an array of sensors. This vigilance prevents engine damage by ensuring that all subsystems operate within their design limits, protecting components from excessive wear or sudden failure. Drivers must learn to recognize the urgency indicated by various engine-related warnings.
Fluid Level Thresholds: Essential fluids like engine oil, coolant, brake fluid, and windscreen washer fluid have predefined safe operating ranges. Maintaining these levels ensures the proper function of lubrication, cooling, braking, and visibility systems, all of which are vital for safe operation. Adhering to these thresholds is a fundamental requirement for vehicle safety.
Warning Light Significance: Not all warning lights demand the same urgency. Distinguishing between a steady light, a flashing light, or a light that remains on after engine start-up provides a quick hazard assessment. A flashing warning, particularly for the engine or brakes, often suggests immediate danger and requires prompt, decisive action.
Maintenance Interval Adherence: Vehicle manufacturers and Dutch regulations specify scheduled intervals for fluid replacements, top-ups, and component checks. Following these guidelines reduces the risk of component fatigue, system failures, and legal non-compliance. Integrating fluid checks into your routine is a simple yet effective preventive measure.
Emergency Response Protocol: Knowing the correct steps to take when a critical warning light illuminates or fluid levels drop significantly during operation is paramount. This protocol involves safely transitioning from a driving state to a stopped, secure location before major damage or an accident occurs. This is a vital part of your emergency preparedness as a driver.
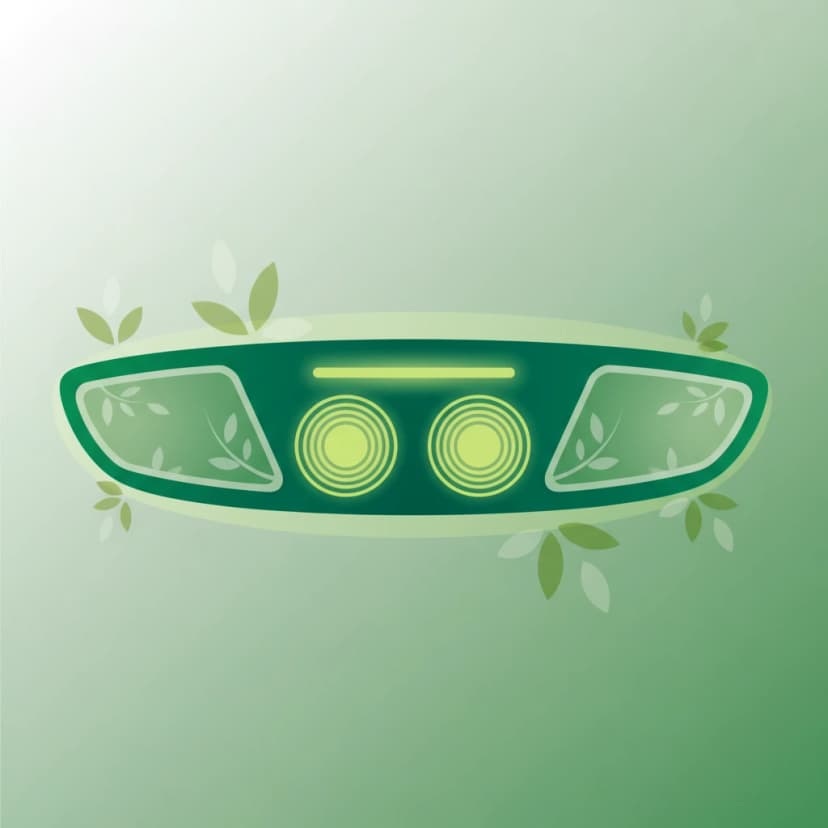
The dashboard can sometimes resemble a complex array of symbols. However, many common warning lights appear across different vehicle models. Familiarising yourself with these crucial indicators is a basic requirement for any driver.
Often depicted as an engine outline, the Engine Warning Light, also known as the Check Engine Light (CEL), illuminates when the engine management system detects an internal fault or sensor anomaly. This light can indicate a wide range of issues, from a loose fuel cap to a serious engine malfunction.
Flashing CEL: A flashing CEL is a critical warning. It typically indicates an immediate and severe problem, such as an engine misfire that could damage the catalytic converter. In such cases, you must stop driving as soon as it is safe to do so. Continuing to drive with a flashing CEL can lead to catastrophic and expensive engine damage. Under Dutch law (RVV 1990), a vehicle with a flashing CEL cannot be legally driven on public roads.
Steady CEL: A steady CEL signals a fault that may not require immediate stopping but certainly warrants diagnosis and repair. While you might be able to drive a short distance to a service station, it's advisable to have the issue checked promptly. Ignoring a steady CEL can lead to escalating problems and potentially invalidate warranties.
This light, typically shaped like an oil can, illuminates when the engine oil pressure drops below safe operational limits. Engine oil is vital for lubricating moving parts and preventing excessive friction and heat.
Represented by a battery symbol, this light activates when the vehicle's alternator or charging system fails to maintain the correct battery voltage. The alternator is responsible for recharging the battery and powering electrical components while the engine is running.
This critical warning, often a circle with an exclamation mark (!) or the word "BRAKE", indicates either low brake fluid levels or a potential issue with the hydraulic braking system.
This light, often a thermometer submerged in liquid, illuminates when the engine's coolant temperature exceeds a safe operating threshold (typically above 95–100 °C).
Shaped like a cross-section of a tire with an exclamation mark, the TPMS light flashes or illuminates steadily when one or more tires are significantly under-inflated or if there's a malfunction in the TPMS itself.
This light, often depicting a person with a deployed airbag, indicates a malfunction in the vehicle's Supplemental Restraint System (SRS), which includes the airbags and seatbelt pretensioners.
Typically showing the letters "ABS" within a circle, this light signals a malfunction in the Anti-lock Braking System.
This light, often a steering wheel with an exclamation mark, indicates a problem with the power steering system, which could be related to low fluid levels in hydraulic systems or an electrical fault in electric power steering systems.
Beyond critical system warnings, your dashboard also provides important informational indicators that contribute to safe driving.
Routine fluid checks are a cornerstone of preventive maintenance. These simple checks can prevent major mechanical failures, ensure optimal vehicle performance, and contribute significantly to road safety.
Engine oil lubricates, cleans, and cools the engine, preventing wear and friction.
Coolant (antifreeze) prevents your engine from overheating and freezing.
Brake fluid is essential for your braking system. Its level usually only drops when there's a leak or your brake pads are significantly worn.
For vehicles with hydraulic power steering, this fluid makes steering easier.
While not critical for engine operation, washer fluid is vital for visibility.
In the Netherlands, the Road Traffic Code (RVV 1990) and associated regulations mandate that all vehicles driven on public roads must be in a safe and roadworthy condition. This includes strict requirements regarding dashboard warning lights and fluid levels. Failure to comply can result in fines, license suspension, or even legal action in the event of an accident. The APK inspection (Algemene Periodieke Keuring - General Periodic Inspection) also scrutinizes the functionality of dashboard warning lights and the overall condition of essential systems.
Ignoring dashboard warnings or neglecting basic maintenance can lead to serious legal and safety repercussions.
Vehicle maintenance and the interpretation of dashboard warnings are not static; they vary with driving conditions and environmental factors.
Understanding the direct consequences of neglecting your vehicle's health highlights the importance of proactive maintenance.
Here are some practical scenarios to illustrate the application of this lesson's concepts.
Setting: You are driving through a suburban area in the evening. Relevant Lights: The engine warning light illuminates steadily, but there are no immediate noticeable changes in engine performance. Driver Action: You should safely pull over when convenient, and if you have an OBD-II scanner, you can check for diagnostic trouble codes. Regardless, you should schedule a service appointment soon to diagnose and rectify the minor misfire. Why? A steady CEL indicates a fault that needs attention. While not critical for immediate stopping, a misfire can damage the catalytic converter over time and impact fuel efficiency if left untreated.
Setting: You are driving on a rural highway mid-morning when your vehicle suddenly stalls. Relevant Lights: Before stalling, the battery warning light was active, and now the low voltage LED is illuminated. Driver Action: Safely maneuver your vehicle to the shoulder of the road. Turn off the engine and all non-essential electrical components. You might try to restart the car after waiting a few minutes for the battery to recover slightly, but if the battery light was on, the alternator is likely faulty. You should arrange for roadside assistance or a tow to a mechanic. Why? A failing charging system means the battery is not being recharged, leading to eventual power loss. Continuing to drive will drain the battery completely, leaving you stranded and potentially without essential safety features.
Setting: You are on a Dutch motorway (autosnelweg), attempting to overtake another vehicle. Relevant Lights: The coolant warning light suddenly flashes, and the temperature gauge quickly rises into the 'hot' zone. Driver Action: Immediately and safely abort the overtaking maneuver. Signal and move to the nearest hard shoulder or emergency stopping lane. Turn off the engine as soon as you are safely stopped. Allow the engine to cool down completely before attempting any checks. Why? A flashing coolant warning and rapidly rising temperature indicate critical overheating. Ignoring this will almost certainly lead to severe, irreversible engine damage like a blown head gasket or engine seizure.
Understanding your vehicle's dashboard warning lights and performing routine maintenance checks are indispensable skills for any driver in the Netherlands. By recognizing, categorizing, and reacting appropriately to these alerts, and by diligently checking essential fluid levels, you uphold your legal obligations, prevent costly repairs, and significantly enhance road safety for yourself and others. Proactive maintenance ensures your vehicle remains roadworthy, passes its APK inspection, and contributes to a safer driving environment across the country.
Lesson content overview
Explore all units and lessons included in this driving theory course.
Explore search topics learners often look for when studying Dashboard Warning Lights and Basic Checks. These topics reflect common questions about road rules, driving situations, safety guidance, and lesson level theory preparation for learners in the Netherlands.
Browse additional driving theory lessons that cover connected traffic rules, road signs, and common driving situations related to this topic. Improve your understanding of how different rules interact across everyday traffic scenarios.
Learn the meaning of common dashboard warning lights and understand how to perform essential vehicle fluid checks like engine oil, coolant, and brake fluid. Crucial knowledge for safe driving and passing your Dutch theory exam.
This lesson covers the full range of lights and signals required on a vehicle for visibility and communication. You will learn about the mandatory requirements for headlights, taillights, brake lights, indicators, and reflectors. The curriculum emphasizes the driver's legal responsibility to ensure all lights are clean and functional before every journey. The correct use and function of the horn as an audible warning device in case of imminent danger are also explained.

This lesson focuses on the use of specialized lights for specific situations. You will learn the strict conditions under which fog lights may be used: the rear fog light is only permitted when visibility from fog or snow is less than 50 meters, and not in rain. The lesson also explains the correct use of hazard warning lights, which are intended to warn other drivers of a stationary obstruction (like a breakdown or the tail end of a sudden traffic jam) or while being towed.

This lesson introduces warning signs, which are designed to alert drivers to potential dangers or changes in road layout ahead. You will learn to interpret the triangular-shaped signs that indicate hazards such as sharp curves, slippery road surfaces (J27), or upcoming road works (J8). The curriculum explains how these signs help in anticipating risks and adjusting driving behavior accordingly, such as reducing speed or increasing alertness. A thorough understanding of warning signs is vital for proactive and defensive driving in various environments.

This lesson details the functions of the various lights on a car and the legal requirements for their use. You will learn the difference between dipped beams (dimlicht), which are the standard headlights for night driving and poor visibility, and main beams (grootlicht), which can only be used when they won't dazzle other road users. The content also covers the use of sidelights (stadslicht) for parking and the automatic function of Daytime Running Lights (DRLs). Correct usage is vital for visibility and avoiding blinding other drivers.

Your brakes are your most important safety feature. This lesson explains how to conduct a basic inspection of your braking system. For hydraulic brakes, you will learn how to check the brake fluid level and condition through the reservoir sight glass. The lesson also covers a visual inspection of brake pads for wear and checking brake discs for scoring or damage. Finally, it describes how to test the feel of the brake levers for firmness, ensuring the system is functioning correctly.
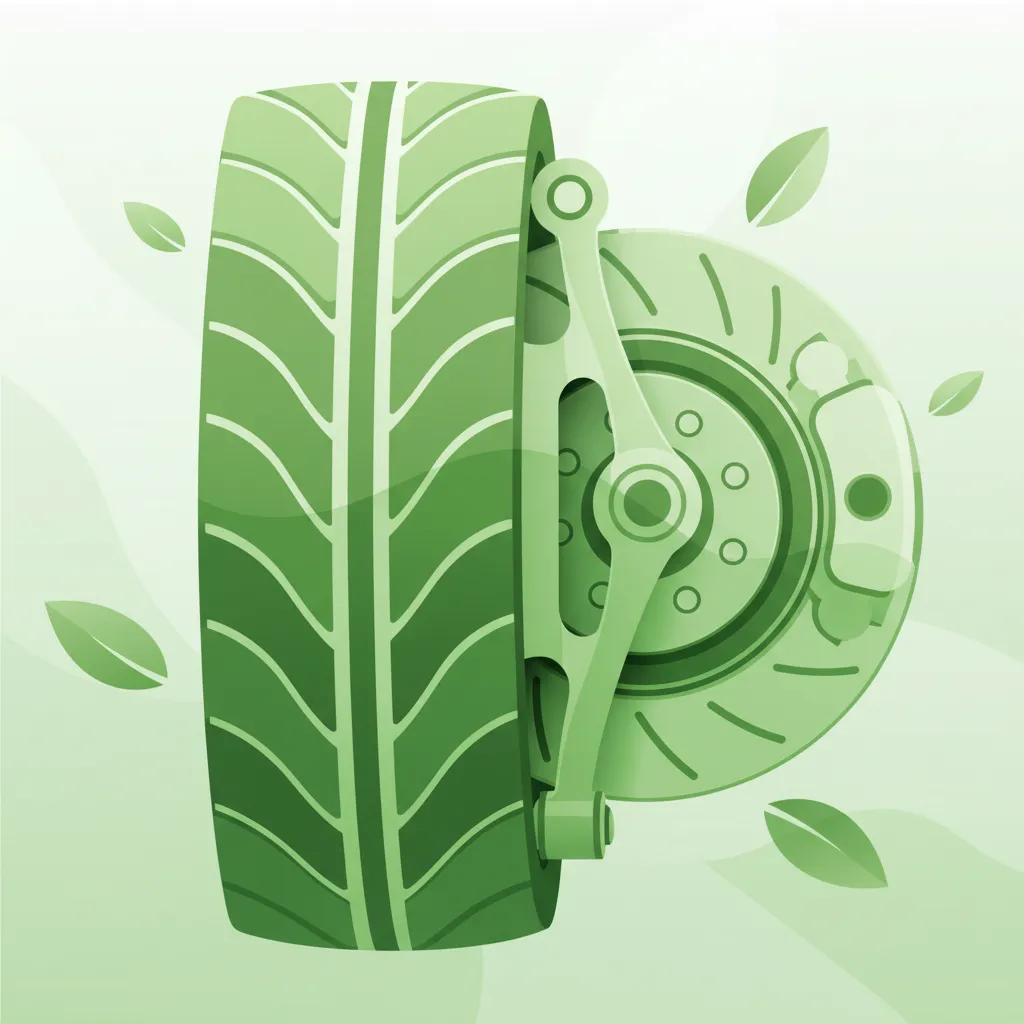
This lesson focuses on the three most critical safety systems of a car. You will learn the legal minimum tire tread depth (1.6 mm) and the importance of maintaining correct tire pressure for safety and fuel efficiency. The content covers the basics of the braking system, including how to check brake fluid and recognize warning signs of worn brakes. Additionally, the lesson explains the function of the steering system and the importance of ensuring it operates smoothly and without issue.

Your vehicle's lights and horn are your primary tools for seeing, being seen, and communicating warnings. This lesson guides you through a simple but vital check of all electrical components before you ride. You will learn how to verify the function of your headlight (high and low beam), taillight, brake light (using both front and rear brake levers), and turn signals. It also covers checking the horn's operation and ensuring all mandatory reflectors are clean and intact.

This lesson teaches riders how to conduct regular visual inspections of their motorcycle's braking system, a critical safety routine. It covers how to check the thickness of brake pads and look for signs of wear or damage on brake discs. The curriculum also explains the importance of monitoring the brake fluid level and condition, as old fluid can compromise braking performance, ensuring the system is always ready for an emergency.

This lesson provides a clear action plan for when your car breaks down. You will learn to pull over to a safe location, preferably the hard shoulder on a motorway, and immediately activate your hazard warning lights. The curriculum explains the legal requirement to place a warning triangle a suitable distance behind the vehicle (if safe to do so) and the strong recommendation to wear a high-visibility jacket. Crucially, it instructs that all occupants should exit the vehicle on the safe side and wait behind the guardrail for assistance.
This lesson details the systematic procedure for checking the functionality of all lights and indicators before a ride. This simple but critical safety check includes verifying the operation of the high and low beam headlight, the taillight, the brake light (using both front and rear brake activators), and all four turn signals. Ensuring all lights are working is a legal requirement and fundamental for visibility and communicating intentions to other road users.
Explore the Dutch legal requirements for vehicle condition, including the significance of dashboard warning lights and mandatory basic maintenance checks. Essential theory for safe driving and compliance with road traffic codes.
This lesson covers the full range of lights and signals required on a vehicle for visibility and communication. You will learn about the mandatory requirements for headlights, taillights, brake lights, indicators, and reflectors. The curriculum emphasizes the driver's legal responsibility to ensure all lights are clean and functional before every journey. The correct use and function of the horn as an audible warning device in case of imminent danger are also explained.
This lesson focuses on the use of specialized lights for specific situations. You will learn the strict conditions under which fog lights may be used: the rear fog light is only permitted when visibility from fog or snow is less than 50 meters, and not in rain. The lesson also explains the correct use of hazard warning lights, which are intended to warn other drivers of a stationary obstruction (like a breakdown or the tail end of a sudden traffic jam) or while being towed.
This lesson focuses on the three most critical safety systems of a car. You will learn the legal minimum tire tread depth (1.6 mm) and the importance of maintaining correct tire pressure for safety and fuel efficiency. The content covers the basics of the braking system, including how to check brake fluid and recognize warning signs of worn brakes. Additionally, the lesson explains the function of the steering system and the importance of ensuring it operates smoothly and without issue.
This lesson details the functions of the various lights on a car and the legal requirements for their use. You will learn the difference between dipped beams (dimlicht), which are the standard headlights for night driving and poor visibility, and main beams (grootlicht), which can only be used when they won't dazzle other road users. The content also covers the use of sidelights (stadslicht) for parking and the automatic function of Daytime Running Lights (DRLs). Correct usage is vital for visibility and avoiding blinding other drivers.
This lesson introduces warning signs, which are designed to alert drivers to potential dangers or changes in road layout ahead. You will learn to interpret the triangular-shaped signs that indicate hazards such as sharp curves, slippery road surfaces (J27), or upcoming road works (J8). The curriculum explains how these signs help in anticipating risks and adjusting driving behavior accordingly, such as reducing speed or increasing alertness. A thorough understanding of warning signs is vital for proactive and defensive driving in various environments.

This lesson details the specific regulations for driving on Dutch motorways, identifiable by the G1 sign. You will learn the correct procedure for joining the flow of traffic using the acceleration lane and for leaving via the deceleration lane. The curriculum reinforces the 'keep right unless overtaking' rule for lane discipline. It also explains that stopping is strictly forbidden, and the hard shoulder (vluchtstrook) may only be used for genuine emergencies.

This lesson emphasizes the critical importance of adapting your speed to prevailing conditions, which may require driving slower than the legal limit. You will learn how factors like rain, fog, snow, and darkness significantly increase braking distances and reduce visibility. The curriculum explains the dangers of aquaplaning on wet roads and black ice in winter. The core principle taught is that a safe driver always adjusts their speed to ensure they can stop within the distance they can see to be clear.
This lesson covers the specific articles of the Dutch Road Traffic Act that apply to motorways, with a primary focus on the strict rule of keeping to the rightmost available lane unless overtaking. It explains the legal and safety reasons for only passing on the left and discusses the correct positioning within a lane for maximum visibility and safety. The content also addresses the nuances of lane usage during heavy congestion, ensuring riders comply with the law and contribute to smooth traffic flow.

This lesson provides practical advice for driving in challenging weather. You will learn about the risk of aquaplaning in heavy rain and how to react, as well as how to manage the effects of strong crosswinds. The curriculum covers winter driving, explaining the danger of black ice, the benefits of winter tires, and techniques for avoiding and correcting a skid. A key focus is on adjusting driving style: increasing following distances, reducing speed, and making gentle steering and braking inputs.

This lesson focuses on regulatory signs, which impose legal obligations on drivers and are essential for maintaining traffic order. You will learn to identify and act upon fundamental signs such as the octagonal B6 Stop sign, the diamond-shaped B1 Priority Road sign, and various compulsory direction arrows. The content explains the legal implications of these signs, detailing when a driver must stop completely, when they have priority, or the required path they must follow. Understanding these commands is crucial for safe and lawful driving at intersections and on designated routes.
Find clear answers to common questions learners have about Dashboard Warning Lights and Basic Checks. Learn how the lesson is structured, which driving theory objectives it supports, and how it fits into the overall learning path of units and curriculum progression in the Netherlands. These explanations help you understand key concepts, lesson flow, and exam focused study goals.
The most critical lights often tested relate to safety systems. These include the oil pressure warning light, the brake system warning light, and the engine temperature warning light. Understanding these and knowing to stop driving immediately if they appear is vital for the exam and your safety.
You should check your engine oil and coolant levels regularly, typically every few weeks and before long journeys. For theory test purposes, it's important to know that these checks are part of basic vehicle maintenance and that low levels can cause serious engine damage or overheating.
Generally, yellow or orange warning lights indicate a potential issue that requires attention soon but usually allows you to continue driving cautiously. Red warning lights typically signify a serious problem that requires immediate action, often meaning you should stop driving as soon as it is safe to do so.
While it's good to be aware of many symbols, the Dutch theory exam focuses on the most important ones related to safety, vehicle operation, and potential hazards. These include critical systems like brakes, engine oil, battery, and engine temperature. Familiarise yourself with the common symbols covered in this lesson and your study materials.
Many dashboard warning lights are directly related to the condition of systems checked during the APK (Algemene Periodieke Keuring) or periodic technical inspection. If a critical warning light is illuminated, it would likely cause a vehicle to fail its APK. This highlights the importance of addressing illuminated warning lights promptly.