
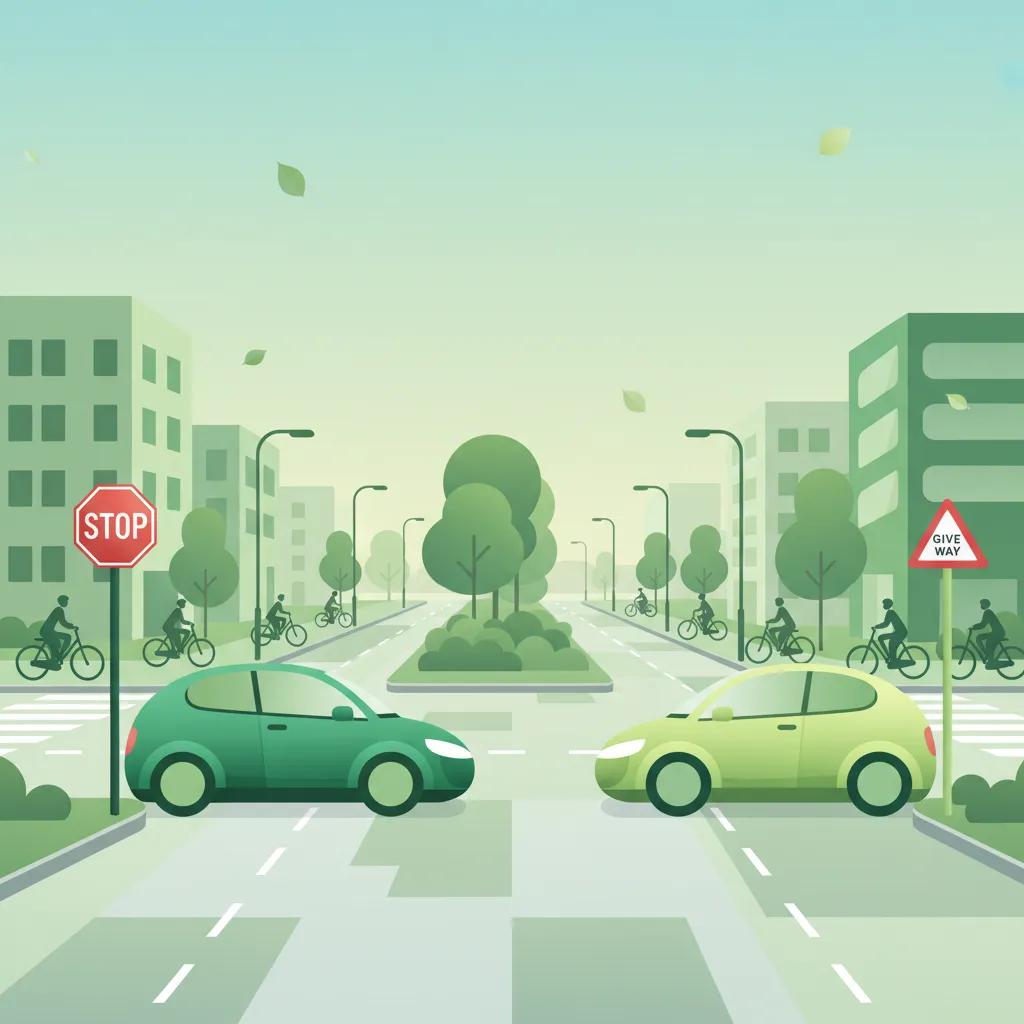
This lesson focuses on signs and road markings that directly control priority at intersections. You'll learn to distinguish between the B5 yield sign, the B6 stop sign, and the 'shark teeth' road markings, understanding how each dictates when you must give way or stop. Mastering these priority signals is vital for navigating controlled junctions safely and correctly answering related questions on your Dutch theory exam.

Navigating Dutch roads safely and efficiently requires a thorough understanding of priority rules, especially at intersections. This lesson focuses on the critical role of specific traffic signs and road markings that explicitly assign or require you to yield priority: the B5 yield sign, the B6 stop sign, and the distinctive "haaientanden" (shark teeth) road markings. Mastering these rules is fundamental for preventing collisions, ensuring smooth traffic flow, and complying with Dutch traffic law.
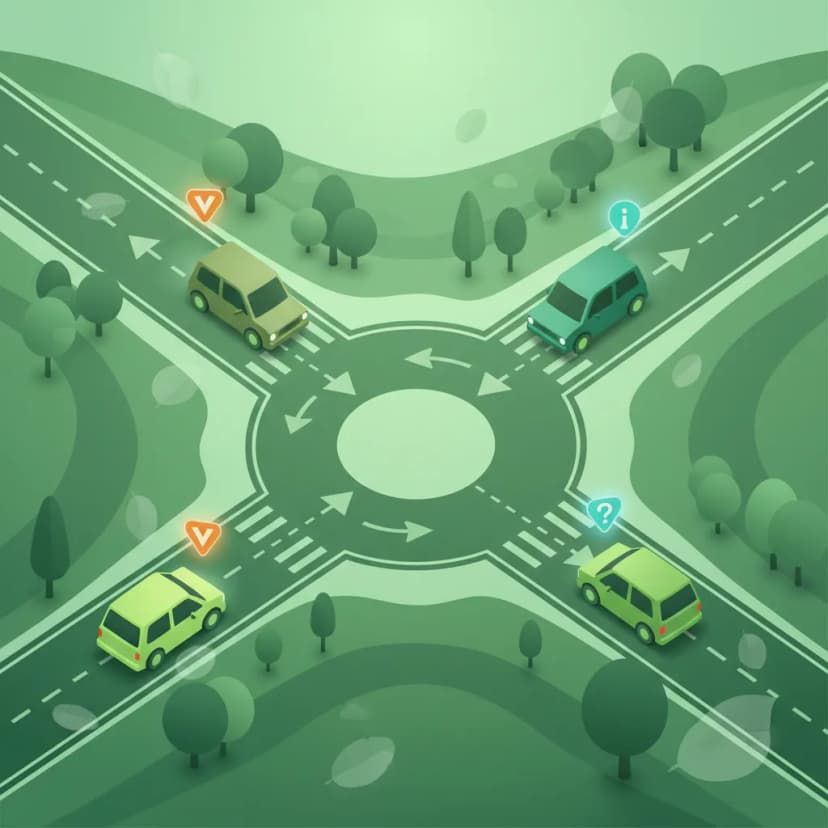
At its core, driving theory aims to prevent conflicts between vehicles. Intersections are common conflict points, where paths converge and drivers must decide who proceeds first. Traffic signs and road markings provide clear instructions, establishing a hierarchy of right-of-way. This structure prevents uncertainty and reduces the risk of accidents by dictating when you must give way to other traffic or when you have precedence. Ignoring these signs not only endangers yourself and others but also carries significant legal penalties.
Understanding the order in which different priority rules apply is crucial for safe driving. The general hierarchy is as follows, from highest to lowest authority:
This lesson will detail the crucial signs and markings that fall under categories 3 and 4, and how they interact with category 5.
The B5 yield sign is one of the most common signs you will encounter at intersections where priority is not absolute. It mandates that you give way to traffic on the intersecting road or from the direction indicated.
When you encounter a B5 yield sign, it means you must be prepared to stop and allow other traffic to proceed if their path would conflict with yours. You should only proceed when the intersecting road is clear, or when it is safe to do so without hindering the progress of other vehicles. This sign is designed to maintain traffic flow by allowing drivers to continue without stopping if there is no conflicting traffic, while ensuring safety by requiring a stop when necessary.
Upon seeing a B5 sign, you should:
The B5 sign typically indicates you must yield to traffic from the intersecting road, but in specific situations, it might imply yielding to traffic from a particular direction, such as when turning. Always assume a general yield unless a specific context (like traffic lights or an arrow) suggests otherwise.
A frequent mistake is treating the B5 sign as a suggestion rather than a mandatory rule. Some drivers might slow down but fail to stop when necessary, or attempt to 'cut off' approaching vehicles, leading to dangerous situations. Remember, the obligation to yield means that you must not impede the progress of priority traffic in any way.
The B6 stop sign imposes the strictest priority rule, requiring a complete and mandatory stop before entering an intersection.
When confronted with a B6 stop sign, you are legally required to bring your vehicle to a full and complete stop. This is not merely a 'slow down and check' instruction; your wheels must cease rotating entirely. The purpose of a stop sign is to ensure that drivers have ample time to observe all conflicting traffic, including pedestrians and cyclists, from all directions before proceeding. These signs are often placed at intersections with limited visibility, high traffic volumes, or where a significant safety risk exists.
Follow these steps when approaching a B6 stop sign:
The most common violation of a B6 stop sign is the 'rolling stop' or 'California stop,' where a driver merely slows down without coming to a full stop. This is illegal and extremely dangerous, as it compromises the sign's safety intent by not allowing sufficient time for observation. Treating a stop sign as a yield sign is also a severe error that can lead to collisions.
Beyond dedicated signs, Dutch road infrastructure frequently uses specific markings to communicate priority rules, particularly the "haaientanden" or shark teeth markings. These triangular white markings on the road surface serve the same legal function as a B5 yield sign.
"Haaientanden" are a series of white, triangular markings painted on the road, pointing towards the approaching traffic that must yield. They are typically found at intersections, roundabouts, and sometimes at pedestrian or cycle crossings where a yield obligation applies. Their purpose is to reinforce a yield requirement, especially in situations where a sign might be missed due to visibility issues, or on narrower roads where physical signs are less practical.
When you encounter "haaientanden," you are legally required to give way to traffic from the direction indicated by the points of the triangles. This means you must:
Just like with the B5 yield sign, a full stop is not always necessary if the intersection is clear, but you must be ready to stop at any moment.
"Haaientanden" are particularly common:
A common misunderstanding is to view "haaientanden" as merely decorative or less authoritative than a physical sign. This is incorrect. These markings carry the same legal weight and implications as a B5 yield sign. Ignoring them can lead to the same consequences as failing to obey a yield sign.
The B1 priority road sign plays a crucial role in establishing right-of-way, and it often interacts with yield and stop signs.
When you are driving on a road marked with a B1 sign, you have priority over traffic entering from side roads or intersections that are not controlled by traffic lights. Vehicles entering a priority road (B1) will almost always encounter a B5 yield sign, a B6 stop sign, or "haaientanden" markings. These signs and markings are specifically placed to ensure that traffic on the non-priority road yields to traffic on the B1 road.
Conversely, if you are approaching a B1 priority road from a side street, you must obey any B5, B6, or "haaientanden" markings present, yielding to the traffic on the priority road. The B1 sign effectively dictates who has priority, and the B5/B6/haaientanden dictate who must yield to that priority.
Important Hierarchy: Traffic lights always override signs. However, if there are no traffic lights, the B1 priority road sign establishes the dominant priority. Vehicles on side roads must yield or stop for traffic on the B1 road, regardless of whether a B5 or B6 sign is explicitly present (though they usually are).
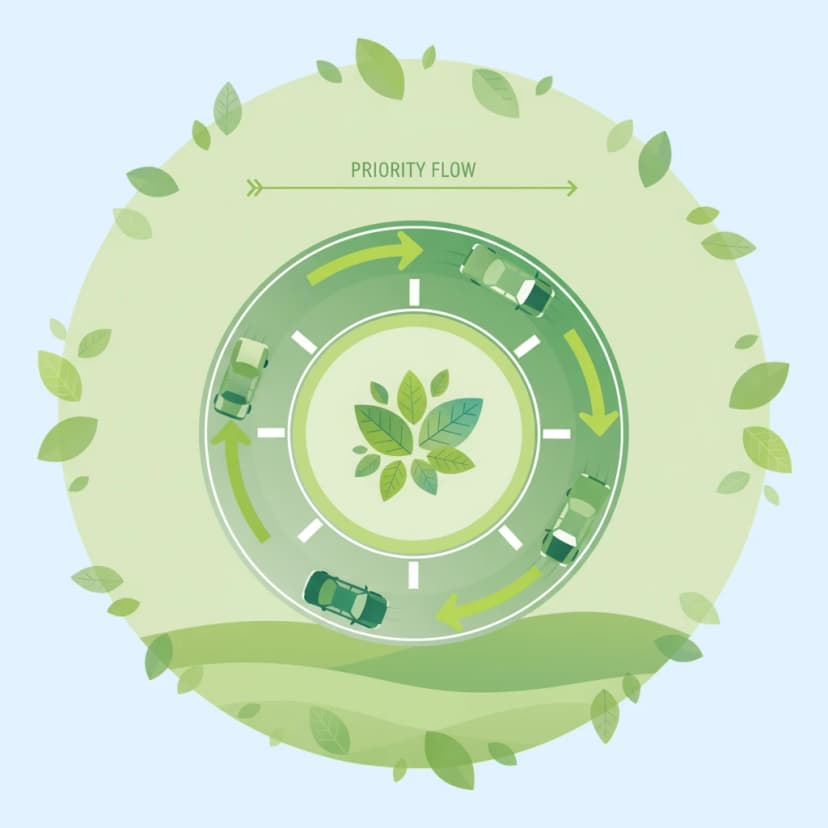
Many roundabouts in the Netherlands are designed such that traffic already on the roundabout has priority. This is often indicated by "haaientanden" at the entrances to the roundabout, requiring incoming traffic to yield. While a physical B1 sign might not be at every roundabout, the principle of priority for circulating traffic is generally upheld.
When no traffic lights, traffic signs (like B1, B5, B6), or road markings (like "haaientanden") dictate priority at an intersection, the "priority to the right" rule (rechts voorrang) applies.
This rule states that any vehicle approaching from your right at an uncontrolled intersection has priority. You must yield to them. This is the default rule in the absence of any other instructions.
It's crucial to understand that B5 yield signs, B6 stop signs, B1 priority road signs, and "haaientanden" override the "priority to the right" rule. If you are at an intersection with a B5 or B6 sign, you must obey that sign, even if a vehicle is approaching from your left (meaning they would typically yield to you under "priority to the right"). The signs take precedence.
Never assume priority: Always assess the intersection for signs, markings, and traffic lights first. Only if none are present, and it's truly an uncontrolled intersection, does "priority to the right" become the governing rule.
Effective decision-making at intersections involves more than just recognizing signs; it requires constant observation and adaptation.
When approaching any intersection, especially one with yield or stop signs:
When turning at an intersection with a B5 or B6 sign, your obligation to yield or stop remains.
The principles of yielding and stopping remain constant, but their application requires adjustments based on surrounding conditions.
Emergency vehicles (police, ambulance, fire brigade) with activated sirens and flashing lights always have absolute priority, overriding all traffic signs, lights, and rules. If an emergency vehicle approaches, you must immediately yield by safely moving aside, stopping, or clearing the intersection to allow them to pass unimpeded. This even applies if you are at a B6 stop sign and an emergency vehicle is approaching from a direction where you would normally have to wait.
Traffic lights always take precedence over B5 yield signs, B6 stop signs, and B1 priority road signs. If an intersection has functioning traffic lights, follow their instructions. Only if the traffic lights are out of order, flashing amber, or not present, do the signs and road markings become the primary source of priority information.
When towing a trailer, your vehicle's overall length and stopping distance increase significantly. You will need more space and time to come to a complete stop at a B6 sign or to safely yield at a B5 sign. Also, be mindful of the trailer's swing when making turns, ensuring you don't impede other traffic while yielding.
Failing to obey yield (B5, "haaientanden") or stop (B6) signs is a serious traffic offense in the Netherlands, carrying significant legal consequences.
To effectively and safely navigate the roads, especially at intersections, remember these core principles regarding yield, stop, and give right-of-way signs in the Dutch driving context:
Mastering these rules is not just about passing a theory test; it's about becoming a responsible, safe, and confident driver on Dutch roads.
Lesson content overview
Explore all units and lessons included in this driving theory course.
Explore search topics learners often look for when studying Yield, Stop, and Give Right-of-Way Signs. These topics reflect common questions about road rules, driving situations, safety guidance, and lesson level theory preparation for learners in the Netherlands.
Browse additional driving theory lessons that cover connected traffic rules, road signs, and common driving situations related to this topic. Improve your understanding of how different rules interact across everyday traffic scenarios.
Learn the precise meaning and application of Dutch priority road signs (B1, B5, B6) and 'shark teeth' markings. Understand how they dictate right-of-way at intersections and override general rules.

This lesson breaks down the rules of priority at intersections. You will learn to identify an 'equal' intersection where the default rule of giving way to traffic from the right applies. It also explains how priority is regulated by signs (such as the B6 Stop sign and B7 priority road sign) and road markings ('shark's teeth'). Understanding these hierarchies is crucial for making safe and correct decisions when crossing or turning at any junction.

This lesson introduces the foundational principles of right-of-way in the Netherlands, starting with the road user hierarchy and the default rule of giving priority to traffic from the right at equal intersections. You will learn to identify a priority road, marked by sign BORD 30, and understand how this designation overrides the default rule. The content establishes the legal framework for making priority decisions in the absence of specific signs or signals.

This lesson explains the foundational 'priority to the right' rule, which applies at intersections of equal roads where no other signs or markings dictate priority. You will learn to identify such junctions and understand your obligation to yield to traffic approaching from your right side. The lesson also clarifies important exceptions, such as when exiting a driveway, entering a paved road from an unpaved one, or when encountering a tram. Mastering this rule is crucial for navigating residential areas and city streets where signage is often minimal.

This lesson establishes the foundational rule of priority in Dutch traffic law: yielding to traffic from the right at intersections of equal roads unless otherwise indicated. It explains how to identify an unmarked or 'equal' junction and the correct procedure for approaching, assessing, and proceeding safely. The content also introduces the primary signs and markings, such as 'shark's teeth,' that override this default rule, forming the basis for all other priority scenarios.

This lesson focuses on the array of signs used to manage traffic at intersections and along multi-lane roads. You will learn to interpret overhead gantry signs, lane designation signs, and markings that guide drivers into the correct lane for their intended direction. The curriculum covers signs indicating priority at upcoming junctions, such as the B3 and B4 signs, which clarify right-of-way rules in complex scenarios. Proper interpretation of these signs is essential for smooth lane changes, efficient navigation, and preventing conflicts at junctions.
This lesson details the specific actions required at intersections controlled by 'Stop' and 'Give Way' signs. You will learn the legal requirement to come to a complete stop at a stop line (BORD 44) and the obligation to yield to all crossing traffic when encountering give-way markings ('haaientanden'). The content covers safe approach speeds and effective scanning techniques for motorcyclists to accurately assess gaps in traffic before proceeding.

This lesson delves into the hierarchy of priority rules on Dutch roads, clarifying who has the right-of-way in various intersection scenarios. It explains the meaning of signs like 'voorrangsweg' and road markings such as shark's teeth ('haaientanden'). Special attention is given to the correct procedure for entering, navigating, and exiting roundabouts on a motorcycle, including proper signaling and lane choice to ensure safe and efficient passage.
This lesson addresses the challenge of navigating equal-priority intersections, where no signs or markings dictate the right-of-way. You will master the fundamental Dutch traffic rule of giving priority to all drivers approaching from your right ('rechts voor'). The content focuses on developing advanced observational skills and clear communication to safely manage these situations, which are common in residential and urban areas.
This lesson provides a detailed guide to navigating roundabouts (rotondes) in the Netherlands. You will learn the primary rule: drivers approaching a roundabout must yield to traffic already circulating on it, which is typically indicated by yield signs (B5) and shark teeth. The curriculum also covers the correct use of turn signals when entering and exiting, rules for multi-lane roundabouts, and special considerations for the priority of cyclists who may have a dedicated path around the roundabout. Correct roundabout etiquette is key to maintaining traffic flow and safety.
This lesson explores the legal meaning of various road surface markings, including solid and broken lane delimiters, directional arrows, and special-purpose lane indicators. It describes how markings dictate permitted maneuvers, such as overtaking and lane changes, and alert riders to upcoming hazards or changes in road layout. The content also examines the relationship between markings and road design in the Netherlands, emphasizing how a motorcyclist must interpret these visual cues for safe positioning.
Explore complex intersection scenarios in Dutch driving theory, including how weather, emergency vehicles, and specific road types affect priority rules like yielding and stopping.
This lesson addresses special situations where standard priority rules are superseded. You will learn the absolute priority of emergency vehicles using sirens and flashing lights, and the correct procedure for giving them way safely. The content also explains the specific priority rules for trams, which often have right-of-way over other traffic, as well as for military columns and official funeral processions. Furthermore, the lesson reinforces the rules for yielding to pedestrians at designated zebra crossings.
This lesson breaks down the rules of priority at intersections. You will learn to identify an 'equal' intersection where the default rule of giving way to traffic from the right applies. It also explains how priority is regulated by signs (such as the B6 Stop sign and B7 priority road sign) and road markings ('shark's teeth'). Understanding these hierarchies is crucial for making safe and correct decisions when crossing or turning at any junction.
This lesson addresses the challenge of navigating equal-priority intersections, where no signs or markings dictate the right-of-way. You will master the fundamental Dutch traffic rule of giving priority to all drivers approaching from your right ('rechts voor'). The content focuses on developing advanced observational skills and clear communication to safely manage these situations, which are common in residential and urban areas.
This lesson explains the foundational 'priority to the right' rule, which applies at intersections of equal roads where no other signs or markings dictate priority. You will learn to identify such junctions and understand your obligation to yield to traffic approaching from your right side. The lesson also clarifies important exceptions, such as when exiting a driveway, entering a paved road from an unpaved one, or when encountering a tram. Mastering this rule is crucial for navigating residential areas and city streets where signage is often minimal.
This lesson provides a detailed guide to navigating roundabouts (rotondes) in the Netherlands. You will learn the primary rule: drivers approaching a roundabout must yield to traffic already circulating on it, which is typically indicated by yield signs (B5) and shark teeth. The curriculum also covers the correct use of turn signals when entering and exiting, rules for multi-lane roundabouts, and special considerations for the priority of cyclists who may have a dedicated path around the roundabout. Correct roundabout etiquette is key to maintaining traffic flow and safety.
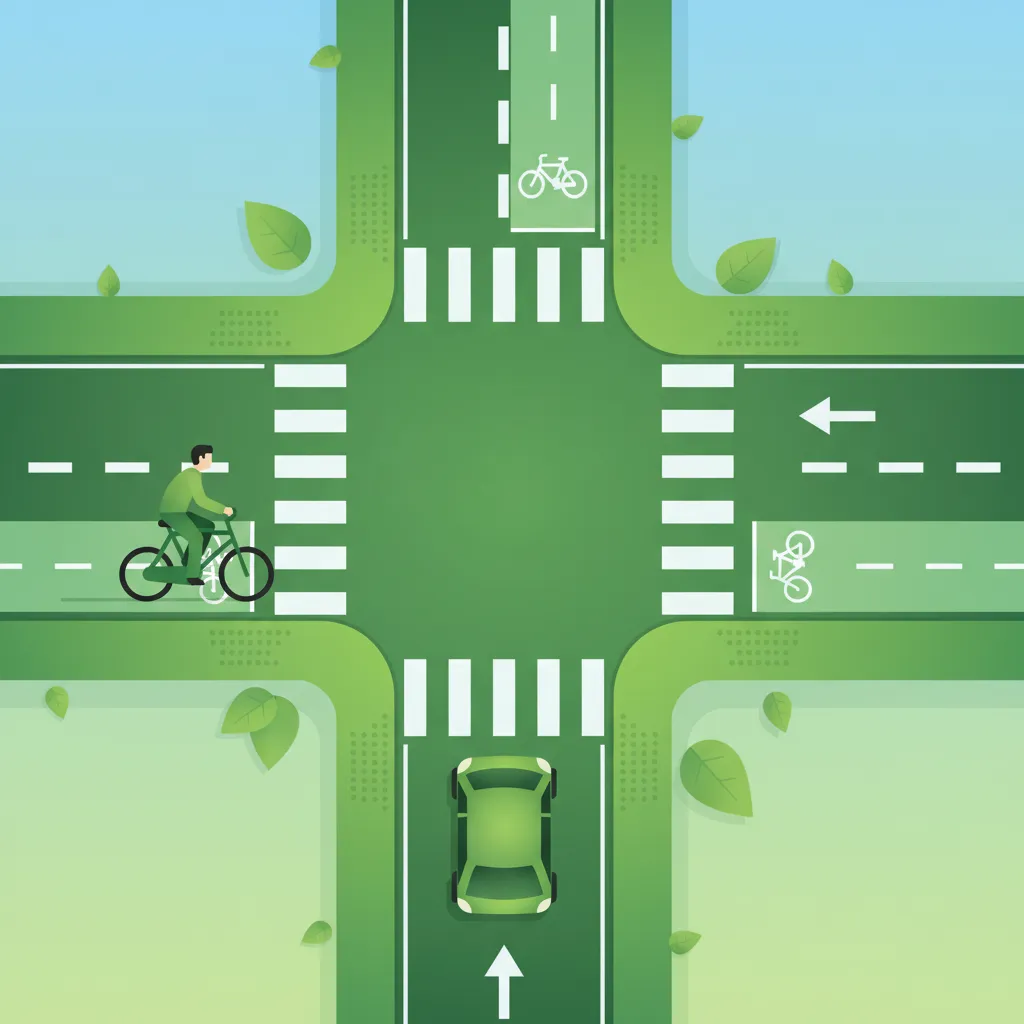
This lesson explains the critical rules of priority involving pedestrians and cyclists to ensure the safety of vulnerable road users. You will learn the absolute requirement to stop for pedestrians on or waiting to use a 'zebrapad' (zebra crossing). The content also covers situations where you must yield to cyclists crossing your path, such as when turning across a dedicated bicycle lane (fietspad).

This lesson focuses on the rules governing interactions with pedestrians. You will learn the absolute requirement to stop for pedestrians who are on or clearly intending to cross at a designated zebra crossing. The curriculum also covers how to share the road in a 'woonerf' (home zone) where pedestrians have priority. It emphasizes being particularly cautious around children, the elderly, and disabled pedestrians, who may require more time or behave unpredictably.
This lesson introduces the foundational principles of right-of-way in the Netherlands, starting with the road user hierarchy and the default rule of giving priority to traffic from the right at equal intersections. You will learn to identify a priority road, marked by sign BORD 30, and understand how this designation overrides the default rule. The content establishes the legal framework for making priority decisions in the absence of specific signs or signals.

Roundabouts are a common feature of Dutch roads, and they have specific priority rules. This lesson teaches the standard rule of yielding to traffic already circulating on the roundabout before you enter. It also covers correct lane positioning, the importance of signaling your intention to exit, and the specific rules that often apply to cyclists who may have priority when crossing the exits. These skills ensure smooth and safe passage through both large and mini-roundabouts.
This lesson delves into the hierarchy of priority rules on Dutch roads, clarifying who has the right-of-way in various intersection scenarios. It explains the meaning of signs like 'voorrangsweg' and road markings such as shark's teeth ('haaientanden'). Special attention is given to the correct procedure for entering, navigating, and exiting roundabouts on a motorcycle, including proper signaling and lane choice to ensure safe and efficient passage.
Find clear answers to common questions learners have about Yield, Stop, and Give Right-of-Way Signs. Learn how the lesson is structured, which driving theory objectives it supports, and how it fits into the overall learning path of units and curriculum progression in the Netherlands. These explanations help you understand key concepts, lesson flow, and exam focused study goals.
The B5 yield sign (or 'geef rekking' sign) requires you to give way to traffic on the intersecting road, but you do not have to stop if it is safe to proceed. The B6 stop sign, however, mandates a complete stop at the stop line before checking for traffic and proceeding when safe. You must always stop at a B6 sign, even if no traffic is present.
The 'haaientanden' or shark teeth markings are painted on the road and indicate that you must give way to traffic on the intersecting road, similar to the B5 yield sign. They are often used in conjunction with a yield sign or at junctions where priority is not otherwise clear, reinforcing the requirement to yield.
Yes, the B6 stop sign legally requires a full stop at the designated stop line (or the edge of the main road if no line is present) before you can proceed. This ensures you have ample time to check for traffic from all directions and make a safe decision. Failing to stop is a serious traffic violation.
If a priority road sign (indicating your road has priority) is present, it generally overrides the requirement to yield at an intersection. However, you must always be aware of your surroundings. If there's any ambiguity or if another sign or road marking contradicts the priority, proceed with caution and be prepared to yield.
Yes, the B5 yield sign can appear by itself, indicating that you must give way to traffic on the intersecting road. The 'shark teeth' markings are often used to visually reinforce the yield requirement, especially at junctions where the priority might otherwise be unclear or where it's particularly important to ensure drivers slow down and yield.