
Prepare to elevate your riding safety by mastering advanced hazard perception and scanning techniques. This lesson is crucial for anticipating potential dangers on Dutch roads and is a key component of the A2 motorcycle theory exam preparation. Building on foundational knowledge, it focuses on proactive risk assessment to keep you safe.
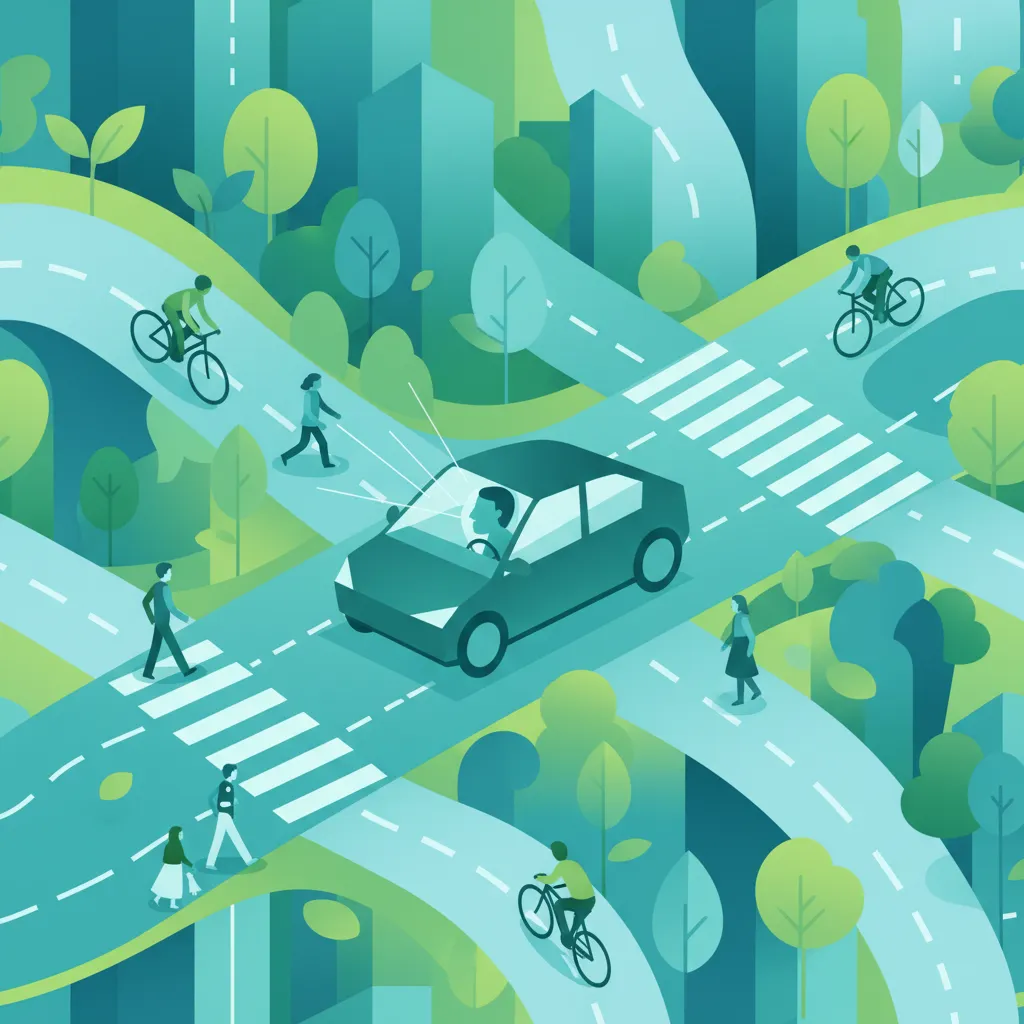
Becoming a truly skilled motorcyclist involves more than just mastering physical controls; it demands a superior level of mental engagement with your environment. This lesson, part of your journey towards a Dutch Category A2 motorcycle license, focuses on transforming you from a reactive rider into a proactive, anticipatory road user. You will learn to continuously scan your surroundings, predict potential dangers, and position your motorcycle for maximum safety.
Hazard perception is the fundamental cognitive process of constantly observing, identifying, evaluating, and responding to potential conflicts before they escalate into immediate dangers. For riders of a 35 kW motorcycle on mixed-traffic roads, this skill is paramount, acting as the primary defense against collisions. It is not merely a good practice; it is a legally mandated competence under Dutch traffic law.
Dutch traffic regulations place a clear responsibility on every road user. Article 11 of the Reglement Verkeersregels en Verkeerstekens 1990 (RVV 1990) obliges all participants to exercise "reasonable care" to avoid causing a collision. This broad duty of care directly underpins the necessity of advanced hazard perception. Furthermore, Article 12, paragraph 1, mandates maintaining a "safe distance" that allows for stopping without endangering others, a requirement only truly met through early threat detection.
The kinetic energy of a motorcycle, even at typical urban speeds (e.g., 50 km/h), means that braking distances require early detection of threats. Waiting until a hazard is immediate significantly reduces your options and available stopping distance. From a human factors perspective, our attention capacity is limited. Structured scanning techniques are essential to overcome natural perceptual blind spots and the "attentional blink"—a brief lapse in perception that can occur after processing a new stimulus. Proactive scanning helps bridge these gaps.
Effective hazard perception is built upon a set of interconnected principles that guide your visual attention and decision-making on the road.
The systematic, repeated visual sweep of the environment in three concentric zones (near, far, peripheral) to ensure early detection of emerging hazards and maintain situational awareness.
This principle emphasizes that your eyes should never fixate on a single point for too long. Instead, they should constantly move, covering your immediate surroundings, the distant road ahead, and your peripheral vision. This active scanning ensures that new information is constantly being fed to your brain, allowing for timely responses.
Adjusting your speed and trajectory in advance of an anticipated hazard to maintain a safe "gap" or buffer around your motorcycle.
Rather than reacting to a sudden event, proactive positioning means you've already adjusted your speed or lane position to neutralize a potential threat before it fully materializes. For example, if you anticipate a car might turn across your path, you would slow down or shift slightly to give yourself an escape route, well before the car actually begins its turn. This minimizes the need for harsh braking or swerving, preserving motorcycle stability and your control.
A four-step mental loop: (1) Scan → (2) Recognise → (3) Assess → (4) Respond, which structures perception into a repeatable pattern to manage cognitive processing limits.
The HAC provides a structured approach to processing information. You continuously Scan your environment for cues. Once a cue is observed, you Recognise it as a potential hazard. Then, you Assess the severity and likelihood of the hazard becoming a danger. Finally, you Respond by taking appropriate action. This cycle should be constant and fluid, allowing you to manage multiple potential hazards simultaneously. Failure at any step increases collision risk.
A spatial framework that divides the roadway into three zones relative to the rider: the Danger Zone (where a hazard may develop), the Collision Zone (where impact would occur if no action is taken), and the Conflict Zone (the immediate manoeuvre area).
The RZM helps you prioritize threats based on their proximity and urgency.
The mental simulation of plausible future actions of other road users based on current cues, forcing the rider to consider multiple scenarios before committing to a path.
This critical cognitive tool involves asking yourself "what if?" about other road users. For instance, "What if that car waiting at the junction pulls out suddenly?" or "What if the pedestrian steps into the road without looking?" By mentally rehearsing these scenarios, you can anticipate potential problems and adjust your riding to mitigate the risk, choosing safer speeds or lane positions.
Structured eye-movement techniques designed to efficiently cover all scanning zones, such as the "1-2-3" method.
Because our attentional capacity is limited, structured visual search patterns help ensure you don't miss crucial information. These patterns are practiced during training to become automatic, reducing cognitive load and helping you systematically sweep your environment. The "1-2-3" method, for example, involves looking far ahead (1), glancing at your immediate path (2), and checking your mirrors (3) in a continuous cycle.
A quantitative estimate, in seconds, of how long before an impact would occur if current trajectories and speeds remain unchanged.
TTC is a mental calculation that constantly informs your urgency. A higher TTC (e.g., 5 seconds) gives you ample time to adjust. A low TTC (e.g., below 1.5 seconds) indicates an immediate danger requiring rapid, decisive action. Riders use TTC as a mental threshold to determine when to initiate a response, typically aiming to keep it above a critical value.
Implementing these core principles requires specific techniques for scanning, anticipation, and decision-making.
Your visual attention should be systematically distributed across three primary zones:
This is your immediate manoeuvre space. It includes the road directly in front of you, your mirrors, and blind spots. You need to perform quick glances here approximately every 2 seconds.
This is your primary threat detection zone, where hazards first become visible and you have time to react. You should sweep this zone every 5-7 seconds with a sustained look.
Your peripheral vision provides early warnings for fast-approaching vehicles from the side or behind, or pedestrians stepping onto the roadway. While not providing detail, it alerts you to motion and change. Maintaining this general awareness is constant.
The HAC is not a linear process but a continuous loop.
The speed of this cycle varies: a micro-cycle for immediate hazards might be under 2 seconds, while a macro-cycle for developing hazards (like a pedestrian approaching a crosswalk) could span 5 seconds or more. Riders must consciously progress through each stage.
Never skip the 'Assess' step. Reacting impulsively without fully understanding the situation can lead to overreactions or creating new dangers.
What-if modelling requires you to think critically about potential actions of others.
The RZM provides a practical hierarchy for your attention.
Your goal is to constantly push hazards back into the Danger Zone through early detection and proactive adjustments.
Developing structured eye movements prevents tunnel vision and ensures comprehensive coverage.
Practicing these patterns until they become automatic significantly reduces cognitive load and improves detection accuracy.
TTC is your mental stopwatch.
A TTC of less than 1.5 seconds generally indicates a high-urgency situation requiring immediate braking or evasive action. Always factor in the acceleration or deceleration of both your motorcycle and other road users.
Adhering to hazard perception principles is not just about safety; it's about legal compliance. Several articles within the RVV 1990 directly relate to the concepts discussed.
Even experienced riders can fall into common traps regarding hazard perception.
Hazard perception is not a fixed skill; it must adapt to the prevailing circumstances.
Understanding the underlying cognitive and physical principles reinforces the importance of these skills.
Time-to-Collision so that your reaction time doesn't consume all your safety margin.Hazard perception is not an isolated skill; it forms the foundation for many other critical riding techniques covered in your Dutch Category A2 motorcycle license course.
Let's apply these concepts to common riding situations for a Dutch Category A2 motorcycle license holder.
You are riding at 30 km/h in an urban area with clear weather. Ahead, at a green traffic light, a car is signalling to turn left.
Time-to-Collision and keeps you out of the Collision Zone, giving you options.You are on a residential street at 25 km/h in light rain, approaching a cyclist from behind.
You are riding on a suburban road at 60 km/h as dusk settles, and your motorcycle has automatic headlights.
Mastering advanced hazard perception and scanning is fundamental to safe motorcycling, especially for the Dutch Category A2 motorcycle license. It empowers you to be a proactive rider, consistently anticipating potential conflicts and positioning yourself for safety well before an emergency arises. By diligently applying continuous scanning, what-if modelling, the Hazard Anticipation Cycle, and understanding the Risk Zone Model, you will dramatically reduce your collision risk and enhance your overall riding confidence.
These skills are not static; they require constant practice and adaptation. Integrate them into every ride, making them second nature. This comprehensive approach to hazard perception will serve as a robust foundation for more advanced emergency manoeuvres and responsible riding behavior in all conditions.
Lesson content overview
Explore all units and lessons included in this driving theory course.
Explore search topics learners often look for when studying Advanced Hazard Perception and Scanning. These topics reflect common questions about road rules, driving situations, safety guidance, and lesson level theory preparation for learners in the Netherlands.
Browse additional driving theory lessons that cover connected traffic rules, road signs, and common driving situations related to this topic. Improve your understanding of how different rules interact across everyday traffic scenarios.
Explore the Risk Zone Model and learn 'what-if' modelling techniques to anticipate potential dangers on Dutch roads. Enhance your hazard perception skills to predict other road users' actions and ensure safer riding.
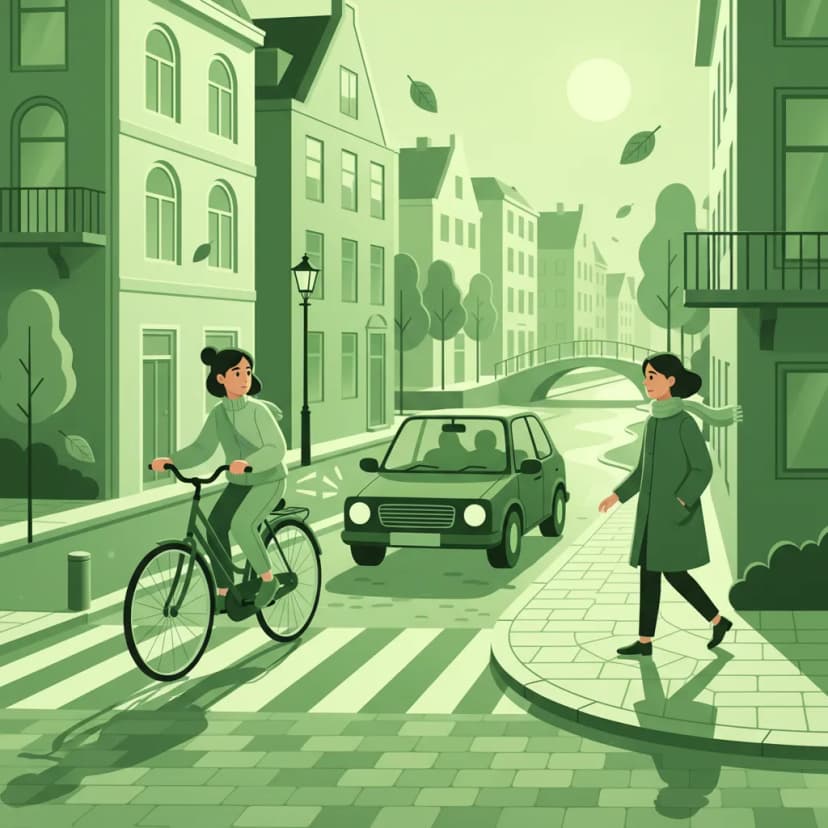
This lesson focuses on the unique and densely packed hazards found in urban traffic environments. It teaches riders to develop a systematic scanning pattern to identify potential risks from multiple sources simultaneously, such as pedestrians stepping off curbs, car doors opening unexpectedly, and buses pulling out. The content also emphasizes the importance of managing speed and always having an 'escape route' planned in case a hazard suddenly materializes in the complex city landscape.

This lesson focuses on hazard perception ('gevaarherkenning'), a critical section of the CBR exam. It explains how increasing speed reduces a rider's field of vision and shortens the time available to identify, process, and react to potential dangers. The content explores techniques for actively scanning the road ahead and anticipating the actions of other road users to make safe, proactive decisions rather than reactive ones.

This lesson introduces the Dutch concept of 'voorspellend rijgedrag,' or anticipatory riding, a proactive approach to safety. It teaches motorcyclists how to look beyond the immediate vehicle in front and scan for clues that predict the actions of other road users, such as turn signals, wheel direction, and driver head movement. By anticipating potential conflicts before they happen, riders can position themselves to avoid danger and ensure a smoother, safer journey through complex traffic.
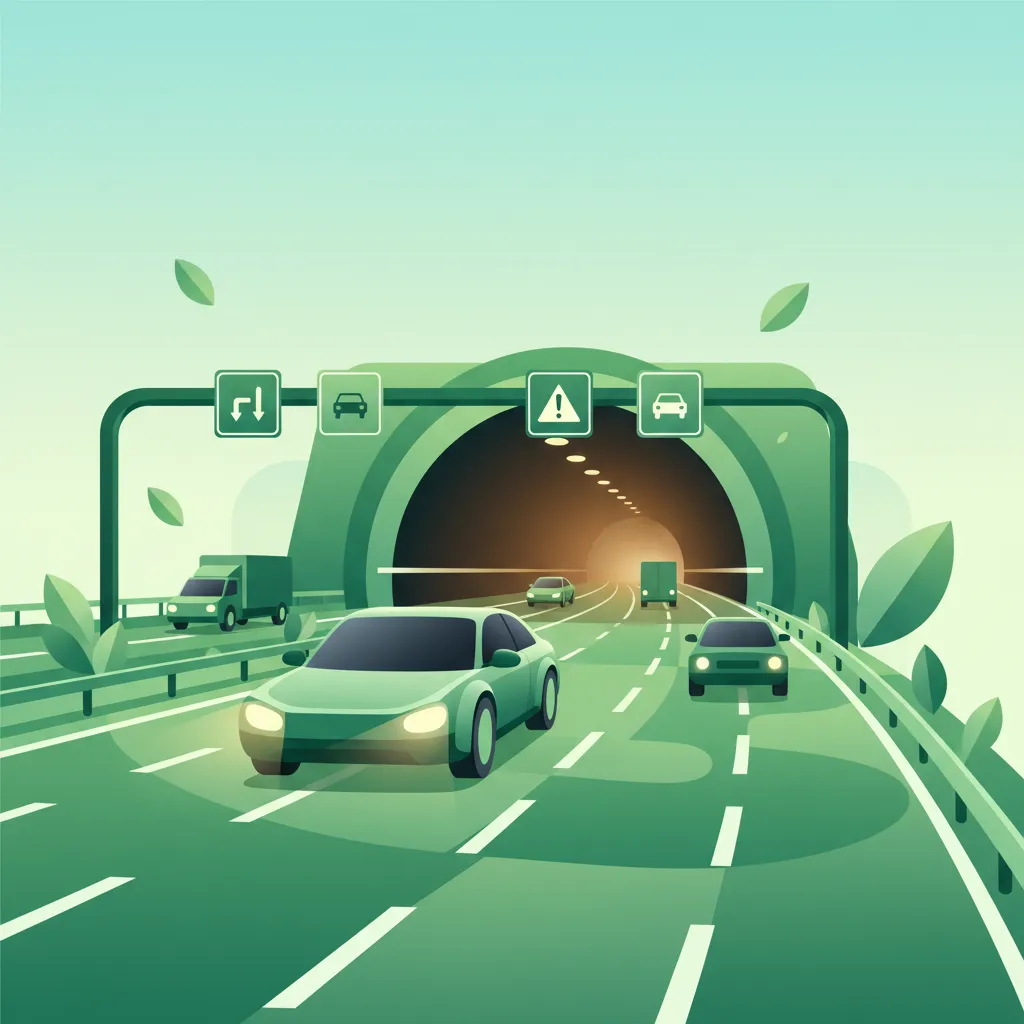
This lesson transitions hazard perception skills to the high-speed environment of motorways and tunnels. It covers specific risks such as vehicles merging at different speeds, sudden braking and congestion ahead, road debris, and the aerodynamic effects of crosswinds and large trucks. The curriculum also addresses the challenges of riding in tunnels, including changes in light and surface conditions, and the importance of identifying emergency exits and procedures in case of an incident.
This lesson details the interpretation of Dutch warning signs, which alert riders to potential dangers and changing road conditions. You will study signs indicating sharp curves, road narrowing (BORD 30), and temporary hazards like road works (BORD 36), learning to adjust speed and road position proactively. The content emphasizes how the A2 motorcycle's characteristics require earlier hazard recognition and response compared to other vehicles for maintaining control.

How you perceive risk directly influences your riding behavior. This lesson encourages you to honestly assess your own attitude towards risk, highlighting the dangers of overconfidence, especially in new riders. It teaches you to move beyond simply seeing hazards to actively anticipating them. By asking 'what if?' questions (e.g., 'What if that car pulls out?'), you can mentally prepare for potential dangers and create a safer space cushion around yourself at all times.
This lesson focuses on identifying different types of speed zones and understanding the rationale behind their limits. It explains how to recognize the start and end of a 'built-up area' ('binnen de bebouwde kom') via place-name signs and discusses special zones like 30 km/h zones and 'woonerven' (residential yards). The curriculum emphasizes adapting riding style to the specific hazards present in each type of zone, from high pedestrian activity in urban areas to unexpected curves on rural roads.

This lesson focuses on training the brain to become a more effective hazard detection system. It introduces psychological techniques like 'commentary riding,' where the rider verbalizes all perceived hazards and their planned responses, which enhances focus and processing. The practice of constantly running 'what-if' scenarios helps to pre-plan reactions to potential events, reducing the time it takes to respond if a real hazard materializes, turning anticipation into a deeply ingrained habit.

This lesson prepares you for the unique dangers of high-speed highway riding. You will learn to scan for and navigate road hazards like debris, potholes, and slippery steel expansion joints on bridges. The content also addresses the powerful air turbulence created by large trucks that can upset a motorcycle's stability and the mental challenge of maintaining focus on long, monotonous stretches of road.
This lesson details the purpose and visual design of Dutch warning signs ('gevarendriehoeken') that alert riders to potential hazards ahead. It covers a wide range of scenarios, from road narrowing and dangerous curves to construction zones and the risk of falling rocks, emphasizing the need for early anticipation and speed adaptation. The content also explains how these warning signs integrate with other traffic information to help a rider form an accurate risk assessment and make safer decisions.
Learn advanced scanning techniques to improve situational awareness on Dutch roads. Understand the legal obligations under RVV 1990 and avoid common hazard perception errors to ride more safely and confidently.
This lesson details the interpretation of Dutch warning signs, which alert riders to potential dangers and changing road conditions. You will study signs indicating sharp curves, road narrowing (BORD 30), and temporary hazards like road works (BORD 36), learning to adjust speed and road position proactively. The content emphasizes how the A2 motorcycle's characteristics require earlier hazard recognition and response compared to other vehicles for maintaining control.
This lesson focuses on the unique and densely packed hazards found in urban traffic environments. It teaches riders to develop a systematic scanning pattern to identify potential risks from multiple sources simultaneously, such as pedestrians stepping off curbs, car doors opening unexpectedly, and buses pulling out. The content also emphasizes the importance of managing speed and always having an 'escape route' planned in case a hazard suddenly materializes in the complex city landscape.
This lesson introduces the Dutch concept of 'voorspellend rijgedrag,' or anticipatory riding, a proactive approach to safety. It teaches motorcyclists how to look beyond the immediate vehicle in front and scan for clues that predict the actions of other road users, such as turn signals, wheel direction, and driver head movement. By anticipating potential conflicts before they happen, riders can position themselves to avoid danger and ensure a smoother, safer journey through complex traffic.
This lesson focuses on hazard perception ('gevaarherkenning'), a critical section of the CBR exam. It explains how increasing speed reduces a rider's field of vision and shortens the time available to identify, process, and react to potential dangers. The content explores techniques for actively scanning the road ahead and anticipating the actions of other road users to make safe, proactive decisions rather than reactive ones.
This lesson prepares you for the unique dangers of high-speed highway riding. You will learn to scan for and navigate road hazards like debris, potholes, and slippery steel expansion joints on bridges. The content also addresses the powerful air turbulence created by large trucks that can upset a motorcycle's stability and the mental challenge of maintaining focus on long, monotonous stretches of road.
This lesson transitions hazard perception skills to the high-speed environment of motorways and tunnels. It covers specific risks such as vehicles merging at different speeds, sudden braking and congestion ahead, road debris, and the aerodynamic effects of crosswinds and large trucks. The curriculum also addresses the challenges of riding in tunnels, including changes in light and surface conditions, and the importance of identifying emergency exits and procedures in case of an incident.

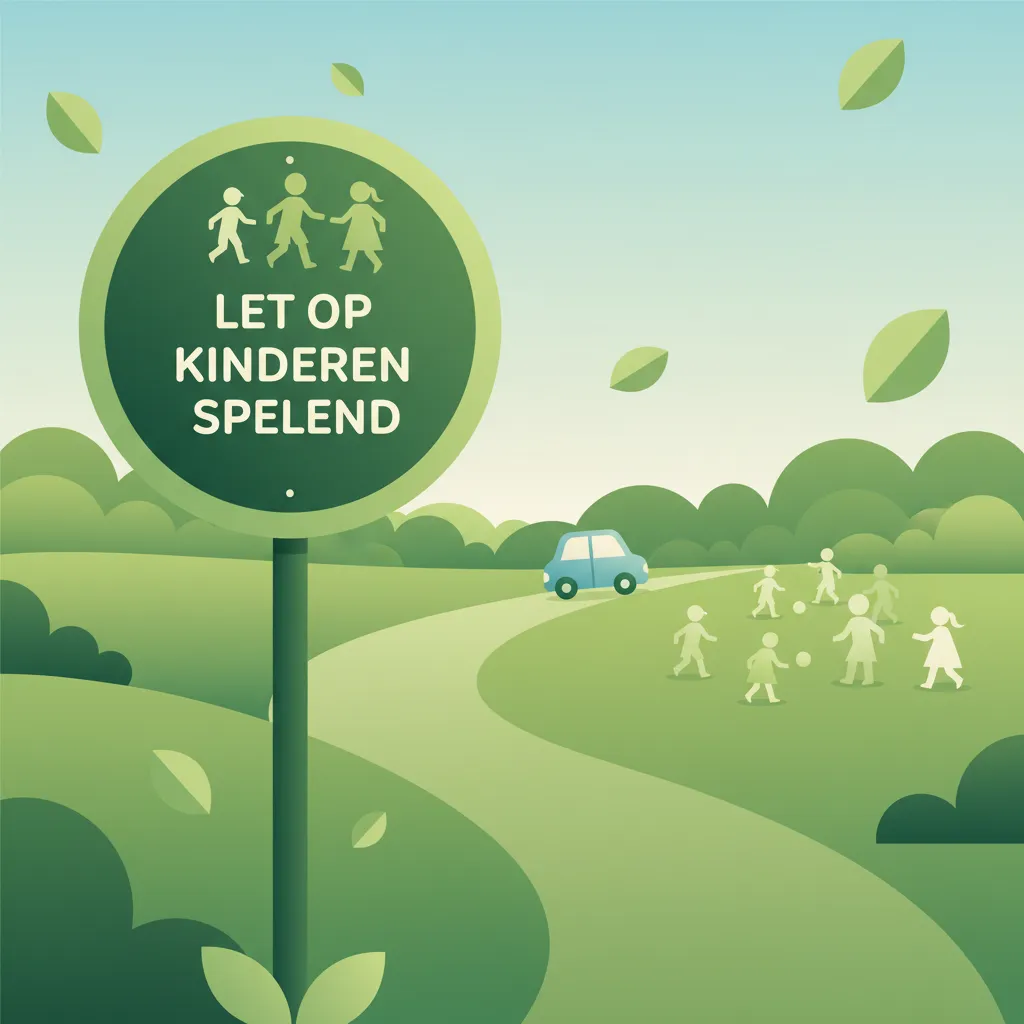
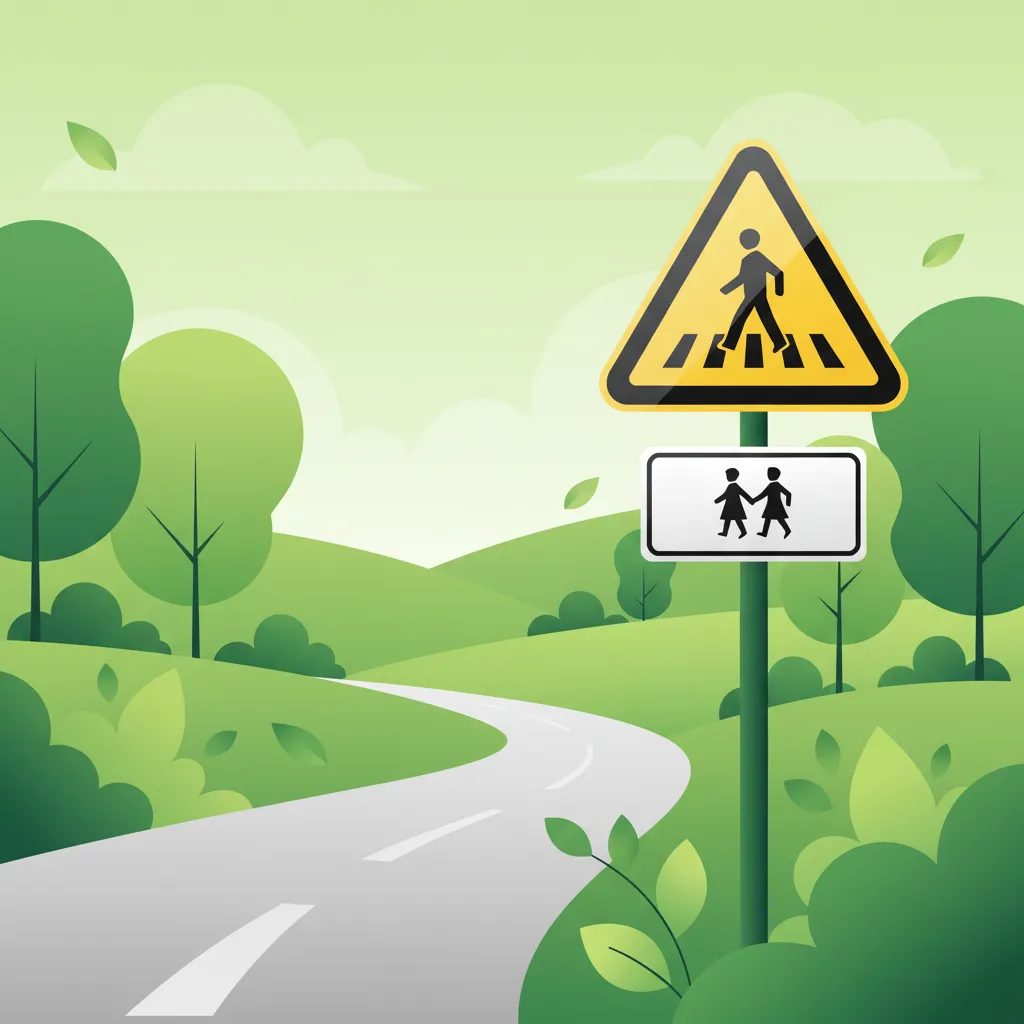
This lesson focuses on the legal requirements and safe practices for riding near pedestrian crossings ('zebrapaden') and designated school zones. It details the absolute obligation to yield to pedestrians on or about to use a crossing and the need for significantly reduced speeds and heightened vigilance in areas with children. The content underscores the importance of anticipation and being prepared for unpredictable movements from vulnerable road users to prevent serious incidents.

This lesson provides critical instruction on managing blind spots ('dode hoek') to prevent collisions, particularly during lane changes. It covers the correct setup and use of mirrors, but stresses their limitations and the absolute necessity of the 'lifesaver' shoulder check before any lateral movement. Furthermore, it teaches riders how to be aware of the large blind spots around cars and especially trucks, and how to position themselves on the road to remain visible to other drivers at all times.
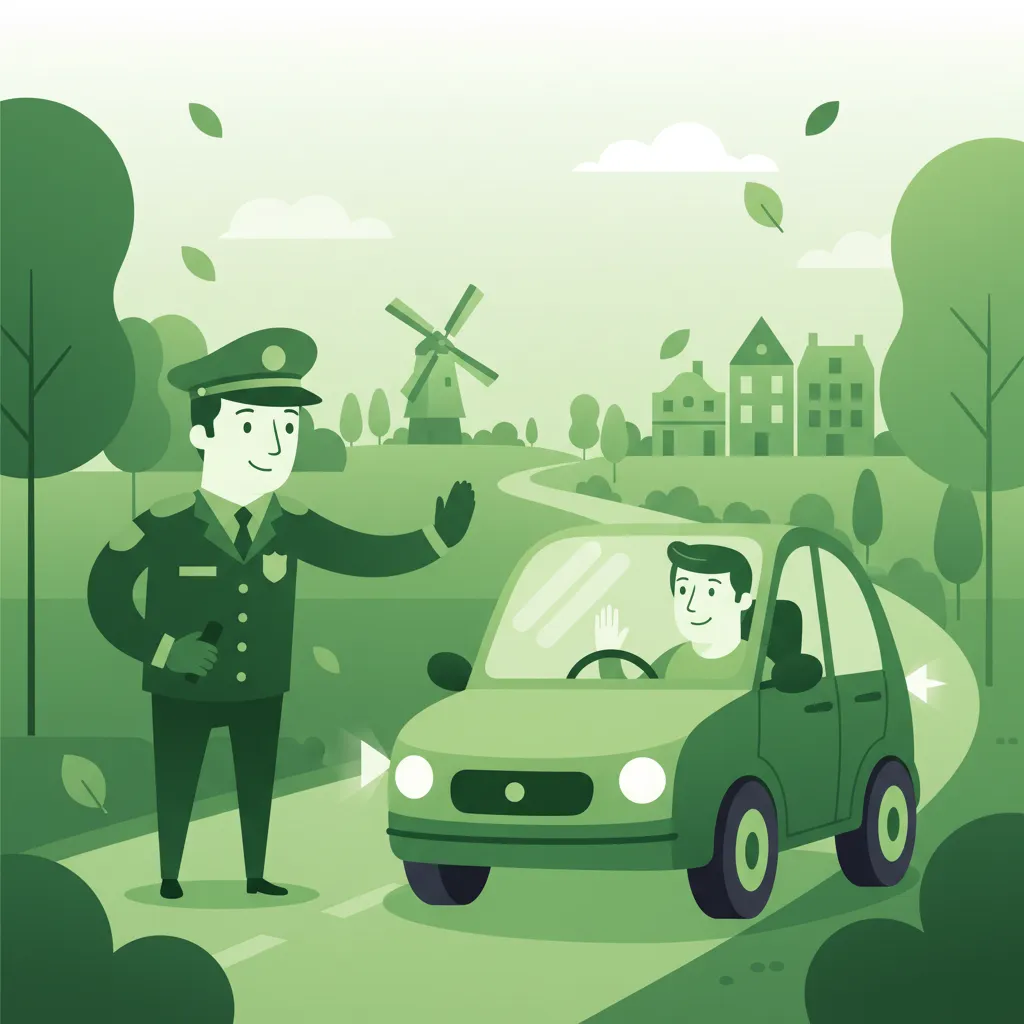
This lesson prepares riders for the possibility of a routine police check ('verkeerscontrole'). It explains what officers typically inspect, which includes the required documentation, the roadworthiness of the motorcycle (e.g., tire tread depth, exhaust legality), and the rider's sobriety. The curriculum provides guidance on how to interact calmly and cooperatively with law enforcement, ensuring the stop proceeds smoothly and efficiently while being aware of one's basic rights.
This lesson focuses on training the brain to become a more effective hazard detection system. It introduces psychological techniques like 'commentary riding,' where the rider verbalizes all perceived hazards and their planned responses, which enhances focus and processing. The practice of constantly running 'what-if' scenarios helps to pre-plan reactions to potential events, reducing the time it takes to respond if a real hazard materializes, turning anticipation into a deeply ingrained habit.
Find clear answers to common questions learners have about Advanced Hazard Perception and Scanning. Learn how the lesson is structured, which driving theory objectives it supports, and how it fits into the overall learning path of units and curriculum progression in the Netherlands. These explanations help you understand key concepts, lesson flow, and exam focused study goals.
Basic hazard perception involves recognizing obvious dangers like a car braking suddenly. Advanced hazard perception, taught in this lesson, focuses on identifying potential risks before they become immediate threats, such as a pedestrian glancing at the road or a car slowing down near a junction, and anticipating multiple steps ahead.
Scanning means systematically moving your eyes across your entire field of vision – near, far, left, right, and mirrors. This constant movement ensures you don't miss subtle clues, like a child's ball rolling into the street or a cyclist preparing to turn, allowing you to react proactively.
Certainly. 'What if' the car ahead suddenly turns left without signalling? You should be scanning ahead and to the sides to see if its wheels are turned or if there's a junction. If you spot these signs, you might anticipate the turn and adjust your speed or position accordingly, rather than being surprised by it.
Yes, Dutch roads present unique challenges. Look for cyclists emerging from side paths, trams at junctions, busy pedestrian crossings, and vehicles merging or exiting autosnelwegen. Understanding these common Dutch traffic scenarios is key to advanced hazard perception.
The CBR theory exam heavily features questions that test your ability to perceive and react to hazards. By mastering advanced scanning and 'what if' thinking, you'll be much better prepared to interpret complex scenarios presented in the exam questions and select the correct, safest answer.