
Welcome to the 'Warning Signs (A-codes)' lesson, part of the 'Road Signs and Markings' unit for your Dutch A1 motorcycle license. This section focuses on the triangular signs designed to alert you to potential dangers ahead. Understanding these signs is vital for anticipating road conditions and ensuring safe riding practices on Dutch roads.

For aspiring A1 motorcycle riders in the Netherlands, understanding and correctly reacting to road signs is paramount for safety and successful navigation of the CBR licence exam. Among the various categories of traffic signs, warning signs, officially classified as A-codes in the Dutch system, are arguably the most critical for motorcyclists. These triangular signs provide essential, early alerts about potential hazards ahead, demanding a proactive and informed response.
This comprehensive lesson will guide you through the intricacies of Dutch A-code warning signs from an A1 motorcycle rider's perspective. We will delve into their characteristics, the specific hazards they represent, the legal obligations they impose, and the precise riding adjustments required to ensure safety and stability on two wheels.
Dutch A-code signs are designed to give road users sufficient time to anticipate and react to conditions that deviate from the normal driving environment. Their primary purpose is preventive, offering a vital buffer for cognitive processing, decision-making, and physical response. For motorcyclists, this early warning system is invaluable due to the inherent dynamics of two-wheeled vehicles. Reduced stability, shorter braking distances, and higher susceptibility to surface changes mean that advanced notice of hazards like sharp bends, slippery surfaces, crosswinds, or falling rocks is not just helpful—it's often critical for maintaining control.
These signs are part of the Dutch Road Traffic Regulations (RVV 1990) and form a crucial component of safe road participation in the Netherlands. Recognising their uniform shape and understanding their specific pictograms are fundamental skills that will not only prepare you for your CBR theory exam but, more importantly, equip you for a lifetime of safe motorcycling.
The effectiveness of A-code warning signs is built upon several core principles, each with specific implications for motorcycle riders:
A-code signs are strategically placed at a distance from the hazard that allows for a minimum reaction time. For motorcyclists, who often travel at higher speeds and have a smaller contact patch, this advance warning is crucial. It gives you time to perceive the sign, understand the hazard, make a decision about your speed and line, and execute the necessary controls before you even reach the danger zone. Looking far ahead on the road is therefore a fundamental defensive riding technique, enabling you to spot these signs early.
All A-code warning signs in the Netherlands share a distinct, uniform appearance: an equilateral triangle pointing upwards, with a red border, a white background, and a black pictogram. This standardisation ensures instant recognisability across language barriers and varied environments. When you see this shape, your brain should immediately classify it as a warning, triggering heightened mental alertness and preparation for an upcoming change in road conditions.
Each A-code sign features a precise pictogram that clearly depicts the nature of the hazard. Whether it's a curved arrow, a snowflake, or a jumping deer, the symbol is designed to reduce ambiguity. This specificity allows you to infer the exact danger and, consequently, enables you to formulate a targeted response. For example, a sign indicating a sharp bend requires a different control input than one warning of loose gravel.
The RVV 1990 Annex I, Section A, prescribes minimum spacing from the hazard, height, and lateral offset for A-code signs. This legal standard ensures consistency across the Dutch road network. As a rider, this consistency means you can predict where to look for warnings relative to the road layout, further enhancing your ability to spot and react to them in time.
The RVV 1990 mandates that all road users must act in accordance with the information conveyed by warning signs (Article 4.2.1). This is not merely advisory; it is a legal obligation. Non-compliance can be classified as careless or negligent driving, leading to severe legal consequences and, more importantly, a significantly increased risk of accidents. Warning signs are direct instructions to adapt your riding.
Warning signs are typically placed in locations where statistical accident data or engineering assessments indicate an elevated risk. This means that encountering an A-code sign should not be taken lightly; it marks a section of road that has been identified as potentially dangerous. Treating these signs as higher-risk indicators helps optimise your safety on the road.
A-code signs are categorised by the type of hazard they convey. Understanding these subcategories and the specific signs within them is essential for developing appropriate riding responses.
These signs warn of upcoming changes in the road's alignment, from gentle curves to severe turns. For motorcyclists, navigating bends requires precise speed control, body positioning, and line choice to maintain stability and grip.
Practical Meaning for Motorcyclists: These signs require you to anticipate changes in lateral forces. You must adjust your speed, body lean, and line of travel well in advance of the bend. The sharper the bend, the greater the adjustment needed.
Associated Rules: Reduce your speed to a level that allows safe negotiation of the bend under current road adhesion conditions. This is implied by RVV 1990 Article 4.2.
Common Misunderstandings: Many riders underestimate the severity of a bend or attempt to maintain a constant, high speed, leading to inadequate lean angle or running wide.
Motorcycle-Specific Response:
Scan Ahead: Look for the sign, then identify the entry, apex, and exit of the curve.
Reduce Speed: Before entering the bend, smoothly reduce speed using engine braking and progressive brake application. Ensure you are at a safe entry speed.
Shift Body Weight: As you initiate the turn, gently shift your body weight into the lean, looking through the bend to where you want to go.
Maintain Smooth Throttle: Maintain a neutral or slightly increasing throttle through the bend to stabilise the chassis and maintain tyre grip. Avoid sudden acceleration or deceleration mid-corner.
Choose Your Line: Select a line that provides the best visibility and allows for the widest possible arc, usually starting wide, moving towards the apex, and exiting wide.
Double bends (A4) and S-curves (A5) require even more advanced planning as they involve rapid changes in direction. Your vision and body positioning need to adapt quickly between the first and second turns.
These signs alert you to conditions that will reduce tyre grip, demanding extreme caution and smooth control inputs.
Practical Meaning for Motorcyclists: Expect reduced friction between your tyres and the road. Prepare to modulate throttle gently, brake smoothly and progressively, and significantly increase your following distance. Wet bridges, tunnels, and shaded areas are common places for this sign.
Associated Rules: Reduce speed and avoid abrupt inputs (RVV 1990 Annex A-9 suggests careful braking on low-friction surfaces).
Common Misunderstandings: Assuming the sign only applies during active rainfall, or underestimating the grip reduction from oil, leaves, or fine sand.
Motorcycle-Specific Response:
On slippery surfaces, abrupt braking, especially with the front brake, can easily cause a wheel lock-up and a fall. Use the rear brake first, very gently, and be extremely smooth with the front brake.
Reduce Speed Significantly: Lower your speed well before the hazard to minimise the forces on your tyres.
Smooth Inputs Only: Avoid any sudden movements with the throttle, brakes, or steering. Every input should be gradual and deliberate.
Prioritise Rear Brake (Gentle): Apply the rear brake first and with extreme caution. If using the front brake, use minimal pressure.
Increase Following Distance: Allow ample space between your motorcycle and the vehicle ahead to provide more time and distance for braking.
Loose gravel (A7), uneven surfaces (A8), ice (A9), and oil spills (A10) demand similar, cautious responses. For uneven surfaces, anticipate impacts and prepare to absorb shocks through your arms and legs. For ice and oil, consider if it's safe to even proceed, or if an alternative route is necessary.
These signs alert you to atmospheric conditions that can significantly affect motorcycle handling and visibility.
Practical Meaning for Motorcyclists: Strong crosswinds can push your motorcycle sideways, especially in exposed areas like bridges or open fields. You must be prepared for sudden lateral forces.
Associated Rules: Adjust riding posture and speed to counter the wind's effects.
Common Misunderstandings: Ignoring crosswind signs if the wind gusts are transient or only feeling minor effects. The sudden gust can destabilise you.
Motorcycle-Specific Response:
Reduce Speed: Lowering your speed reduces the force of the wind and gives you more time to react.
Grip Handlebars Firmly: Maintain a firm, but relaxed, grip on the handlebars. Avoid "white-knuckling."
Lean Slightly into the Wind: Counter the wind's force by leaning gently into it. Your motorcycle may appear to be crabbing (moving slightly sideways) relative to the road.
Tuck In: Minimise your body's surface area exposed to the wind by tucking your elbows in and gripping the tank with your knees.
Be Aware of Gaps: Anticipate sudden changes in wind force when passing large vehicles or entering/exiting sheltered areas (e.g., underpasses, dense trees).
Fog (A12) and low visibility (A13) signs are critical for safety. Visibility can rapidly drop, making it difficult to see other vehicles, road markings, and hazards.
Motorcycle-Specific Response:
Switch to Dipped Beam (Low Beam): High beams reflect off fog, worsening visibility. Use dipped beam and ensure your rear light is fully functional.
Increase Following Distance: Allow significantly more space than usual to react to vehicles ahead.
Reduce Speed: Drive at a speed that allows you to stop within the visible distance ahead.
Use Fog Lights (If Equipped): Activate your front and rear fog lights if your motorcycle has them and visibility is severely impaired (less than 50 meters for rear fog lights).
Avoid Overtaking: Overtaking in fog is extremely dangerous due to limited visibility of oncoming traffic.
Listen: In very dense fog, sometimes you can hear other vehicles before you see them.
RVV 1990 Article 3.2 mandates the use of appropriate lighting in reduced visibility conditions.
These signs warn of fixed or temporary hazards on or adjacent to the roadway, which can alter the riding environment or present physical obstacles.
Practical Meaning for Motorcyclists: Expect possible debris on the road surface or even active rockfalls. Your reaction time to solid objects on the road needs to be immediate.
Associated Rules: Adjust speed, maintain a defensive riding line, and be prepared to stop or swerve safely.
Common Misunderstandings: Assuming the sign only applies during specific weather or failing to anticipate debris extending into your lane.
Motorcycle-Specific Response:
Reduce Speed: Lowering your speed gives you more time to spot and react to debris.
Maintain Upright Posture: This provides better balance and control for sudden evasive manoeuvres.
Scan the Road Surface: Look for rocks or other debris that may have fallen.
Choose a Safe Line: Ride closer to the centre of your lane, away from the edge where debris is more likely to accumulate. Be aware of the road conditions on both sides.
Avoid Overtaking: Maintain your position and avoid risky manoeuvres.
Tunnels (A15) may have height restrictions, though this is rarely an issue for A1 motorcycles. More importantly, they can have different lighting, acoustics, and air quality. Construction zones (A16) introduce variable road surfaces, narrow lanes, temporary markings, and the presence of workers and machinery.
Motorcycle-Specific Response in Construction Zones:
Reduce Speed: Adhere to any temporary speed limits. Construction zones often have lower limits for safety.
Increase Vigilance: Watch out for loose gravel, uneven surfaces, potholes, temporary barriers, and workers.
Maintain Lane Discipline: Stick to the designated lane, even if it feels narrow. Avoid weaving between traffic.
Anticipate Stop-and-Go Traffic: Be prepared for sudden stops and be visible to vehicles behind you.
Protect Yourself: Wear appropriate safety gear, as debris can be kicked up.
Overtaking is often prohibited in construction zones (RVV 1990 Article 5.1) to protect workers and maintain safe traffic flow.
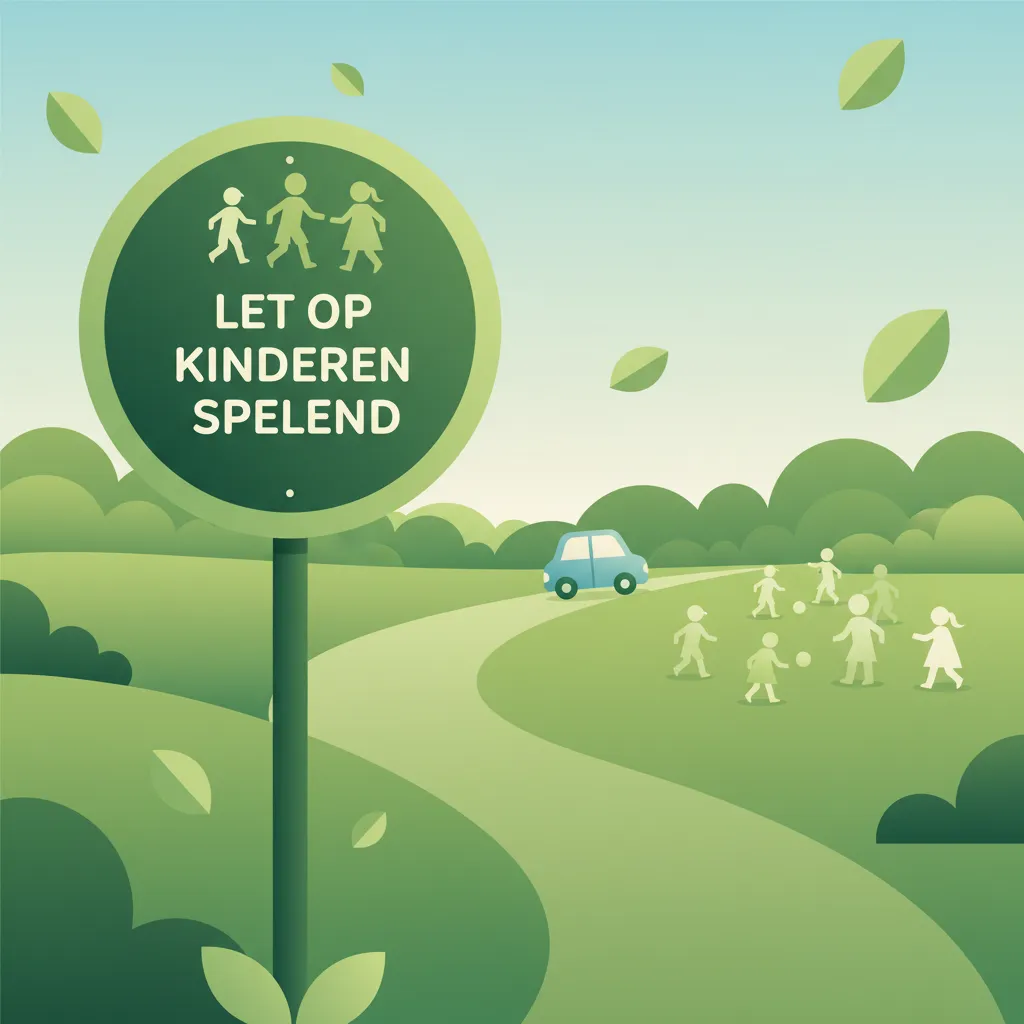
These signs alert you to the potential presence of animals or pedestrians who may unexpectedly enter the roadway.
Practical Meaning for Motorcyclists: You must be prepared for sudden obstacles. Animals can emerge quickly and unpredictably, especially at dawn, dusk, or during specific seasons.
Associated Rules: Reduce speed to a level that allows safe braking; avoid overtaking near the sign (RVV 1990 Article 6.3).
Common Misunderstandings: Assuming animals only cross during daylight, or ignoring the sign if no movement is immediately observed.
Motorcycle-Specific Response:
Reduce Speed: Lowering your speed dramatically increases your reaction and stopping time.
Increase Vigilance: Actively scan both sides of the road and the verges for any movement. Animals are often camouflaged.
Be Prepared to Brake: Cover your brakes and be ready for an emergency stop.
Use Your Horn (Intermittently): Where permitted, a short, sharp blast of the horn can sometimes scare animals away from the road, but be prepared for them to panic and run in any direction.
Avoid Swerving Abruptly: If an animal suddenly appears, controlled braking is usually safer than a sudden swerve, which can lead to a loss of control.
Expect Multiple Animals: If you see one animal, there may be others following.
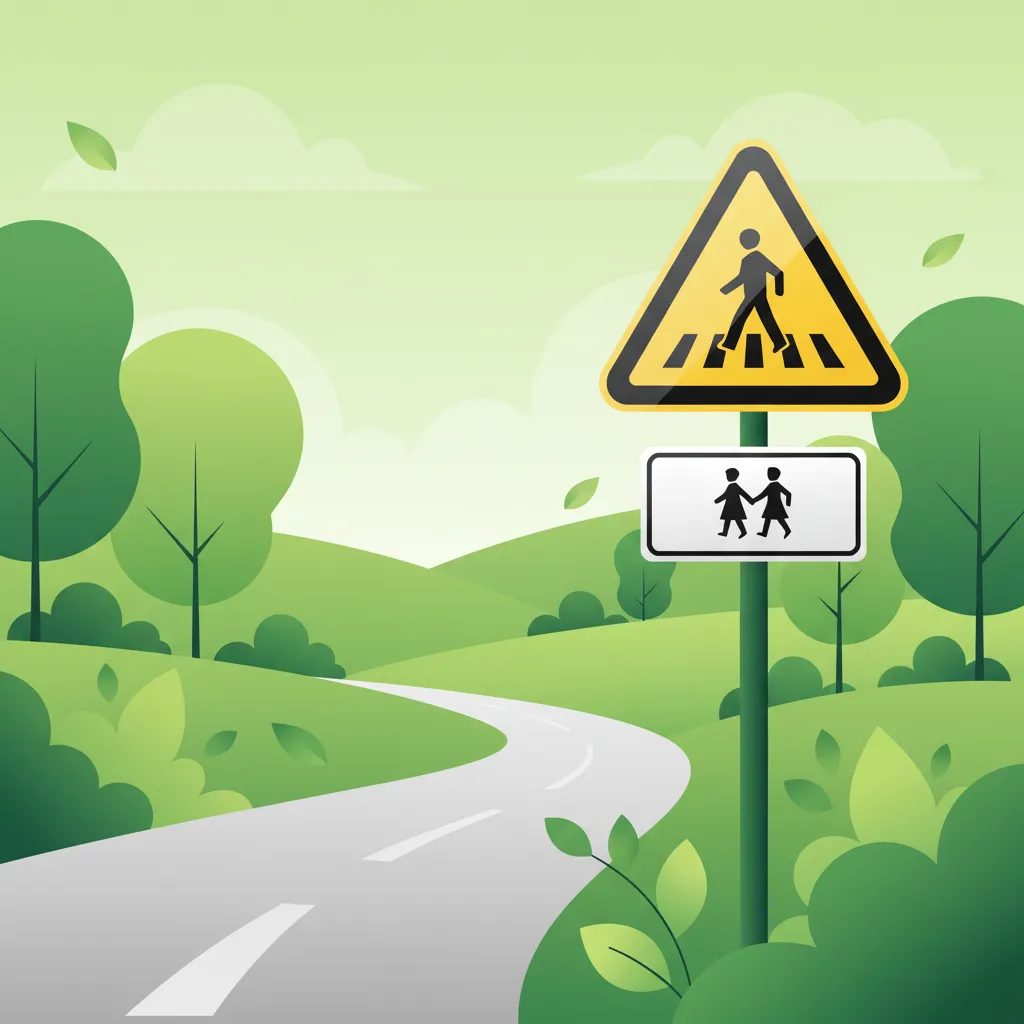
Livestock crossing (A18) signs are common in rural agricultural areas. Be prepared for large, slow-moving animals. Pedestrian crossing (A19) signs indicate areas where pedestrians might cross without the benefit of a zebra crossing, requiring extra attention and readiness to yield.
Adherence to warning signs is not merely good practice; it is a legal requirement under Dutch traffic law. The RVV 1990 (Reglement Verkeersregels en Verkeerstekens 1990) outlines these obligations.
RVV 1990 Article 4.2 – Mandatory Compliance: All road users are legally obliged to adjust their behaviour in accordance with the information conveyed by warning signs. Failure to do so can be considered careless driving and incur penalties.
This means that if you see a sign warning of a sharp bend (A3), you are legally required to reduce your speed to safely navigate that bend. If you fail to do so and cause an incident, you could be held liable.
Furthermore, specific regulations govern the placement and interpretation of these signs:
Understanding these regulations ensures not only your safety but also your legal compliance as a road user in the Netherlands.
Despite their clear intent, A-code signs are often misinterpreted or ignored, leading to common violations and dangerous situations, especially for motorcyclists.
Speeding through a Sharp Bend (A-code 3):
Ignoring "Slippery when Wet" (A-code 6) during rain:
Riding in a Construction Zone (A-code 16) without adjusting lane or speed:
Maintaining High Beam in Dense Fog (A-code 12):
Failing to Anticipate Crosswinds (A-code 11) on an exposed bridge:
Assuming "No Sign" Equals "No Hazard" in rural areas:
The actions you take in response to a warning sign are not always static. Several contextual factors can significantly alter the interpretation and required response.
When a warning sign (e.g., animal crossing A17-A19, or even a general hazard) coincides with areas of high pedestrian or cyclist density, motorcyclists must prioritise the safety of VRUs. This may involve stopping completely or reducing speed to a crawl.
Understanding the 'why' behind A-code signs involves a blend of physics and human psychology, particularly relevant for motorcycle riding.
This comprehensive understanding of Dutch A-code warning signs is fundamental for any A1 motorcycle rider. By actively recognizing, interpreting, and responding to these crucial alerts, you significantly enhance your safety, maintain control, and become a more responsible and skilled road participant. Mastering these signs prepares you not only for the CBR theory exam but for the dynamic challenges of real-world riding on Dutch roads.
Lesson content overview
Explore all units and lessons included in this driving theory course.
Explore search topics learners often look for when studying Warning Signs (A-codes). These topics reflect common questions about road rules, driving situations, safety guidance, and lesson level theory preparation for learners in the Netherlands.
Browse additional driving theory lessons that cover connected traffic rules, road signs, and common driving situations related to this topic. Improve your understanding of how different rules interact across everyday traffic scenarios.
Explore how weather, road conditions, and lighting influence the interpretation and importance of Dutch warning signs (A-codes) for A1 motorcycle riders. Understand how to adjust your response based on real-world factors.
This lesson details the purpose and visual design of Dutch warning signs ('gevarendriehoeken') that alert riders to potential hazards ahead. It covers a wide range of scenarios, from road narrowing and dangerous curves to construction zones and the risk of falling rocks, emphasizing the need for early anticipation and speed adaptation. The content also explains how these warning signs integrate with other traffic information to help a rider form an accurate risk assessment and make safer decisions.
This lesson details the interpretation of Dutch warning signs, which alert riders to potential dangers and changing road conditions. You will study signs indicating sharp curves, road narrowing (BORD 30), and temporary hazards like road works (BORD 36), learning to adjust speed and road position proactively. The content emphasizes how the A2 motorcycle's characteristics require earlier hazard recognition and response compared to other vehicles for maintaining control.

This lesson introduces warning signs, which are designed to alert drivers to potential dangers or changes in road layout ahead. You will learn to interpret the triangular-shaped signs that indicate hazards such as sharp curves, slippery road surfaces (J27), or upcoming road works (J8). The curriculum explains how these signs help in anticipating risks and adjusting driving behavior accordingly, such as reducing speed or increasing alertness. A thorough understanding of warning signs is vital for proactive and defensive driving in various environments.
This lesson examines the function and interpretation of variable message signs (VMS) and other digital displays that provide real-time traffic information on Dutch roads. It explains how these systems communicate dynamic speed limits, congestion alerts, lane closures, and diversion routes, and how motorcyclists must legally comply with these instructions. Understanding these 'matrixborden' is critical for adapting to changing road conditions and ensuring safety on motorways and in tunnels.

This lesson covers the mandatory lighting and signaling equipment for A2 motorcycles under Dutch law, ensuring you remain visible and communicate your intentions correctly. You will learn the rules for using headlights, taillights, turn signals, and brake lights in various conditions, including daytime and adverse weather. The content also addresses the importance of maintaining this equipment and using hand signals as a valid secondary method of communication in traffic.

This lesson focuses on informational signs that guide motorcyclists in navigation, route planning, and locating essential services while on the road. It examines the standardized symbols and color-coding for directions ('richtingsborden'), destinations, distances, and amenities, explaining how these signs support efficient and safe travel. Learners will understand how to use this information for strategic route selection, especially on long journeys or in unfamiliar areas, ensuring a smooth and predictable trip.
This lesson explains how to interpret directional and informational signs to navigate the Dutch road network effectively. You will learn to read route signs on highways, understand lane guidance arrows for complex intersections, and identify panels indicating services like fuel stations or rest areas. The content focuses on how motorcyclists can use this information for safe and efficient route planning, including adapting to real-time information from electronic signs.

This lesson offers an in-depth study of Dutch regulatory signs, which impose mandatory actions or prohibitions on road users, with a specific focus on their impact on motorcyclists. It explains the visual language of prohibition symbols ('verbodsborden') and obligation symbols ('verplichtingsborden'), the contexts in which they appear, and the strict statutory consequences of non-compliance. Real-world examples are used to illustrate how these signs directly influence route planning, overtaking decisions, and speed management.

This lesson explores the legal meaning of various road surface markings, including solid and broken lane delimiters, directional arrows, and special-purpose lane indicators. It describes how markings dictate permitted maneuvers, such as overtaking and lane changes, and alert riders to upcoming hazards or changes in road layout. The content also examines the relationship between markings and road design in the Netherlands, emphasizing how a motorcyclist must interpret these visual cues for safe positioning.

This lesson provides essential guidance on recognizing and interpreting traffic signs that may differ from Dutch standards but are commonly encountered when riding across borders within the European Union. It highlights key differences based on the Vienna Convention on Road Signs and Signals, helping riders understand variations in regulatory, warning, and informational signs. This knowledge is crucial for maintaining legal compliance and safety when navigating foreign road systems, ensuring a confident international riding experience.
Learn about frequent misinterpretations of Dutch A-code warning signs by motorcyclists. Understand potential risks and gain insights into correct, safe responses to avoid accidents and legal issues.
This lesson offers an in-depth study of Dutch regulatory signs, which impose mandatory actions or prohibitions on road users, with a specific focus on their impact on motorcyclists. It explains the visual language of prohibition symbols ('verbodsborden') and obligation symbols ('verplichtingsborden'), the contexts in which they appear, and the strict statutory consequences of non-compliance. Real-world examples are used to illustrate how these signs directly influence route planning, overtaking decisions, and speed management.
This lesson details the purpose and visual design of Dutch warning signs ('gevarendriehoeken') that alert riders to potential hazards ahead. It covers a wide range of scenarios, from road narrowing and dangerous curves to construction zones and the risk of falling rocks, emphasizing the need for early anticipation and speed adaptation. The content also explains how these warning signs integrate with other traffic information to help a rider form an accurate risk assessment and make safer decisions.
This lesson details the interpretation of Dutch warning signs, which alert riders to potential dangers and changing road conditions. You will study signs indicating sharp curves, road narrowing (BORD 30), and temporary hazards like road works (BORD 36), learning to adjust speed and road position proactively. The content emphasizes how the A2 motorcycle's characteristics require earlier hazard recognition and response compared to other vehicles for maintaining control.
This lesson explores the legal meaning of various road surface markings, including solid and broken lane delimiters, directional arrows, and special-purpose lane indicators. It describes how markings dictate permitted maneuvers, such as overtaking and lane changes, and alert riders to upcoming hazards or changes in road layout. The content also examines the relationship between markings and road design in the Netherlands, emphasizing how a motorcyclist must interpret these visual cues for safe positioning.

This lesson focuses on Dutch regulatory signs that enforce mandatory rules and restrictions, particularly those impacting A2 motorcyclists. You will learn to recognize and obey prohibition signs, such as those indicating a motorcycle ban (BORD 40), speed limits, and overtaking restrictions (BORD 21). The content explains the legal consequences of non-compliance and how to apply these rules in practical riding scenarios to ensure full adherence to Dutch traffic law.

This lesson prepares riders for navigating the unique challenges of construction zones and temporary road layouts. It covers the identification of orange-colored temporary signs, understanding detour (omleiding) routes, and adhering to reduced speed limits. Special attention is given to the hazards common in work zones, such as loose gravel, uneven surfaces, and the presence of workers, emphasizing the need for heightened awareness and caution.
This lesson explains how to interpret directional and informational signs to navigate the Dutch road network effectively. You will learn to read route signs on highways, understand lane guidance arrows for complex intersections, and identify panels indicating services like fuel stations or rest areas. The content focuses on how motorcyclists can use this information for safe and efficient route planning, including adapting to real-time information from electronic signs.
This lesson examines the function and interpretation of variable message signs (VMS) and other digital displays that provide real-time traffic information on Dutch roads. It explains how these systems communicate dynamic speed limits, congestion alerts, lane closures, and diversion routes, and how motorcyclists must legally comply with these instructions. Understanding these 'matrixborden' is critical for adapting to changing road conditions and ensuring safety on motorways and in tunnels.

This lesson focuses on C-code regulatory signs, which impose legal obligations and prohibitions on road users. Learners will study signs that establish speed limits, forbid entry, mandate specific directions, and restrict overtaking or parking. Understanding these signs is non-negotiable for legal compliance and safety, as they form the basis of traffic regulation and are a major component of the CBR theory exam for motorcyclists.

This lesson details the specific actions required at intersections controlled by 'Stop' and 'Give Way' signs. You will learn the legal requirement to come to a complete stop at a stop line (BORD 44) and the obligation to yield to all crossing traffic when encountering give-way markings ('haaientanden'). The content covers safe approach speeds and effective scanning techniques for motorcyclists to accurately assess gaps in traffic before proceeding.
Find clear answers to common questions learners have about Warning Signs (A-codes). Learn how the lesson is structured, which driving theory objectives it supports, and how it fits into the overall learning path of units and curriculum progression in the Netherlands. These explanations help you understand key concepts, lesson flow, and exam focused study goals.
A-code warning signs are triangular with a red border and are used to alert motorcyclists to potential hazards or changes in road conditions ahead. Their primary purpose is to give you advance notice so you can adjust your speed, position, and focus to navigate the hazard safely.
While the interpretation of the sign is the same, a motorcyclist often needs to react more proactively due to the vehicle's vulnerability. This might involve reducing speed earlier, being more vigilant for surface conditions (like oil or gravel), and preparing for potential sudden maneuvers or stability challenges, especially in adverse weather indicated by signs.
Yes, signs indicating sharp bends, slippery surfaces (especially after rain or in shaded areas), strong crosswinds, and areas with falling rocks or debris are critically important for motorcyclists. These hazards can significantly affect stability and control on a light motorcycle.
In the CBR exam, you'll typically see questions requiring you to identify a sign and choose the correct interpretation or decide the appropriate action. Scenarios might involve a picture of a road situation with a warning sign, asking you what you should do next as a motorcyclist.
A warning sign with a zigzagging arrow, often accompanied by the text 'bocht' or showing multiple bends, indicates a series of sharp turns ahead. As a motorcyclist, you should significantly reduce your speed and be prepared to steer through multiple curves.