
Welcome to this crucial lesson on handling curves on low-grip surfaces, essential for your A1 motorcycle licence in the Netherlands. Building on our understanding of cornering techniques, this module specifically addresses the challenges posed by reduced traction. Mastering these skills is vital for navigating Dutch roads safely and successfully passing your CBR theory exam.

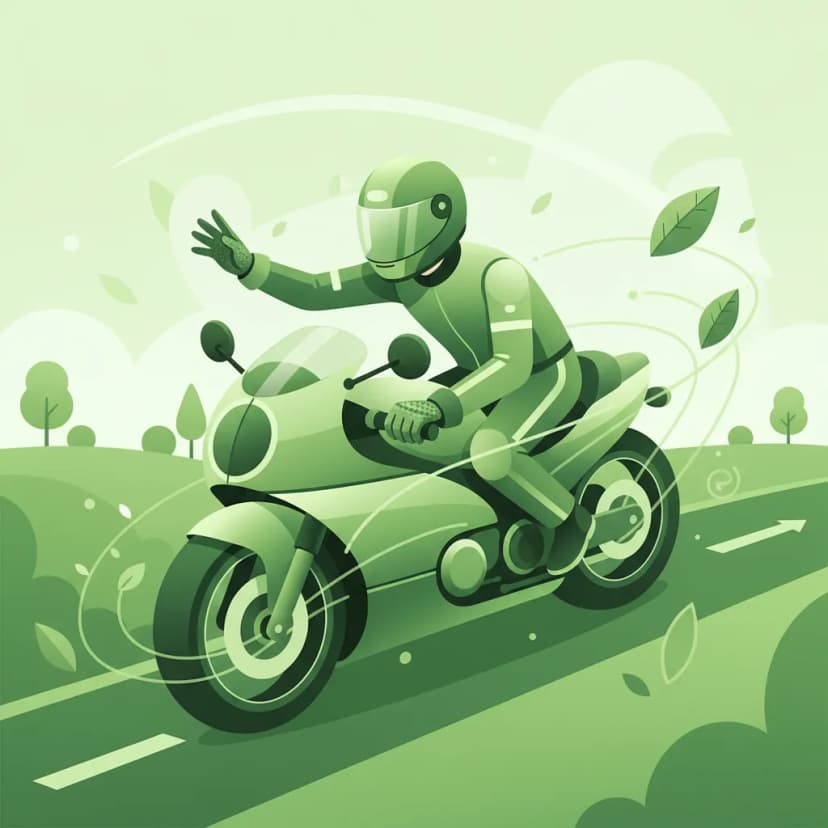
Navigating curves on a motorcycle requires skill and precision, especially when the road surface offers reduced traction. For A1 motorcycle riders, understanding how to safely handle low-grip conditions is not just a crucial riding skill; it's a fundamental aspect of road safety and a requirement under Dutch traffic law. This lesson provides a comprehensive guide to identifying, assessing, and safely negotiating slippery surfaces while cornering, ensuring you maintain control and reduce the risk of a slide or crash.
The primary cause of motorcycle accidents in curves is a loss of lateral grip. This occurs when the available friction between your tyres and the road is insufficient to support the forces required to turn. On an A1 category motorcycle (up to 125 cc and 11 kW), this risk is ever-present, demanding proactive hazard identification and smooth control inputs.
A low-grip surface is any section of the road where the tyre-road friction coefficient (µ) is significantly lower than that of dry, clean pavement. This reduction in friction directly limits the maximum lateral force your tyres can generate, meaning they can't "hold" the bike in a lean as effectively. When the required lean angle for a given speed and turn radius exceeds the available grip, a loss of traction, often leading to a slide, becomes inevitable.
The core safety principle here is simple: by reducing your speed, limiting your lean angle, and applying all rider inputs (braking, steering, throttle) with exceptional smoothness, you keep the required lateral forces well within the reduced friction capabilities of your tyres. This proactive approach preserves stability and prevents a loss of control.
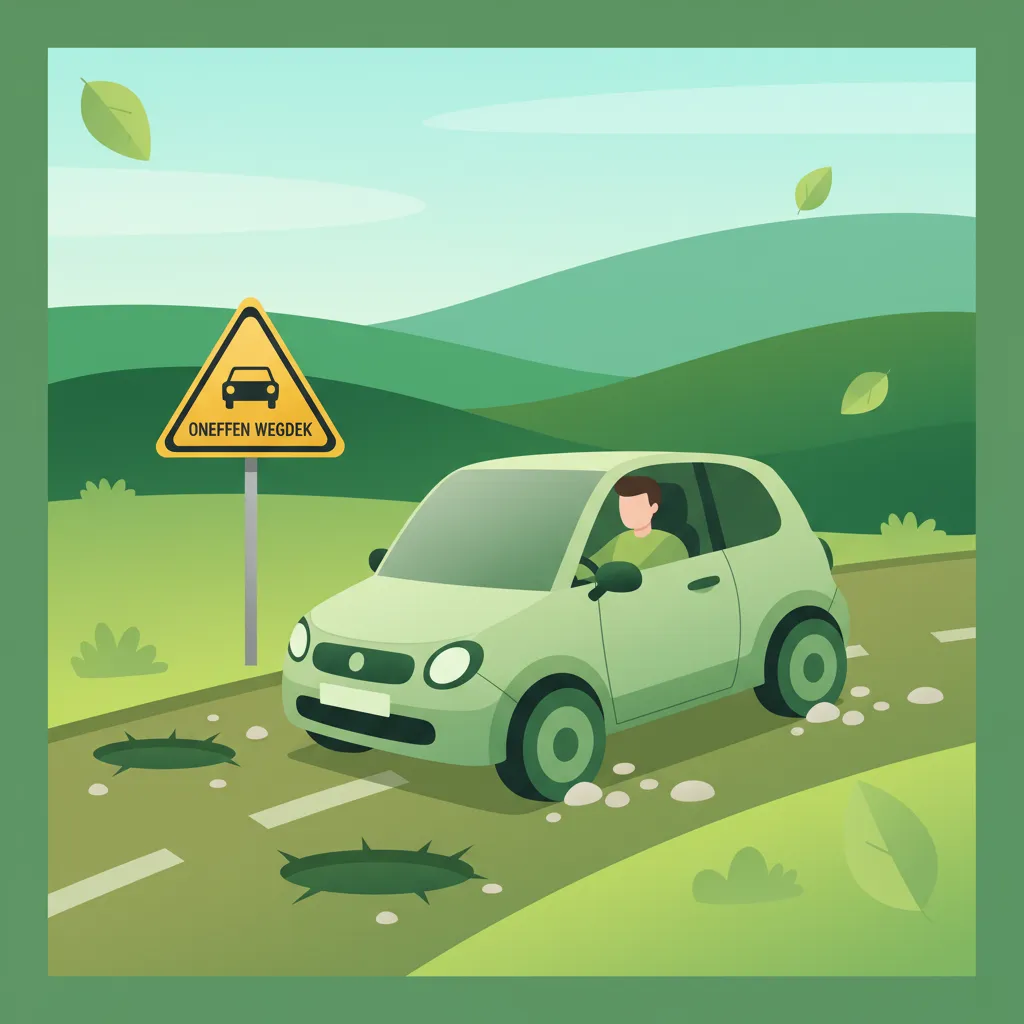
Motorcyclists in the Netherlands frequently encounter various surfaces that can drastically reduce tyre grip. Recognising these potential hazards from a distance is the first step towards safe riding.
Treat any visible low-grip surface as a "hazard zone." Your immediate reaction should always be to reduce speed and prepare for compromised traction.
The friction coefficient (µ) is a dimensionless ratio that quantifies the amount of friction between your tyres and the road. It represents the maximum force of friction divided by the normal force (the weight pressing the tyre onto the road). A higher µ means more grip, while a lower µ means less.
Here’s how µ varies across common road conditions:
The ratio representing the grip level between a motorcycle's tyre and the road surface. A higher µ indicates more grip.
This variation in µ directly dictates the maximum safe speed for a curve. What might be a safe speed on dry asphalt could be dangerously fast on a wet or oily patch. You must instinctively recalculate your safe speed based on the assessed µ.
Understanding the underlying physics of how your motorcycle maintains grip is crucial for safe riding, particularly on low-traction surfaces.
The friction circle is a theoretical model that graphically represents the combined longitudinal (forward/backward) and lateral (sideways) forces a tyre can generate before slipping. Imagine a circle where the centre represents zero force. Any point within the circle signifies forces that the tyre can handle.
The key takeaway from the friction circle is that increasing force in one direction (e.g., strong braking) reduces the available force in the other direction (e.g., cornering grip). On low-grip surfaces, the entire friction circle shrinks. This means the total available grip for both braking/acceleration and cornering is severely reduced. Riders must balance all inputs – throttle, brakes, and steering – to ensure the combined forces remain within this smaller, shrunken friction circle. Exceeding its boundaries in any direction will result in a loss of traction.
You don't need to calculate this formula on the fly. Instead, use it to understand the critical relationship: Lower grip (µ) demands lower speed (v) for a given turn radius (R).
This relationship highlights why merely leaning more is not a solution on a low-grip surface. Leaning more requires more lateral force, which the reduced µ simply cannot provide.
The lean angle () of your motorcycle directly determines the magnitude of lateral force required for a turn. To safely navigate a low-grip curve, you must actively manage this lean angle.
The geometric angle between the motorcycle's frame and the vertical plane, directly influencing the required lateral force for cornering.
On low-grip surfaces, the goal is to keep the lean angle shallow, allowing the tyres to operate well within their reduced friction envelope.
Effective management of low-grip situations is fundamentally about proactive riding: identifying hazards early and making smooth, timely adjustments.
Your ability to "read" the road ahead is paramount. Traction assessment is a continuous process involving both visual scanning and sensing the motorcycle's feedback.
RVV 1990, Article 6.2 explicitly states that "the driver shall always adapt speed to the state of the road." This legal obligation under Dutch traffic law underscores the importance of continuous traction assessment.
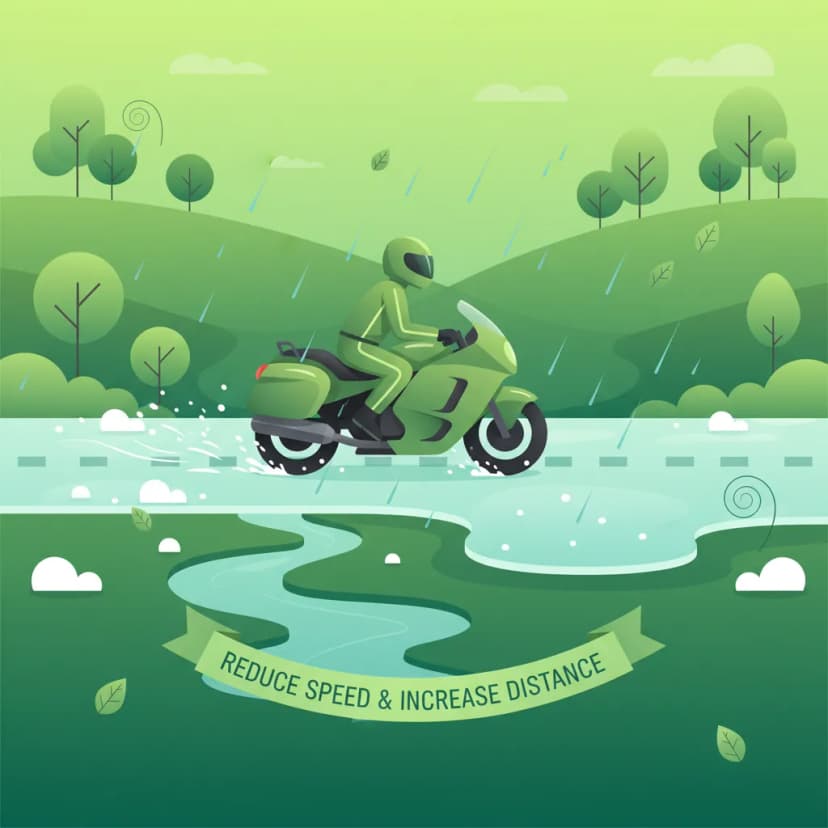
The most effective strategy for managing low-grip surfaces is to reduce your speed before you enter the hazardous area.
Avoid hard braking or sudden throttle changes once you are leaned into a curve, especially on a low-grip surface. This significantly increases the risk of a slide.
The key to preventing traction loss on slippery surfaces is absolute smoothness of inputs. Any abrupt change in throttle, braking, or steering can instantly overwhelm the reduced available grip.
Your lane position can significantly influence the amount of grip available.
Dutch traffic legislation places a clear responsibility on riders to adapt their behaviour to prevailing road conditions, including reduced grip. Non-compliance can lead to severe consequences, both physical and legal.
Regeling Verkeersregels en Verkeerstekens 1990 – The core Dutch regulation governing traffic rules and signs.
RVV 1990, Article 6.2 is unequivocal: "The driver shall always adapt speed to the state of the road." This directly applies to low-grip surfaces. Failing to reduce your speed appropriately when encountering wet paint, oil, or gravel is a breach of your duty of care as a road user. It can lead to charges of dangerous driving or causing an accident if a loss of control occurs.
The Netherlands Vehicle Safety Regulations (Annex 7) mandate that motorcycles must be equipped with tyres suitable for the expected road conditions. This includes having adequate tread depth to ensure effective water dispersal on wet roads and maintaining grip on varied surfaces. Riding with worn-out tyres, especially on wet or gravel-covered roads, drastically increases the risk of a slide and could lead to legal penalties during a vehicle inspection or after an accident. The minimum legal tread depth in the Netherlands is 1.6 mm.
Regularly inspect your tyre tread depth and pressure. Correctly inflated, well-maintained tyres are your first line of defence against low-grip hazards.
Understanding common errors is as important as learning correct techniques. Here are frequent pitfalls when dealing with low-grip surfaces in curves:
Your approach to low-grip surfaces must adapt to various environmental and operational factors.
Handling low-grip surfaces in curves on your A1 motorcycle is a skill built upon a foundation of knowledge, proactive observation, and precise control. It's about understanding the invisible forces at play – the friction circle, the speed-radius-grip relationship – and translating that understanding into tangible riding actions.
Always remember these core principles:
By internalising these lessons and consistently applying these techniques, you significantly enhance your safety and confidence as a motorcyclist on Dutch roads, preparing you for safe and responsible riding in all conditions.
Lesson content overview
Explore all units and lessons included in this driving theory course.
Explore search topics learners often look for when studying Handling Low-Grip Surfaces in Curves. These topics reflect common questions about road rules, driving situations, safety guidance, and lesson level theory preparation for learners in the Netherlands.
Browse additional driving theory lessons that cover connected traffic rules, road signs, and common driving situations related to this topic. Improve your understanding of how different rules interact across everyday traffic scenarios.
Understand the theory behind safe cornering and control on slippery roads. Learn how reduced friction impacts tyre grip and discover techniques for smooth, safe motorcycle riding on wet, oily, or gravelly Dutch surfaces.
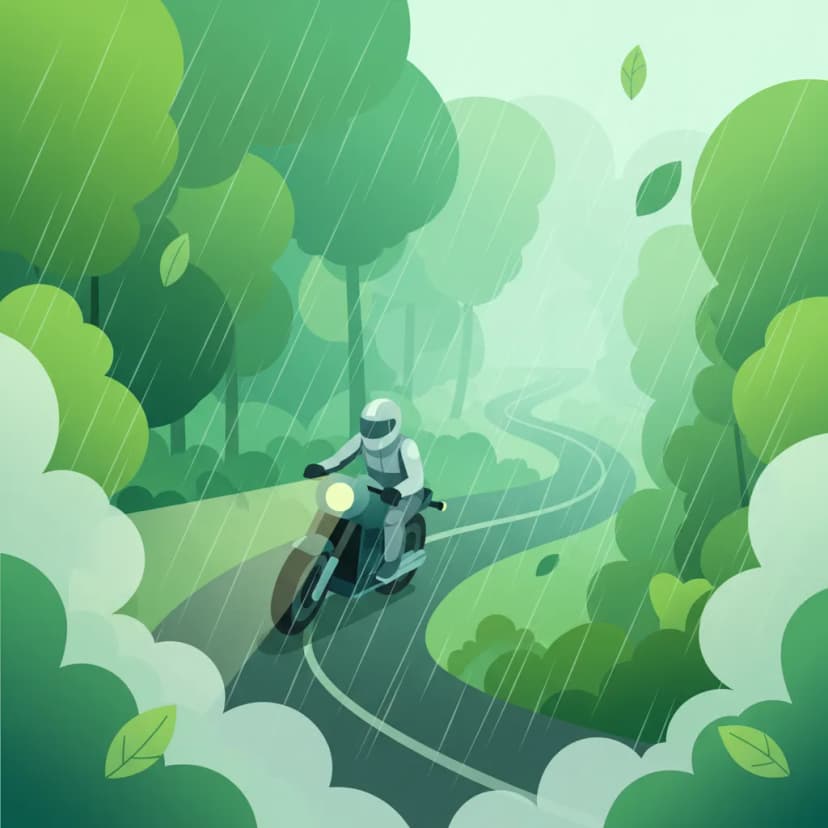
This lesson prepares you to deal with sudden changes in road surface that can cause a loss of traction. You will learn to scan for these hazards and, if they cannot be avoided, how to ride over them safely. The key technique is to keep the motorcycle upright and maintain smooth, steady control inputs—no abrupt braking, accelerating, or steering—to minimize the risk of a skid.

This lesson explains the physics of why wet roads offer significantly less traction than dry ones, highlighting particular hazards like the first rain after a dry spell. It defines aquaplaning (when a tire rides on a layer of water instead of the road) and explains how speed and tire condition contribute to this dangerous phenomenon. The content provides clear strategies for riding in the rain, including reducing speed and applying all controls with extra smoothness.
This lesson explains the science behind reduced grip on wet surfaces and the dangerous phenomenon of hydroplaning, where a tire rides on a layer of water instead of the road. It details the critical roles of tire tread depth, tire pressure, and riding speed in maintaining contact with the asphalt. Riders will learn techniques for riding in the rain, including using exceptionally smooth control inputs and proactively reducing speed when approaching standing water.

Riding on two wheels requires special care on surfaces with reduced grip. This lesson teaches you how to handle challenging conditions like rain, ice, wet leaves, or tram tracks. Key principles include reducing speed significantly, making all control inputs (braking, accelerating, steering) much more smoothly and gradually, and increasing your following distance to allow for much longer stopping distances. Recognizing potentially slippery areas is a critical part of proactive hazard perception.

This lesson teaches the crucial skill of assessing road surfaces and adjusting speed accordingly to maintain maximum traction. It covers a variety of hazardous conditions, including wet asphalt, loose gravel, oil patches, metal manhole covers, and painted road markings, all of which can significantly reduce grip. Riders will learn to constantly scan the road ahead, identify potential traction-reducing surfaces, and proactively manage their speed to prevent slides and loss of control.
This lesson provides a detailed guide to riding in wet and low-visibility conditions. You will learn to make all your control inputs—braking, accelerating, and steering—exceptionally smooth to avoid breaking traction on slippery surfaces. The content covers the dangers of painted lines and manhole covers when wet, and the importance of increasing your following distance dramatically to account for longer braking distances.

Rain significantly reduces tire grip and rider visibility. This lesson covers the essential adjustments needed for wet-weather riding, including reducing speed, increasing following distance, and applying all controls more smoothly. It explains the danger of hydroplaning (aquaplaning) when tires lose contact with the road over standing water and how to avoid it. You will also learn about the importance of good tire tread depth for channeling water away and maintaining traction.
This lesson provides survival strategies for riding in the most challenging weather conditions, including heavy rain, snow, and potential ice. It emphasizes the importance of mental preparation, drastically reduced speeds, and hyper-smooth inputs for throttle, brakes, and steering. The content also covers identifying high-risk areas for 'black ice,' such as bridges and shaded spots, and the critical role of appropriate waterproof and insulated gear in preventing hypothermia and maintaining concentration.

This lesson prepares you for the unique dangers of high-speed highway riding. You will learn to scan for and navigate road hazards like debris, potholes, and slippery steel expansion joints on bridges. The content also addresses the powerful air turbulence created by large trucks that can upset a motorcycle's stability and the mental challenge of maintaining focus on long, monotonous stretches of road.

This lesson reinforces the critical relationship between adverse conditions, reduced traction, and massively increased stopping distances. It provides a clear framework for how much riders need to increase their following distance and reduce their overall speed to maintain a safe margin for error. The curriculum teaches riders to constantly reassess their speed based on visual feedback from the road surface and the level of visibility, ensuring they can always stop within the distance they can clearly see.
Explore the Dutch legal obligations for motorcyclists concerning speed adaptation, safe distances, and vehicle condition when facing low-grip road surfaces. Understand common hazards and how they relate to traffic law.
This lesson examines the statutory duties imposed on motorcyclists, with a strong emphasis on the 'duty of care' (zorgplicht) and the conditions under which legal liability arises after a traffic incident. It clarifies the relationship between personal responsibility, mandatory insurance coverage, and the legal expectation for proactive risk mitigation to prevent accidents. The content also analyzes scenarios to illustrate how liability is typically determined within Dutch traffic jurisprudence, preparing riders for their legal responsibilities.
This lesson prepares you to deal with sudden changes in road surface that can cause a loss of traction. You will learn to scan for these hazards and, if they cannot be avoided, how to ride over them safely. The key technique is to keep the motorcycle upright and maintain smooth, steady control inputs—no abrupt braking, accelerating, or steering—to minimize the risk of a skid.

This lesson provides an in-depth exploration of Article 5 of the Dutch Road Traffic Act, which establishes the general 'duty of care' ('zorgplicht'). It explains that every road user has a fundamental obligation to behave in a way that does not cause danger or hindrance to others. The curriculum clarifies how this broad principle is applied in determining legal liability after an accident, especially in incidents involving vulnerable road users, reinforcing the rider's constant accountability.
Riding on two wheels requires special care on surfaces with reduced grip. This lesson teaches you how to handle challenging conditions like rain, ice, wet leaves, or tram tracks. Key principles include reducing speed significantly, making all control inputs (braking, accelerating, steering) much more smoothly and gradually, and increasing your following distance to allow for much longer stopping distances. Recognizing potentially slippery areas is a critical part of proactive hazard perception.
This lesson explains the physics of why wet roads offer significantly less traction than dry ones, highlighting particular hazards like the first rain after a dry spell. It defines aquaplaning (when a tire rides on a layer of water instead of the road) and explains how speed and tire condition contribute to this dangerous phenomenon. The content provides clear strategies for riding in the rain, including reducing speed and applying all controls with extra smoothness.
This lesson prepares you for the unique dangers of high-speed highway riding. You will learn to scan for and navigate road hazards like debris, potholes, and slippery steel expansion joints on bridges. The content also addresses the powerful air turbulence created by large trucks that can upset a motorcycle's stability and the mental challenge of maintaining focus on long, monotonous stretches of road.
Rain significantly reduces tire grip and rider visibility. This lesson covers the essential adjustments needed for wet-weather riding, including reducing speed, increasing following distance, and applying all controls more smoothly. It explains the danger of hydroplaning (aquaplaning) when tires lose contact with the road over standing water and how to avoid it. You will also learn about the importance of good tire tread depth for channeling water away and maintaining traction.
This lesson provides a detailed guide to riding in wet and low-visibility conditions. You will learn to make all your control inputs—braking, accelerating, and steering—exceptionally smooth to avoid breaking traction on slippery surfaces. The content covers the dangers of painted lines and manhole covers when wet, and the importance of increasing your following distance dramatically to account for longer braking distances.
This lesson explains the science behind reduced grip on wet surfaces and the dangerous phenomenon of hydroplaning, where a tire rides on a layer of water instead of the road. It details the critical roles of tire tread depth, tire pressure, and riding speed in maintaining contact with the asphalt. Riders will learn techniques for riding in the rain, including using exceptionally smooth control inputs and proactively reducing speed when approaching standing water.

This lesson details the legal requirements for reporting a traffic accident in the Netherlands, including the circumstances under which you must involve the police. It explains the correct procedure for exchanging personal, vehicle, and insurance information with any other parties involved. The lesson also covers the use of the European Accident Statement form to document the facts of the incident for insurance purposes.
Find clear answers to common questions learners have about Handling Low-Grip Surfaces in Curves. Learn how the lesson is structured, which driving theory objectives it supports, and how it fits into the overall learning path of units and curriculum progression in the Netherlands. These explanations help you understand key concepts, lesson flow, and exam focused study goals.
Common low-grip surfaces include wet manhole covers, painted road markings (especially when wet), gravel, mud, oil patches, and sometimes even fallen leaves. Steel plates or grates in road construction also present significant risks. Always be extra cautious when encountering these.
You should significantly reduce your lean angle. The goal is to keep the motorcycle as upright as possible while still navigating the curve. The less you lean, the less demand you place on the tires' limited grip, making it easier to maintain stability.
Sudden or aggressive throttle application can cause the rear wheel to spin, leading to a loss of traction and a potential slide. Smoothly increasing or decreasing power ensures the tire can maintain grip and transmit forces effectively without exceeding its capabilities.
It is generally best to avoid braking in a curve on any surface, and especially on low-grip ones. Braking, particularly the front brake, shifts weight forward, which can reduce traction at the rear and increase the risk of a skid. If braking is necessary, do it very progressively and preferably before entering the curve or gently on exiting.
Painted road markings, especially when wet or worn, offer significantly less grip than the surrounding asphalt. They can become very slippery. Treat them with extreme caution, minimize leaning over them, and try to position your tires on the asphalt if possible.
The Dutch CBR theory exam includes questions assessing your understanding of hazards and safe riding techniques in various conditions. Questions about low-grip surfaces test your knowledge of identifying risks and applying appropriate safety measures, such as reducing speed and smooth control inputs, to avoid accidents.