
Welcome to the lesson on Braking Distance Calculations for Light Motor Vehicles, part of the Speed Management & Braking unit for your Dutch AM theory exam. This crucial lesson will demystify the components of total stopping distance, helping you understand how speed impacts your ability to stop safely. Mastering this will prepare you for important exam questions and enhance your real-world riding safety.
Understanding how quickly your light motor vehicle can come to a complete stop is fundamental to safe driving. This lesson delves into the critical components of total stopping distance for mopeds, scooters, and speed-pedelecs (Category AM vehicles) within the context of Dutch traffic regulations. We will explore the factors that influence how far your vehicle travels before it halts, empowering you to make informed decisions about speed and following distance.
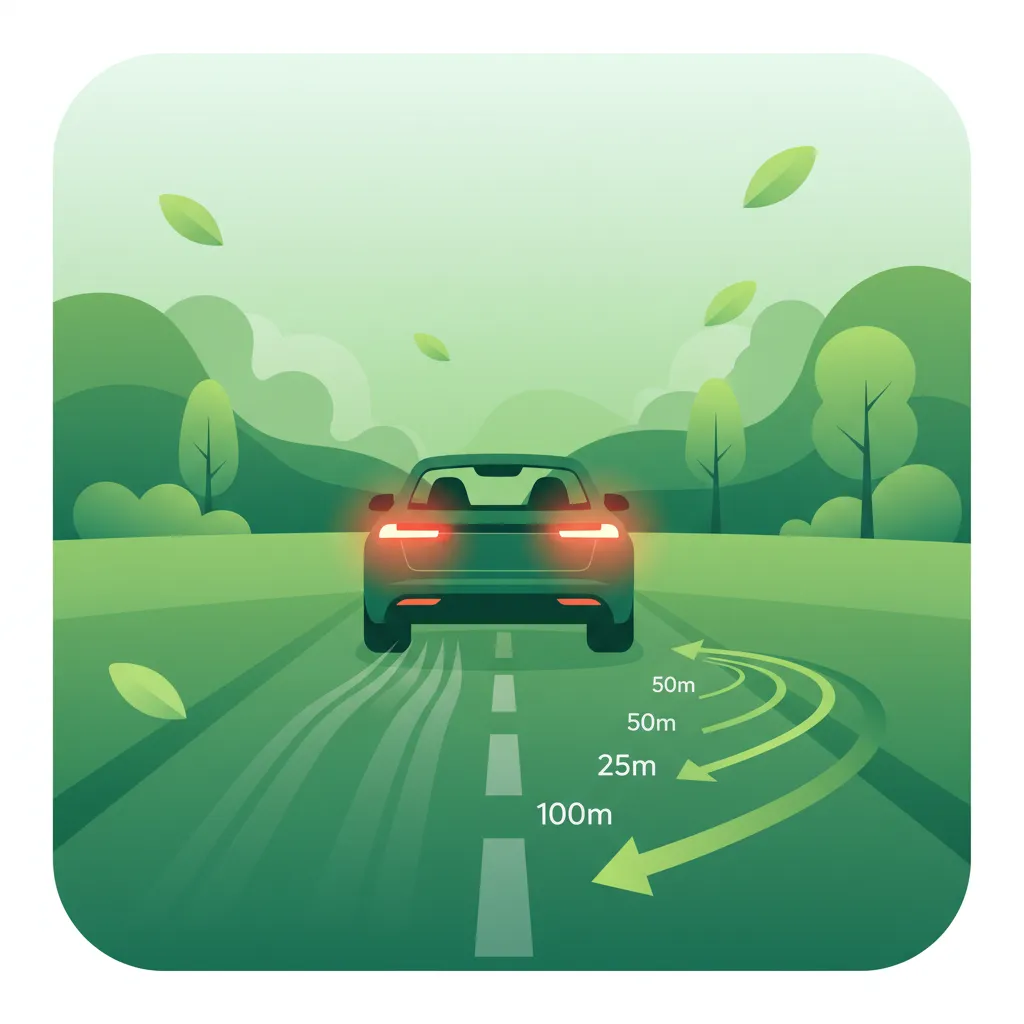
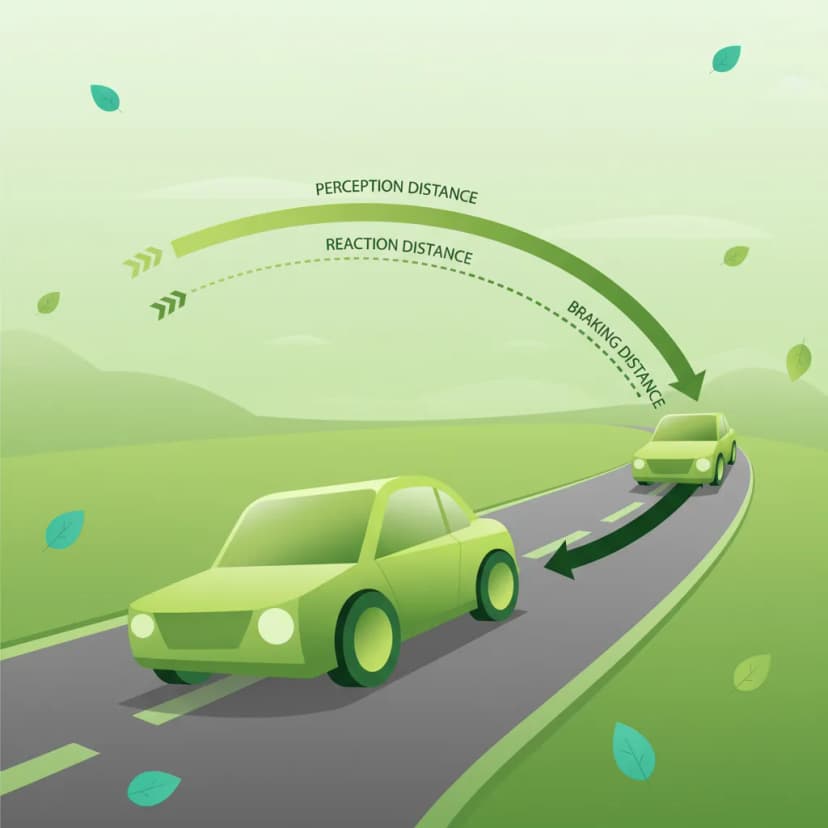
Total stopping distance (TSD) represents the entire distance your light motor vehicle (LMV) covers from the moment you first perceive a hazard until the vehicle comes to a complete standstill. It is not a single, fixed number but a dynamic value that changes significantly with speed, road conditions, and even your personal state.
The total stopping distance is comprised of two distinct phases:
This combined distance is paramount for preventing collisions. A thorough understanding of TSD underpins safe following distances, effective hazard anticipation, and adherence to Dutch traffic laws, which emphasize maintaining a safe gap to the vehicle ahead.
Before your vehicle even begins to slow down, you must first recognize a potential danger and initiate the braking action. The distance covered during this crucial interval is known as the reaction distance.
The distance a vehicle travels during the driver's perception-reaction interval, from observing a hazard to applying the brakes.
The time it takes to react, known as Perception-Reaction Time (PRT), is a complex interplay of human factors and is not instantaneous. It can be broken down into three main stages:
Combining these stages, a typical PRT for an alert driver under ideal conditions is approximately 1 to 1.5 seconds. However, factors like fatigue, distraction, age, or adverse weather can easily extend this to 2 seconds or more.
The formula for calculating reaction distance is straightforward:
Where:
Since vehicle speeds in the Netherlands are usually given in kilometres per hour (km/h), a conversion is often necessary. To convert km/h to m/s, divide by 3.6. For example, 50 km/h is approximately 13.9 m/s.
Practical Example: At 50 km/h (13.9 m/s) with a typical PRT of 1.5 seconds, your reaction distance would be approximately: This means you would travel over 20 metres before you even start to brake.
Several elements can significantly lengthen your PRT, directly increasing your reaction distance:
Recognizing these factors is crucial. When conditions are less than ideal, you must proactively increase your following distance to compensate for a potentially longer reaction distance.
Once you have perceived a hazard and applied the brakes, your vehicle enters the braking phase. The distance covered during this phase, from the start of braking until a complete stop, is known as the braking distance.
The distance a vehicle travels while actively decelerating due to braking, until it comes to a complete stop.
Braking distance is governed by the laws of physics, primarily the relationship between kinetic energy, deceleration, and the work done by the brakes. The formula for braking distance is:
db = v² / (2 × ab)
Where:
The Squared Relationship with Speed: Notice that speed v is squared in the braking distance formula. This is a critical point: if you double your speed, your braking distance will quadruple (2² = 4). This non linear relationship dramatically emphasizes why even small increases in speed lead to significantly longer stopping distances and vastly higher risks.
The average deceleration ab is the key variable that dictates how quickly your vehicle can shed speed. It is primarily determined by the friction between your tyres and the road surface, but also by several other factors:
Under ideal conditions, the maximum achievable deceleration amax is approximated by μ × g.
Practical Example: At 50 km/h (13.9 m/s) on dry asphalt with an average deceleration ab of 6 m/s² (typical for LMVs with good brakes on a dry surface), the braking distance would be: db = (13.9 m/s)² / (2 × 6 m/s²) = 193.21 / 12 ≈ 16.1 m
Understanding the core formula for braking distance is essential, but it is equally vital to grasp how various real-world conditions modify the achievable deceleration and, consequently, your braking distance.
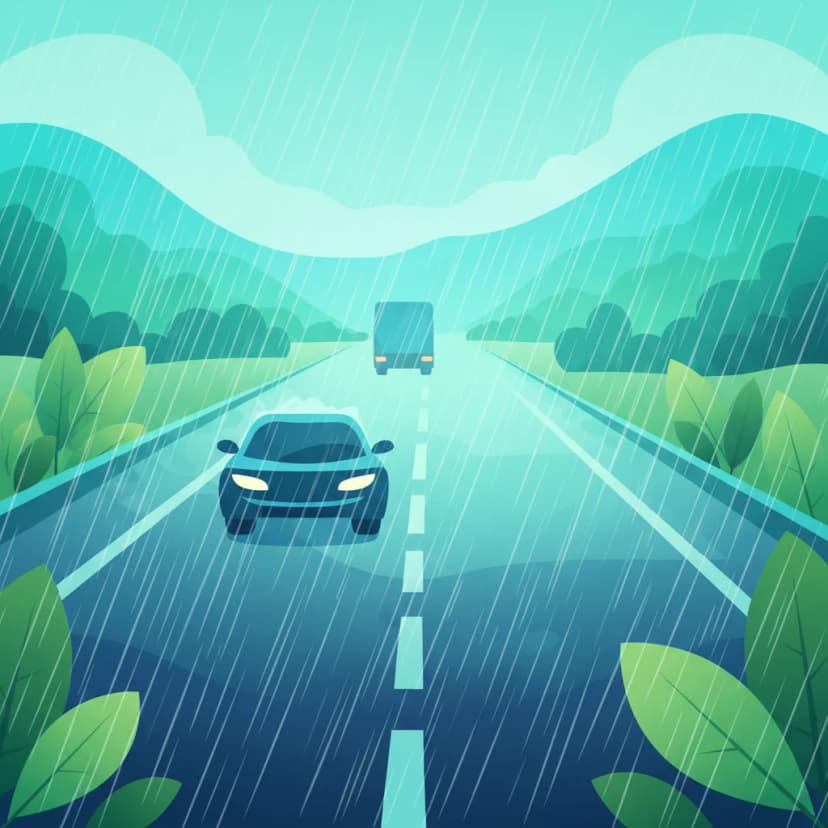
The most significant factor affecting braking distance is the friction coefficient between your tyres and the road. This value changes drastically with surface type and condition.
A dimensionless number representing the ratio of the frictional force to the normal force between a tyre and the road surface; it quantifies the available grip.
Here's how µ varies and its impact:
Implication: Always adapt your speed to the road surface conditions. The Dutch "Wet Road Speed Reduction" guideline suggests reducing your speed by at least 30% compared to dry conditions to maintain a similar total stopping distance.
The slope of the road, or gradient, also influences braking distance. Gravity, which normally pulls your vehicle downwards, can either assist or oppose your braking efforts.
Implication: On downhill sections, anticipate longer stopping distances. It is wise to reduce your speed before descending and use engine braking to help manage your speed.
The total mass of your vehicle, including the rider, any passengers, and cargo, affects braking distance. While the frictional force between tyres and the road increases with normal load, the deceleration may decrease slightly because the friction coefficient can be marginally lower under higher loads, and the inertia is greater.
The impact of additional mass (passengers, cargo) on a vehicle's braking performance, typically resulting in a modestly longer braking distance.
Implication: An overloaded moped or scooter will require a longer distance to stop. Always adhere to the manufacturer's maximum permissible laden weight and adjust your speed and following distance accordingly when carrying passengers or heavy cargo.
Many modern light motor vehicles, especially speed-pedelecs, are equipped with Anti-Lock Braking Systems (ABS). This electronic safety feature significantly enhances braking performance, particularly on slippery surfaces.
An electronic safety system that prevents the wheels from locking up during heavy braking, maintaining steering control and maximizing tyre grip by modulating brake pressure.
How ABS Works: Instead of locking up the wheels, which can cause skidding and loss of steering control, ABS rapidly modulates the brake pressure. This allows the wheels to continue rotating just below the point of lock-up, maximizing the available friction and maintaining steerability.
Benefits of ABS:
Important Note: While ABS is highly beneficial, it does not defy the laws of physics. On extremely low-friction surfaces like ice, stopping distances will still be very long, even with ABS. It also doesn't necessarily shorten stopping distances on perfect dry asphalt compared to a skilled rider performing optimal braking without ABS, but it does make optimal braking more accessible to the average rider.
Engine braking involves using the resistance of the engine to help slow the vehicle down, reducing reliance on the friction brakes.
The technique of using the engine's compression resistance (by closing the throttle or downshifting) to slow a vehicle, supplementary to friction braking.
How it Works: When you release the throttle or downshift, the engine's resistance creates a drag that slows the vehicle. This adds a component of deceleration (typically 1-2 m/s² for LMVs) to your total stopping power.
Benefits of Engine Braking:
Implication: Engine braking is a valuable technique, particularly when descending hills or preparing to slow down for a long period. However, it should always be used in conjunction with friction brakes for quick and effective stopping. On wet surfaces, sudden downshifts can cause wheel slip, so smooth application is essential.
The total stopping distance is the sum of the reaction distance and the braking distance. This figure represents the absolute minimum space required to bring your vehicle to a complete stop under specific conditions.
Practical Meaning: The TSD is the most critical metric for determining a safe following distance. You must always maintain enough space ahead of your vehicle to accommodate your TSD, given the prevailing conditions.
Combined Example: Let's revisit the previous examples:
Total Stopping Distance = 20.85 m + 16.1 m = 36.95 m (approximately 37 metres)
This means at 50 km/h on a dry road, you need about 37 metres to react and then stop.
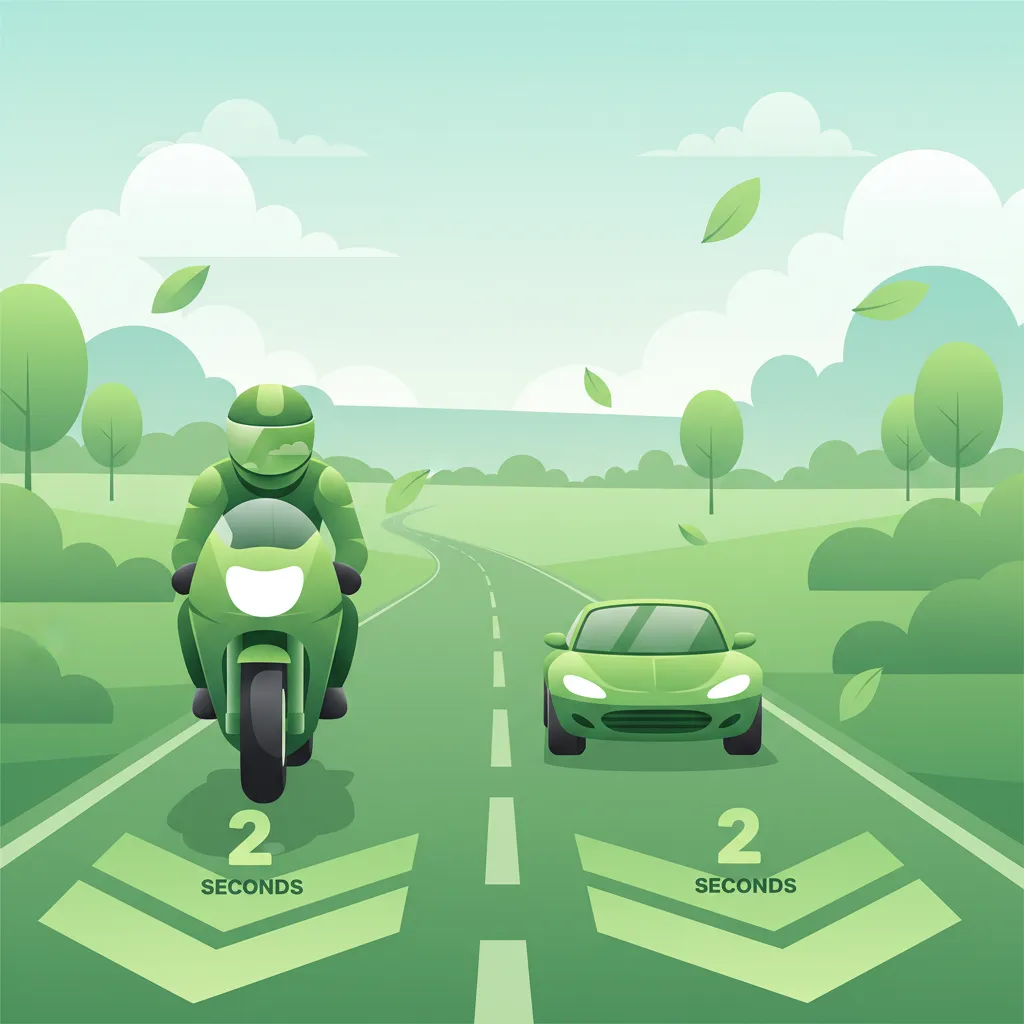
While calculating TSD precisely in real-time is impractical, the "2-second rule" offers a simple and highly effective rule of thumb for maintaining a safe following distance in the Netherlands.
A practical guideline stating that a driver should maintain a minimum gap of at least two seconds to the vehicle in front, which is roughly equivalent to the total stopping distance under normal conditions.
How to Apply the 2-Second Rule:
Adjustments to the 2-Second Rule: The 2-second rule is a minimum under ideal conditions. You must increase this gap when:
The 2-second rule, when correctly applied and adjusted, is an invaluable tool for ensuring your total stopping distance is always within the available space.
Dutch traffic legislation directly addresses the concept of safe stopping distances without always specifying exact numerical values, instead relying on the driver's judgment and adherence to general principles.
RVV 1990 – Article 5 (Safe Distance): This article mandates that every driver must keep a sufficient distance from other road users to be able to stop safely without endangering them. This is the overarching legal principle that underpins all discussions of total stopping distance. It means that whether you apply a 2-second rule or a calculated TSD, your following distance must be adequate for the prevailing conditions. Failure to do so can lead to legal penalties and liability in case of a collision.
RVV 1990 – Article 7 (Appropriate Speed): This article states that vehicles must be driven at a speed appropriate to the traffic situation, road conditions, and weather conditions. This regulation directly links your chosen speed to the ability to stop safely. If your speed is too high for the conditions (e.g., driving 45 km/h on an icy road), even if it's within the speed limit, you are in violation if you cannot stop safely.
Vehicle Equipment Regulations (Category AM): For Category AM vehicles, regulations (e.g., Regulation Rijbewijs AM – Annex 1, §2.3) stipulate that vehicles must be equipped with functional front and rear brakes. If an Anti-Lock Braking System (ABS) is installed, it must be fully operational. This ensures that the vehicle's braking performance meets minimum safety standards. Riding with a disabled ABS (if equipped) or faulty brakes is illegal and highly dangerous.
Dutch law does not provide a fixed numerical following distance (e.g., "always 50 metres"). Instead, it places the responsibility on the driver to constantly assess and maintain a distance that is "sufficient" based on all relevant factors. The 2-second rule is a widely accepted practical interpretation of this legal requirement.
Many drivers, particularly new ones, make critical errors in judgment regarding stopping distances. Being aware of these common pitfalls can help you avoid dangerous situations.
Safe driving requires continuous adaptation. Your speed and following distance must always be adjusted to the current context.
The foundation of safe speed management is the ability to stop your vehicle within the distance you can clearly see ahead, under any given condition. If you cannot see far enough to stop safely, you are driving too fast.
Mastering braking distance calculations and understanding their underlying principles is not just about passing your Dutch driving theory exam; it is about developing a fundamental safety mindset. By internalizing the relationship between speed, reaction time, friction, and deceleration, you gain the knowledge to make responsible decisions on the road. Always prioritize maintaining a safe following distance and adapting your speed to ensure your total stopping distance is always manageable, keeping yourself and other road users safe.
Lesson content overview
Explore all units and lessons included in this driving theory course.
Explore search topics learners often look for when studying Braking Distance Calculations for Light Motor Vehicles. These topics reflect common questions about road rules, driving situations, safety guidance, and lesson level theory preparation for learners in the Netherlands.
Browse additional driving theory lessons that cover connected traffic rules, road signs, and common driving situations related to this topic. Improve your understanding of how different rules interact across everyday traffic scenarios.
Explore how speed, road surface, gradient, and vehicle load influence your stopping and reaction distances. Understand critical Dutch traffic rules regarding safe distances for Category AM vehicles.

The posted speed limit is a maximum, not a target. This lesson teaches the crucial skill of adapting your speed to prevailing conditions. You will learn how to assess factors like traffic density, poor weather (rain, fog), limited visibility (at night), and slippery road surfaces. Adjusting your speed downwards in these situations provides you with more time to react to hazards and significantly reduces the risk of losing control or being involved in a collision.
This lesson breaks down the concept of total stopping distance into its two key parts: the distance traveled during your reaction time and the distance the motorcycle travels after the brakes are applied. You will learn the formulas and rules of thumb for estimating these distances at various speeds. The content highlights how factors like rider fatigue, road surface conditions, and tyre quality can significantly increase your overall stopping distance.

This lesson provides a theoretical understanding of the components that make up the total stopping distance. It explains how to calculate reaction distance (the distance traveled before applying the brakes) and braking distance (the distance traveled while braking). The content highlights how speed exponentially increases stopping distance and how other variables like rider alertness, road grip, and brake condition play a significant role in the final calculation.

Riding on two wheels requires special care on surfaces with reduced grip. This lesson teaches you how to handle challenging conditions like rain, ice, wet leaves, or tram tracks. Key principles include reducing speed significantly, making all control inputs (braking, accelerating, steering) much more smoothly and gradually, and increasing your following distance to allow for much longer stopping distances. Recognizing potentially slippery areas is a critical part of proactive hazard perception.

This lesson reinforces the critical relationship between adverse conditions, reduced traction, and massively increased stopping distances. It provides a clear framework for how much riders need to increase their following distance and reduce their overall speed to maintain a safe margin for error. The curriculum teaches riders to constantly reassess their speed based on visual feedback from the road surface and the level of visibility, ensuring they can always stop within the distance they can clearly see.

Riding at night presents two main challenges: seeing the road and being seen by others. This lesson covers the legal requirements for your vehicle's lighting system and how to use it effectively, including when to use high beams. It also emphasizes strategies to increase your own conspicuity, such as wearing bright or reflective clothing. You will learn how darkness affects your perception of speed and distance and how to adapt your riding to compensate for these limitations.

This lesson covers braking techniques beyond simply applying the brake levers. You will learn about the concept of engine braking (decelerating by releasing the throttle or downshifting) for controlled slowing. It also explains the function of an Anti-lock Braking System (ABS), a safety feature on some models that prevents wheels from locking during hard braking, allowing you to maintain steering control and reduce the chance of a skid.
This lesson explains why the standard two-second rule is insufficient in adverse conditions and requires extension. It details how factors like rain, fog, and darkness reduce both visibility and tire grip, thereby significantly increasing total stopping distance. The content provides practical guidelines, such as extending the following gap to four seconds or more in the wet, to ensure the rider always has enough time and space to stop safely, regardless of the conditions.

Low temperatures can negatively affect both your vehicle's performance and your own. This lesson explains how cold weather reduces tire grip, making roads more slippery even when dry, and how tire pressures can drop, requiring regular checks. For electric vehicles like speed pedelecs, it details how cold temperatures can significantly reduce battery capacity and, therefore, your effective travel range. Planning for these effects is crucial for safe and reliable winter riding.

Your ability to react quickly to danger depends on your reaction time, which is affected by alertness, fatigue, and distractions. This lesson explores these factors and teaches proactive hazard perception skills. You will learn how to scan the road ahead, identify potential risks early (e.g., a child near the road, a car waiting to pull out), and predict the actions of other road users. This anticipatory mindset is more effective than simply reacting to events as they happen.
Learn how to calculate total stopping distance, combining reaction and braking distances. Understand the practical application of the 2-second rule and Dutch legal requirements for maintaining safe gaps.
This lesson provides a detailed explanation of the two-second rule as a simple yet effective method for maintaining a safe following distance in good conditions. It breaks down the concept of total stopping distance into its two components: reaction distance (the distance traveled before applying the brakes) and braking distance (the distance traveled while braking). Understanding this calculation is fundamental for appreciating the need for a sufficient space cushion to react to sudden events ahead.

This lesson focuses on the crucial safety practice of maintaining an adequate following distance to the vehicle ahead. It explains the 'two-second rule' as a minimum baseline and emphasizes the need to increase this gap to three or four seconds in adverse conditions like rain or poor visibility. For a motorcyclist, this 'space cushion' is a critical buffer that provides the necessary time and space to react to sudden hazards or stop safely.
This lesson breaks down the concept of total stopping distance into its two key parts: the distance traveled during your reaction time and the distance the motorcycle travels after the brakes are applied. You will learn the formulas and rules of thumb for estimating these distances at various speeds. The content highlights how factors like rider fatigue, road surface conditions, and tyre quality can significantly increase your overall stopping distance.
This lesson provides a theoretical understanding of the components that make up the total stopping distance. It explains how to calculate reaction distance (the distance traveled before applying the brakes) and braking distance (the distance traveled while braking). The content highlights how speed exponentially increases stopping distance and how other variables like rider alertness, road grip, and brake condition play a significant role in the final calculation.
This lesson explains the two-second rule, a simple and effective technique for ensuring you have enough time to react and stop safely. You will learn how to use a fixed object on the roadside to measure the time gap between your motorcycle and the vehicle ahead. The content emphasizes why motorcyclists may need to extend this gap to three or more seconds in poor weather, at high speeds, or in heavy traffic.
This lesson explains why the standard two-second rule is insufficient in adverse conditions and requires extension. It details how factors like rain, fog, and darkness reduce both visibility and tire grip, thereby significantly increasing total stopping distance. The content provides practical guidelines, such as extending the following gap to four seconds or more in the wet, to ensure the rider always has enough time and space to stop safely, regardless of the conditions.
Riding at night presents two main challenges: seeing the road and being seen by others. This lesson covers the legal requirements for your vehicle's lighting system and how to use it effectively, including when to use high beams. It also emphasizes strategies to increase your own conspicuity, such as wearing bright or reflective clothing. You will learn how darkness affects your perception of speed and distance and how to adapt your riding to compensate for these limitations.
The posted speed limit is a maximum, not a target. This lesson teaches the crucial skill of adapting your speed to prevailing conditions. You will learn how to assess factors like traffic density, poor weather (rain, fog), limited visibility (at night), and slippery road surfaces. Adjusting your speed downwards in these situations provides you with more time to react to hazards and significantly reduces the risk of losing control or being involved in a collision.
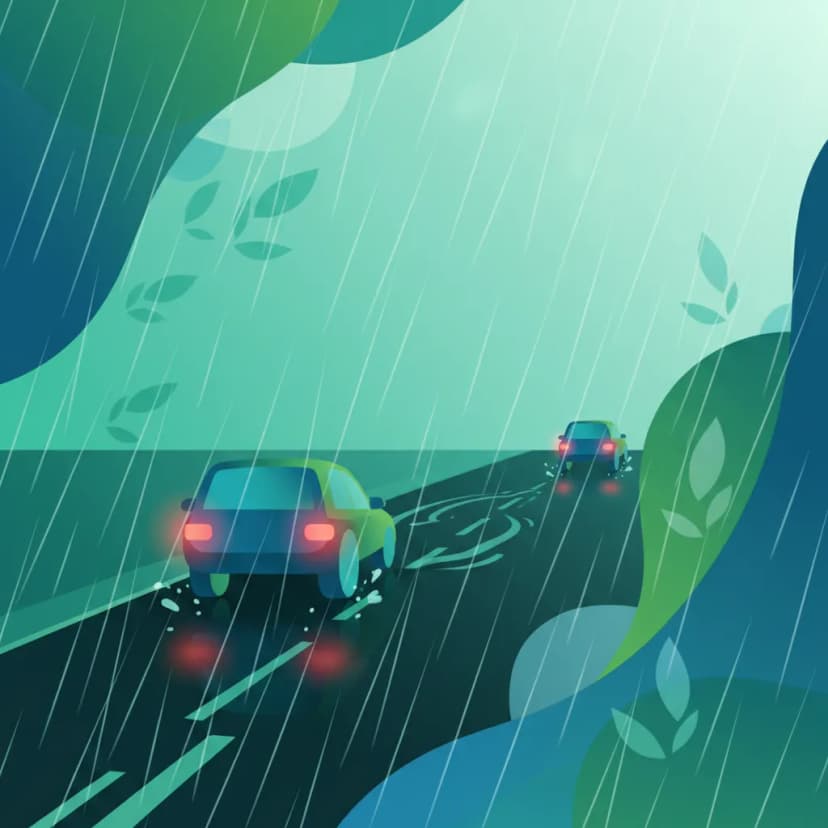
This lesson focuses on the crucial safety strategy of adjusting your riding for adverse conditions. You will learn that on wet roads, your braking distance can double, necessitating a much larger following distance (e.g., a four-second gap or more). The content covers the risks of reduced visibility in fog and at night, and the destabilizing effects of strong crosswinds, explaining how a greater space cushion provides the time and space needed to react safely.

Your vehicle's lights and horn are your primary tools for seeing, being seen, and communicating warnings. This lesson guides you through a simple but vital check of all electrical components before you ride. You will learn how to verify the function of your headlight (high and low beam), taillight, brake light (using both front and rear brake levers), and turn signals. It also covers checking the horn's operation and ensuring all mandatory reflectors are clean and intact.
Find clear answers to common questions learners have about Braking Distance Calculations for Light Motor Vehicles. Learn how the lesson is structured, which driving theory objectives it supports, and how it fits into the overall learning path of units and curriculum progression in the Netherlands. These explanations help you understand key concepts, lesson flow, and exam focused study goals.
Reaction distance is the distance your moped or scooter travels from the moment you perceive a hazard to the moment you start braking. Braking distance is the distance it covers from when you apply the brakes until it comes to a complete stop. Total stopping distance is the sum of these two.
Braking distance increases exponentially with speed. If you double your speed, your braking distance will roughly quadruple, assuming all other conditions remain the same. This is a critical concept tested in the AM theory exam.
The theory test often uses simplified rules of thumb or proportional relationships. For example, a common rule is that braking distance is roughly proportional to the square of the speed. You'll learn these estimation techniques in this lesson.
Several factors affect braking distance, including the condition of your tires (pressure and tread), the road surface (dry, wet, icy), the slope of the road, and the condition of your brakes. The AM theory exam may present scenarios where these factors are relevant.
Understanding stopping distances is vital for maintaining a safe following distance from the vehicle in front of you. It helps you judge if you have enough space to stop safely if they brake suddenly, preventing accidents on busy Dutch roads.
While the general principles apply, different types of light motor vehicles can have varying braking capabilities and weights. Speed pedelecs, for example, travel much faster and thus have significantly longer braking distances than standard mopeds. Always consider the specific vehicle's performance characteristics.