
This lesson focuses on 'pre-sorting', a crucial technique for navigating junctions safely. You'll learn how to position your vehicle correctly in advance of turning right or left, following Dutch traffic rules. Mastering this skill, which builds upon basic road positioning, is essential for both your theory exam and confident real-world driving.

Positioning your vehicle correctly on the road is one of the most fundamental skills in driving. Well before you arrive at a junction, roundabout, or plan to turn, you must communicate your intentions to other road users through clear and deliberate positioning. This anticipatory maneuver is called pre-sorting (in Dutch: voorsorteren). It is not merely a courtesy but a legal requirement and a cornerstone of safe, efficient driving in the Netherlands.
This lesson will provide a comprehensive guide to the art and science of pre-sorting. We will cover the standard procedures for turning left and right, how to interpret essential road markings and signs, and how to apply these skills across various types of intersections, from simple crossroads to complex multi-lane roundabouts. Mastering this skill will significantly enhance your safety and confidence on the road.
Pre-sorting is the act of moving your vehicle into the correct lane or position on the road well in advance of a turn or junction. The primary goal is to make your intended path predictable to everyone around you—drivers, cyclists, and pedestrians alike. By positioning yourself early, you eliminate last-second, hazardous maneuvers that can cause confusion and collisions.
Proper pre-sorting serves three critical functions:
In the Netherlands, the rules governing road position and turning are legally mandated by the Reglement verkeersregels en verkeerstekens (RVV). Failing to pre-sort correctly is a violation that can lead to fines and, more importantly, dangerous situations.
Before we dive into specific scenarios, you must understand the foundational rules that govern all pre-sorting maneuvers. These principles are the building blocks for every decision you make when approaching a junction.
The most basic rule of vehicle positioning in the Netherlands is to drive on the right side of the road. Unless signs or markings direct you otherwise, your vehicle should occupy the rightmost lane available for your direction of travel. This principle ensures a predictable and orderly flow of traffic and minimizes the risk of head-on collisions.
When you pre-sort for a left turn, you are making a deliberate and temporary exception to this rule. You will move towards the center of the road, but this is a planned maneuver, not your standard driving position.
Your indicators (blinkers) are your primary tool for communicating your intent to turn or change lanes. Using them correctly is an integral part of pre-sorting.
The golden rule of signalling is: signal before you act. Your indicator must be activated before you begin to move your steering wheel to change lanes or position. Activating it during or after the maneuver defeats its purpose.
As a general guideline, you should activate your indicator approximately 200-300 metres before an exit on a motorway and 50-100 metres before a turn in a built-up area. This gives other road users sufficient time to see your signal and anticipate your actions.
The road surface itself provides crucial instructions. Pavement markings, especially arrows, are not suggestions; they are mandatory directions.
Ignoring these arrows can lead you into conflict with other traffic and is a serious driving fault. Always look far ahead to identify lane arrows early, so you have plenty of time to position your vehicle in the correct lane.
With the core principles in mind, let's break down the exact procedures for making right and left turns.
Turning right is generally the more straightforward maneuver as it aligns with the principle of keeping to the right.
Turning left is more complex because it requires you to cross the path of oncoming traffic. Correct pre-sorting is absolutely critical for safety.
In many urban areas, the guideline is to begin your pre-sorting maneuver at least 30 metres before the junction. However, this depends heavily on speed and traffic density. The key is to do it early and smoothly.
The principles of pre-sorting apply everywhere, but their execution can vary slightly depending on the type of intersection you are navigating.
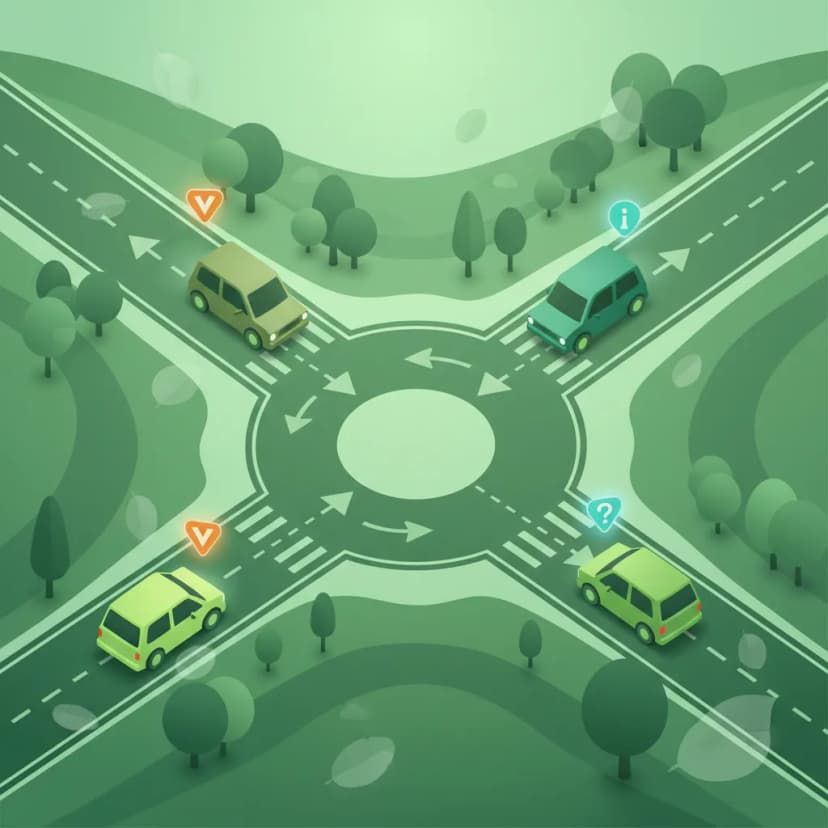
For standard four-way crossroads or three-way T-junctions, the procedures described above for right and left turns apply directly. If the road has multiple lanes for your direction, look for lane arrows to guide you. If there are no arrows, the default is: use the right lane for turning right and going straight, and use the left lane for turning left.
Roundabouts are very common in the Netherlands and are designed to keep traffic flowing.
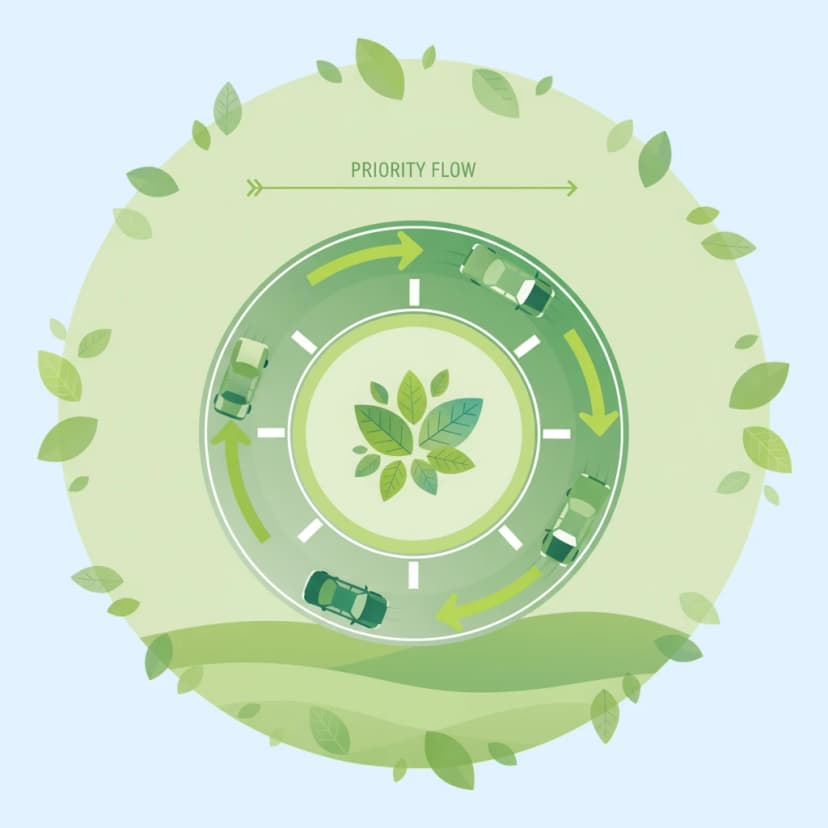
Single-Lane Roundabouts: As you approach, decide on your exit. If you are taking the first or second exit (i.e., turning right or going straight), approach in the right part of your lane and signal right just after you pass the exit before the one you want. If you are going left or all the way around (third exit or more), approach in the left part of your lane, signal left, and maintain the left signal until you pass the exit before yours, at which point you switch to signalling right.
Multi-Lane Roundabouts: These require more careful pre-sorting. Often, they will have signs and lane markings before you enter.
At controlled intersections, you still need to pre-sort. Your position in the correct lane must be established before you reach the stop line or the junction itself. For example, if you are in a left-turn lane at a red light, your position has already told everyone where you are going long before the light turns green.
On motorways, pre-sorting involves moving to the rightmost lane in preparation for leaving via an exit ramp. This should be done well in advance, often indicated by overhead signs starting 1200 metres before the exit. Do not wait until the last moment to cut across multiple lanes of high-speed traffic. Signal your intention to move to the right lane, check your mirrors and blind spot, and then move over lane by lane. Once in the rightmost lane, follow the deceleration lane (exit lane) off the motorway.
Even experienced drivers can make mistakes. Being aware of common errors will help you avoid them.
| Violation | Why It's Dangerous | Correct Behavior |
|---|---|---|
| Late Lane Change | Forces other drivers to brake suddenly and increases the risk of a side-impact collision. | Begin pre-sorting well in advance, allowing for a smooth and predictable lane change. |
| No Signalling or Late Signalling | Other road users have no idea what you intend to do, leading to confusion and potential conflict. | Signal clearly and before you begin to move your vehicle into position. |
| Crossing a Solid White Line | This is illegal and extremely dangerous, as it often means you are cutting someone off who is already established in their lane. | Get into the correct lane before the line becomes solid. If you miss your turn, proceed and find a safe place to turn around. |
| Incorrect Positioning on a Roundabout | Using the right lane to go left can block traffic and force a dangerous lane change on the roundabout itself. | Choose your lane based on your intended exit before you enter the roundabout. |
| Encroaching on Cycle Lanes | When turning right, cutting too close or into a cycle lane endangers vulnerable road users. | Maintain your lane position and always check your right blind spot for cyclists before turning. |
If you find yourself in the wrong lane as you approach a junction, do not panic and make a sudden, unsafe maneuver. The safest option is always to continue in the direction your lane dictates and find a safe and legal place to reroute further down the road.
Lesson content overview
Explore all units and lessons included in this driving theory course.
Explore search topics learners often look for when studying Pre-sorting for Turns and Junctions. These topics reflect common questions about road rules, driving situations, safety guidance, and lesson level theory preparation for learners in the Netherlands.
Browse additional driving theory lessons that cover connected traffic rules, road signs, and common driving situations related to this topic. Improve your understanding of how different rules interact across everyday traffic scenarios.
Explore detailed explanations of pre-sorting techniques for complex junctions, including multi-lane roundabouts and challenging intersections. Understand Dutch traffic rules for safe and efficient navigation through intricate road layouts.

This lesson breaks down the rules of priority at intersections. You will learn to identify an 'equal' intersection where the default rule of giving way to traffic from the right applies. It also explains how priority is regulated by signs (such as the B6 Stop sign and B7 priority road sign) and road markings ('shark's teeth'). Understanding these hierarchies is crucial for making safe and correct decisions when crossing or turning at any junction.

This lesson focuses on the array of signs used to manage traffic at intersections and along multi-lane roads. You will learn to interpret overhead gantry signs, lane designation signs, and markings that guide drivers into the correct lane for their intended direction. The curriculum covers signs indicating priority at upcoming junctions, such as the B3 and B4 signs, which clarify right-of-way rules in complex scenarios. Proper interpretation of these signs is essential for smooth lane changes, efficient navigation, and preventing conflicts at junctions.
This lesson addresses the challenge of navigating equal-priority intersections, where no signs or markings dictate the right-of-way. You will master the fundamental Dutch traffic rule of giving priority to all drivers approaching from your right ('rechts voor'). The content focuses on developing advanced observational skills and clear communication to safely manage these situations, which are common in residential and urban areas.
This lesson explains the foundational 'priority to the right' rule, which applies at intersections of equal roads where no other signs or markings dictate priority. You will learn to identify such junctions and understand your obligation to yield to traffic approaching from your right side. The lesson also clarifies important exceptions, such as when exiting a driveway, entering a paved road from an unpaved one, or when encountering a tram. Mastering this rule is crucial for navigating residential areas and city streets where signage is often minimal.
This lesson provides a detailed guide to navigating roundabouts (rotondes) in the Netherlands. You will learn the primary rule: drivers approaching a roundabout must yield to traffic already circulating on it, which is typically indicated by yield signs (B5) and shark teeth. The curriculum also covers the correct use of turn signals when entering and exiting, rules for multi-lane roundabouts, and special considerations for the priority of cyclists who may have a dedicated path around the roundabout. Correct roundabout etiquette is key to maintaining traffic flow and safety.

This lesson details the specific regulations for driving on Dutch motorways, identifiable by the G1 sign. You will learn the correct procedure for joining the flow of traffic using the acceleration lane and for leaving via the deceleration lane. The curriculum reinforces the 'keep right unless overtaking' rule for lane discipline. It also explains that stopping is strictly forbidden, and the hard shoulder (vluchtstrook) may only be used for genuine emergencies.
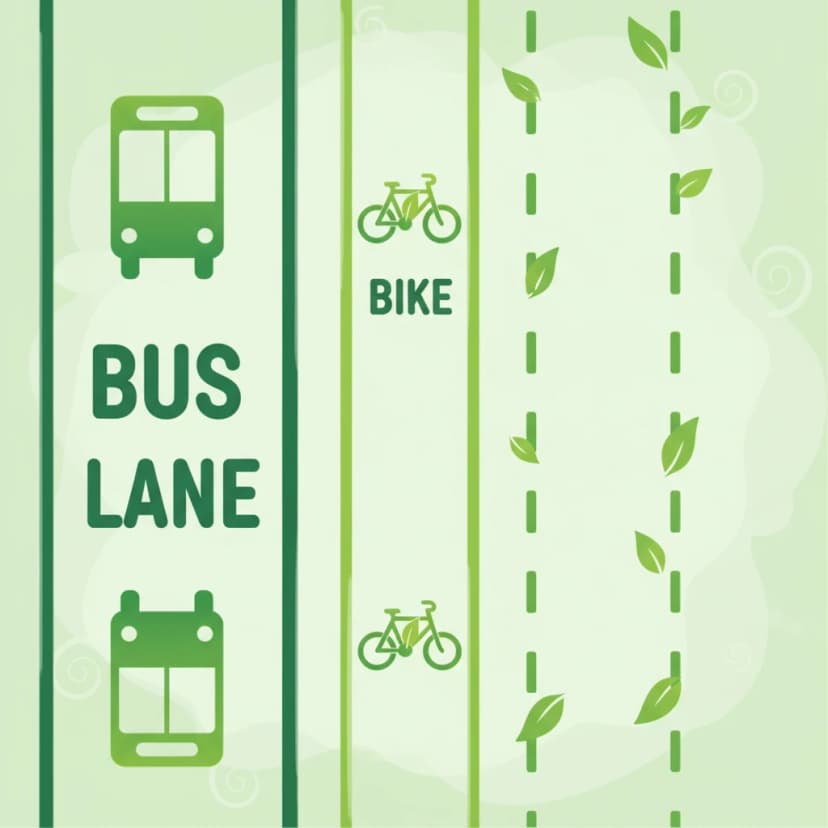
This lesson covers a variety of lanes and markings with specific rules. You will learn to recognize and respect bus lanes, which are reserved for public transport, and rush-hour lanes (spitsstrook), which are only open during busy periods as indicated by electronic signs. The curriculum also explains the meaning of different line types (solid, broken, double lines) that dictate whether lane changes or overtaking are permitted. Understanding these special lanes and markings is key to navigating Dutch infrastructure correctly.

This lesson covers the procedures and safety considerations for driving in reverse and turning around. You will learn that reversing should only be done over short distances and when it does not endanger or obstruct other road users. The curriculum details techniques for turning in the road and identifies situations and locations where U-turns are prohibited. The importance of all-around observation, checking blind spots, and yielding to all other traffic is a central theme.

Roundabouts are a common feature of Dutch roads, and they have specific priority rules. This lesson teaches the standard rule of yielding to traffic already circulating on the roundabout before you enter. It also covers correct lane positioning, the importance of signaling your intention to exit, and the specific rules that often apply to cyclists who may have priority when crossing the exits. These skills ensure smooth and safe passage through both large and mini-roundabouts.

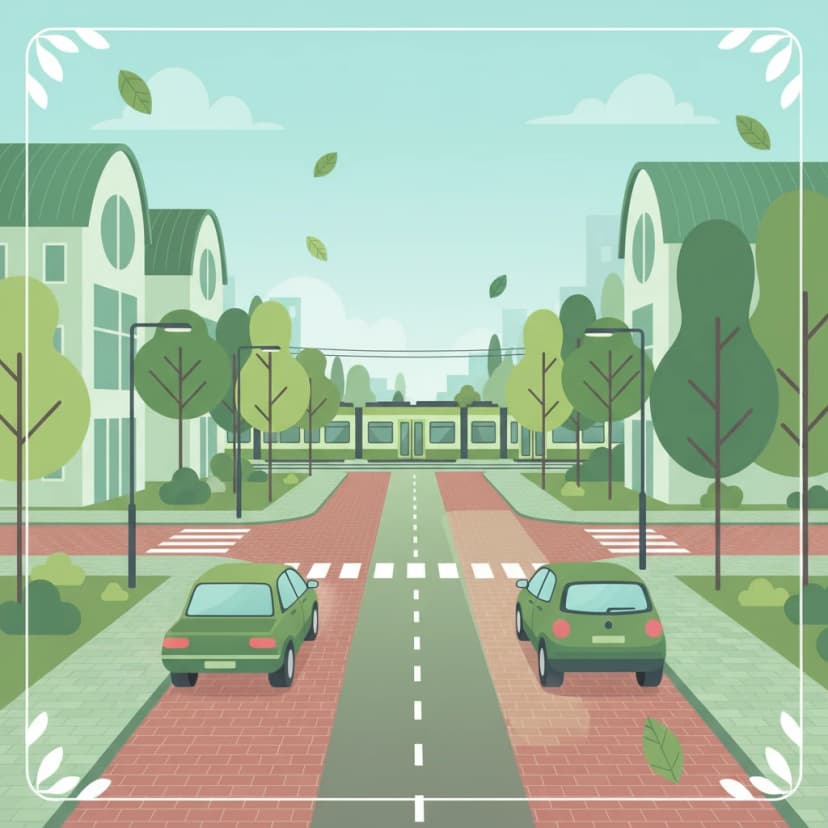
This lesson focuses on the rules governing interactions with pedestrians. You will learn the absolute requirement to stop for pedestrians who are on or clearly intending to cross at a designated zebra crossing. The curriculum also covers how to share the road in a 'woonerf' (home zone) where pedestrians have priority. It emphasizes being particularly cautious around children, the elderly, and disabled pedestrians, who may require more time or behave unpredictably.
Learn about frequent errors drivers make when pre-sorting for turns and junctions in the Netherlands. Understand the theory behind why these mistakes are dangerous and how to apply correct procedures for safer driving.
This lesson breaks down the rules of priority at intersections. You will learn to identify an 'equal' intersection where the default rule of giving way to traffic from the right applies. It also explains how priority is regulated by signs (such as the B6 Stop sign and B7 priority road sign) and road markings ('shark's teeth'). Understanding these hierarchies is crucial for making safe and correct decisions when crossing or turning at any junction.

Safely merging and changing lanes requires a systematic approach known as 'mirror-signal-blind spot'. This lesson explains the correct procedure for entering a carriageway from an acceleration lane, ensuring you match the speed of the traffic flow and find a safe gap. It also covers the technique for changing lanes, emphasizing the critical importance of checking your blind spot with a shoulder check (dode hoek) before making any lateral movement to prevent collisions.
This lesson explains the foundational 'priority to the right' rule, which applies at intersections of equal roads where no other signs or markings dictate priority. You will learn to identify such junctions and understand your obligation to yield to traffic approaching from your right side. The lesson also clarifies important exceptions, such as when exiting a driveway, entering a paved road from an unpaved one, or when encountering a tram. Mastering this rule is crucial for navigating residential areas and city streets where signage is often minimal.
This lesson covers the procedures and safety considerations for driving in reverse and turning around. You will learn that reversing should only be done over short distances and when it does not endanger or obstruct other road users. The curriculum details techniques for turning in the road and identifies situations and locations where U-turns are prohibited. The importance of all-around observation, checking blind spots, and yielding to all other traffic is a central theme.
This lesson focuses on the array of signs used to manage traffic at intersections and along multi-lane roads. You will learn to interpret overhead gantry signs, lane designation signs, and markings that guide drivers into the correct lane for their intended direction. The curriculum covers signs indicating priority at upcoming junctions, such as the B3 and B4 signs, which clarify right-of-way rules in complex scenarios. Proper interpretation of these signs is essential for smooth lane changes, efficient navigation, and preventing conflicts at junctions.
This lesson addresses the challenge of navigating equal-priority intersections, where no signs or markings dictate the right-of-way. You will master the fundamental Dutch traffic rule of giving priority to all drivers approaching from your right ('rechts voor'). The content focuses on developing advanced observational skills and clear communication to safely manage these situations, which are common in residential and urban areas.

This lesson analyzes the specific challenges and priority rules associated with various common junction layouts, including T-junctions, Y-junctions, and standard crossroads. It explains how the geometry of each type of intersection influences sightlines, vehicle positioning, and the application of right-of-way rules. Riders will learn systematic approaches for assessing these junctions, positioning their motorcycle correctly for the intended maneuver, and executing turns safely and efficiently.
Roundabouts are a common feature of Dutch roads, and they have specific priority rules. This lesson teaches the standard rule of yielding to traffic already circulating on the roundabout before you enter. It also covers correct lane positioning, the importance of signaling your intention to exit, and the specific rules that often apply to cyclists who may have priority when crossing the exits. These skills ensure smooth and safe passage through both large and mini-roundabouts.
This lesson focuses on the rules and techniques for safely navigating Dutch roundabouts, a common feature of the road network. You will learn that traffic circulating on the roundabout typically has priority and that you must yield before entering. The content covers correct lane selection for your intended exit, proper use of turn signals, and maintaining awareness of cyclists who may have priority on adjacent paths.

This lesson establishes the foundational rule of priority in Dutch traffic law: yielding to traffic from the right at intersections of equal roads unless otherwise indicated. It explains how to identify an unmarked or 'equal' junction and the correct procedure for approaching, assessing, and proceeding safely. The content also introduces the primary signs and markings, such as 'shark's teeth,' that override this default rule, forming the basis for all other priority scenarios.
Find clear answers to common questions learners have about Pre-sorting for Turns and Junctions. Learn how the lesson is structured, which driving theory objectives it supports, and how it fits into the overall learning path of units and curriculum progression in the Netherlands. These explanations help you understand key concepts, lesson flow, and exam focused study goals.
Signalling indicates your intention to turn, while pre-sorting is the physical action of moving your vehicle into the correct lane or position on the road *before* you signal and make the turn. Pre-sorting ensures you are in the optimal spot to execute the turn safely and efficiently, reducing disruption to traffic.
You must always follow the road markings and signs, such as directional arrows painted on the road or displayed on signs above the lanes. These indicate which lane is designated for going straight, turning left, or turning right. Always choose the lane that matches your intended direction of travel.
If you realize you are in the wrong lane too late to safely pre-sort and change lanes, it's best to continue in your current lane and proceed with the turn it allows. Do not make a dangerous last-minute lane change. You can then find a safe place to stop, re-orient yourself, and make your way back to your intended route.
Yes, while the principle of being in the correct lane is similar, roundabouts have specific rules. For a standard right turn (exiting at the first or second exit), you'll typically use the rightmost lane. For left turns or U-turns, you'll usually use the left lane. Always follow the signs and road markings on the roundabout itself.
Yes, when turning left from a two-way road, you must move towards the centre of the road (but still keep to the right of the centre line if applicable) and yield to oncoming traffic. Pre-sorting means positioning yourself correctly in advance, indicating your intention, and then proceeding when it is safe to do so.